 International
 Singapore
 Malaysia
 Thailand
 Vietnam
Your shopping cart is empty!

Topic 9: Getting Started with 3D Design using TinkerCAD
- Khairul_Tajudin
- 12 Apr 2024
- Tutorial
- Beginner
- 262
TinkerCAD is a user-friendly and powerful tool for 3D design, perfect for beginners and hobbyists looking to create their own 3D models. Here's a step-by-step guide to help you get started with 3D design using TinkerCAD.

Step 1: Create a TinkerCAD Account
Visit the TinkerCAD website and sign up for a free account. This will give you access to the TinkerCAD design platform, where you can start creating your own 3D models.
Step 2: Explore the TinkerCAD Interface
Once you've logged in, take some time to familiarize yourself with the TinkerCAD interface. You'll find various tools and features arranged neatly on the dashboard, including basic shapes, text tools, and import options.
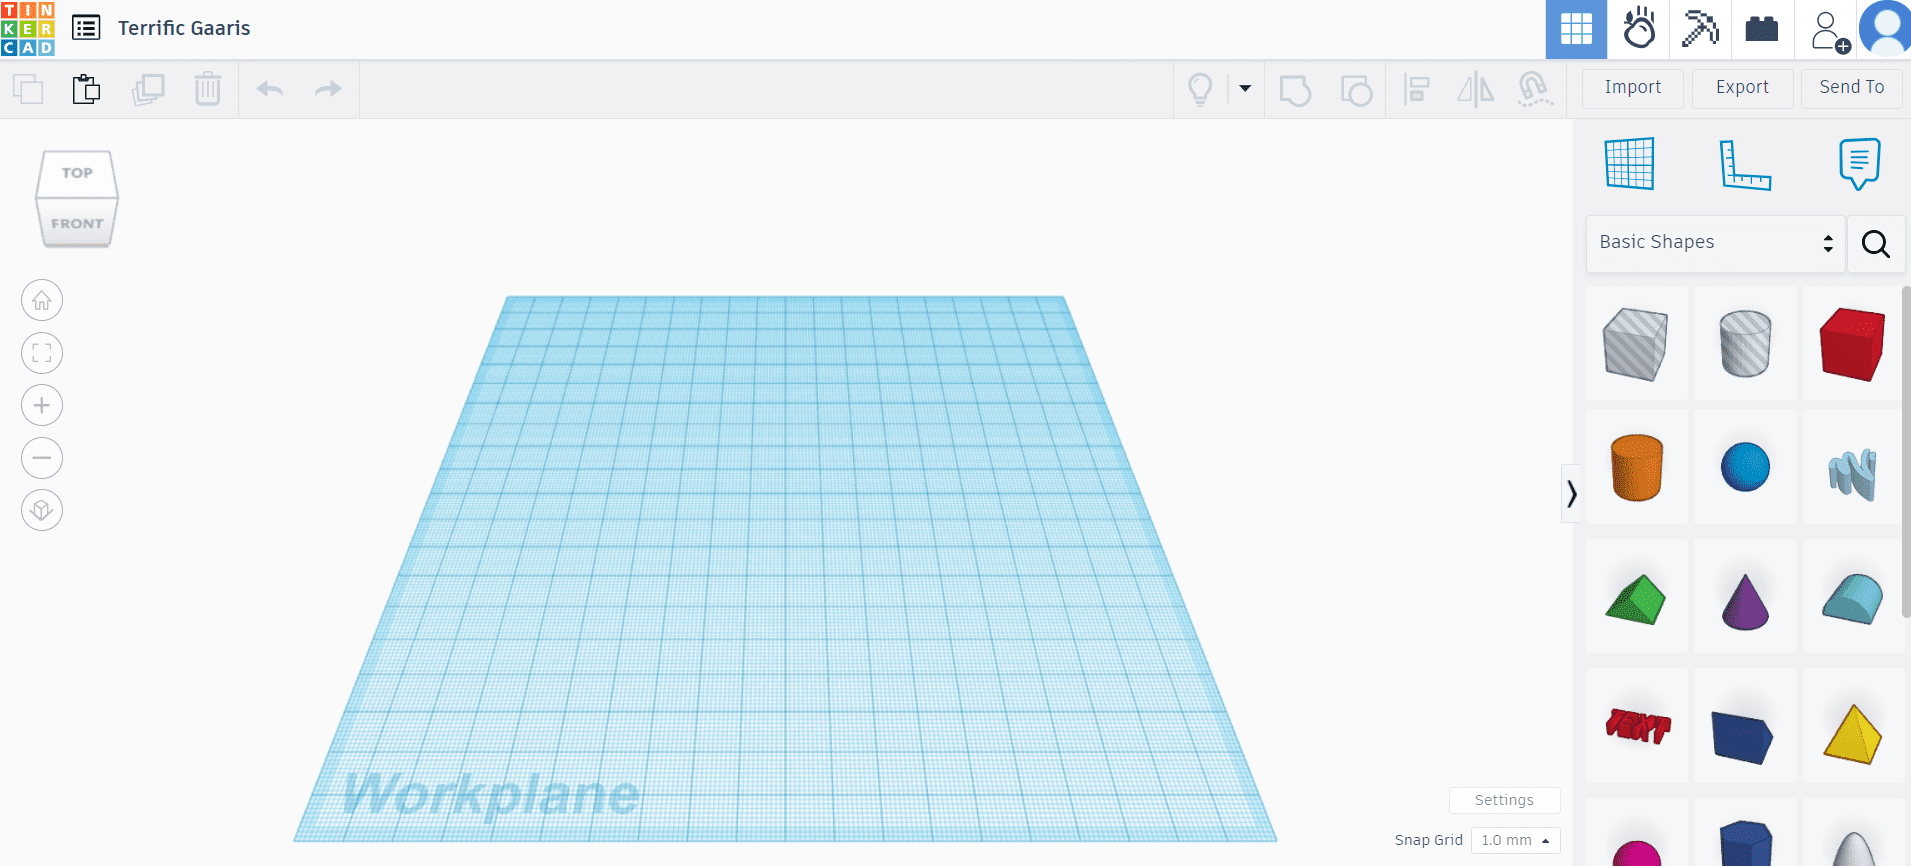
TinkerCAD offers a wide range of basic shapes such as cubes, cylinders, and spheres that you can use as building blocks for your design. Drag and drop these shapes onto the canvas and resize them as needed using the handles. We have prepared a tutorial to Create Customized 3D Printed Text Using Tinkercad: A Step-by-Step Guide. All the basic steps have been covered in this tutorial.
Experiment with combining and modifying shapes to create more complex objects. Use tools like the "Group," "Align," and "Hole" functions to merge shapes together, subtract one shape from another, or align them in precise positions. We also have covered some projects on Design 3D Model Using TinkerCAD and Print that can apply your design to 3D Printing.
Step 3: Customize and Edit
TinkerCAD provides various tools for customizing and editing your 3D models. Adjust the dimensions, colors, and properties of shapes using the shape properties panel. You can also add text, numbers, and other decorative elements to enhance your design. We also can use existing design to modify and edit. We can take any 3D Design or 3D file from open source such as Thingiverse or Printables into our TinkerCAD workspace.
TinkerCAD support file format for STL, OBJ and SVG and size of file can up to 25MB. If you have file in another format (such as .step, .sldprt, png, etc) you need to convert it first to supported file. Let's try our designated tutorial to Modifying 3D Models with TinkerCAD. We will learn how to modify file from opensource 3D model. This tutorial using STL file to edit the part in TinkerCAD.
Want to try something interesting? Let's follow this tutorial to Creating a 3D Printed QR Code: A Step-by-Step Guide. In this tutorial will guide you to create design from PNG into 3D Design.
Step 4: Experiment with Design Challenges
TinkerCAD itself have a Learning Center for us to Getting Started with TinkerCAD. It start with easy tutorial from basic to advance design. When you already master the basic learn, we encourage you to proceed with Lesson Plans . TinkerCAD offers a range of design challenges and tutorials to help you hone your skills and creativity. Explore these challenges to learn new techniques and expand your design repertoire. You can visit this Design Challenge to test your skill.
Step 5: Export and Share Your Designs
Once you're satisfied with your design, you can export it as an STL file for 3D printing or share it directly with others. TinkerCAD also allows you to collaborate with friends or colleagues on projects in real-time.
Connect with other TinkerCAD users and enthusiasts by joining the TinkerCAD community forums and social media groups. Share your creations, ask for feedback, and learn from others' experiences. With these steps, you're well on your way to creating amazing 3D designs using TinkerCAD. Don't be afraid to experiment, explore, and let your imagination soar as you dive into the world of 3D design!
New to 3D Printing but not sure where to start?
You can start by being a part of our 3D Printing Community!

Hardware Components
 -7%
-7%Creality Ender-3 V3 SE 3D Printer + 1KG PLA
S$356.07 S$382.86 S$356.07
x 1 unit(s)