International
 Singapore
 Malaysia
 Thailand
 Vietnam
Your shopping cart is empty!
.png "Building a Traffic Signal Controller with Raspberry Pi Pico and TM1637 in Circuitpython")
Building a Traffic Signal Controller with Raspberry Pi Pico and TM1637 in Circuitpython
- Anas Ba-Makhramah
- 22 Aug 2023
- Tutorial
- Beginner
- 1541
Introduction:
In this tutorial, we'll guide you through the process of creating a Traffic Light Controller using the Raspberry Pi Pico and CircuitPython.
Demonstration Video:
Prerequisites:
1. Raspberry Pi Pico with CircuitPython installed.
2. Thonny Program Installed.
Hardware Required:
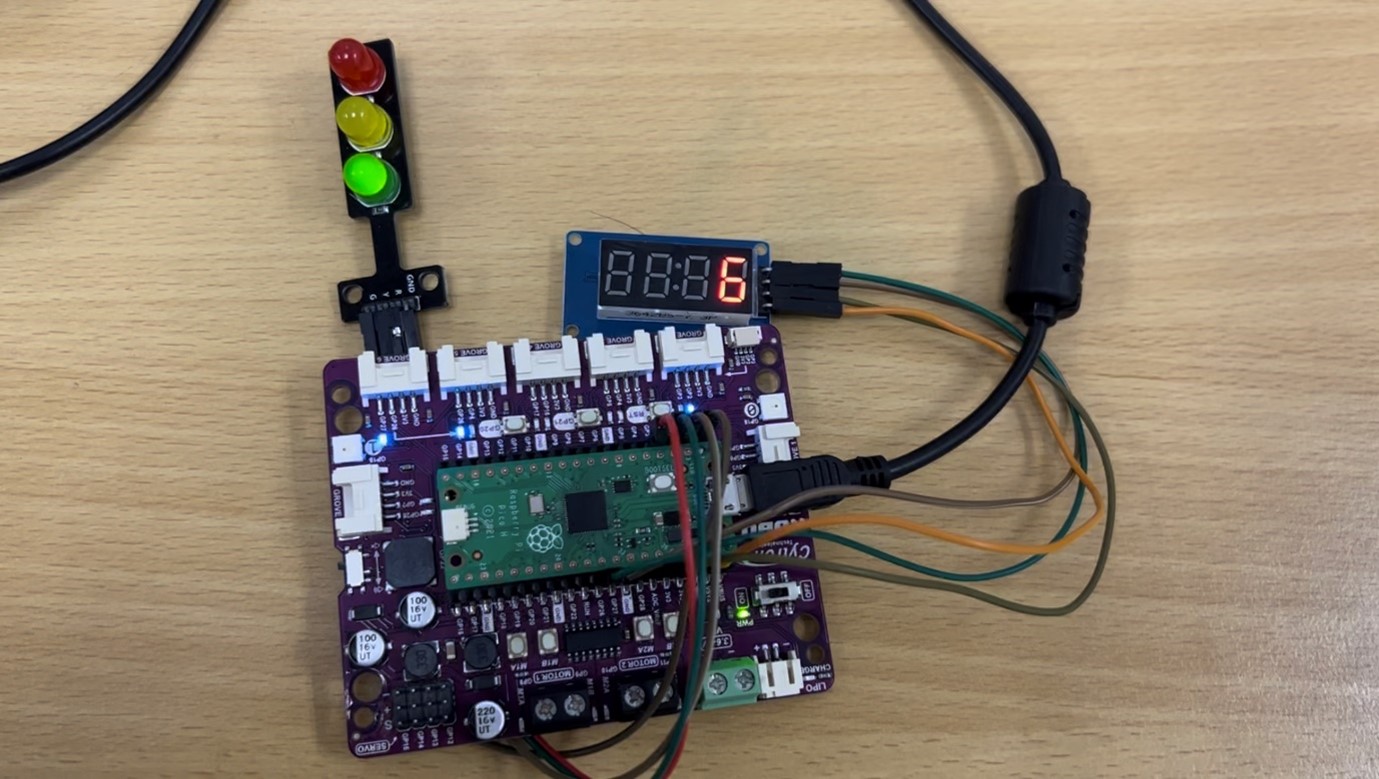
- Traffic Light Controller Module
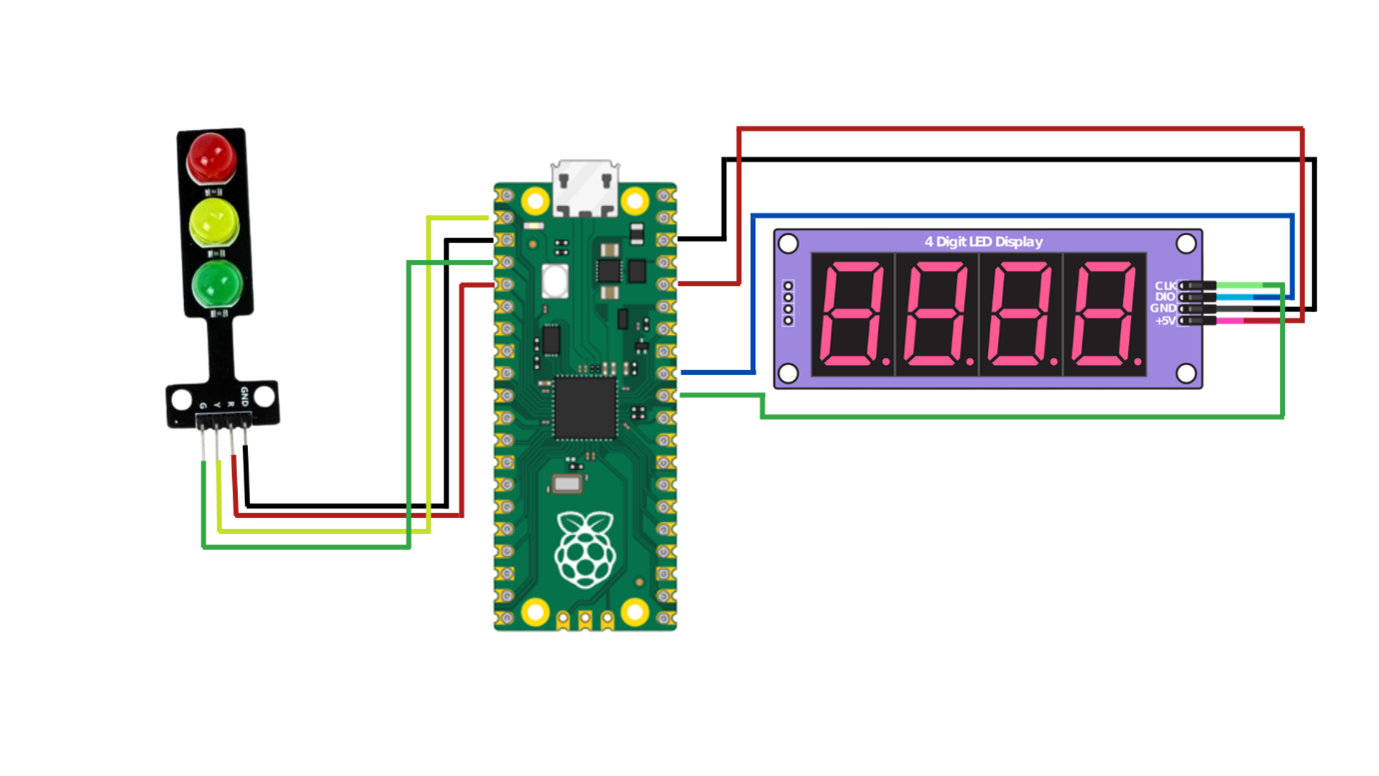
Step 1: Connection and Circuit Diagram
For TM1637 Module connect clc and dio to GP26 and GP27 respectively also Vcc and GND to 3.3V and GND pins in Raspberry PI Pico
For Traffic Light Controller Module connect R, Y, G and GND pins to GP3, GP1, GP2 and GND respectively in Raspberry Pi Pico. For further elaboration see figure below.
Step 2: Code
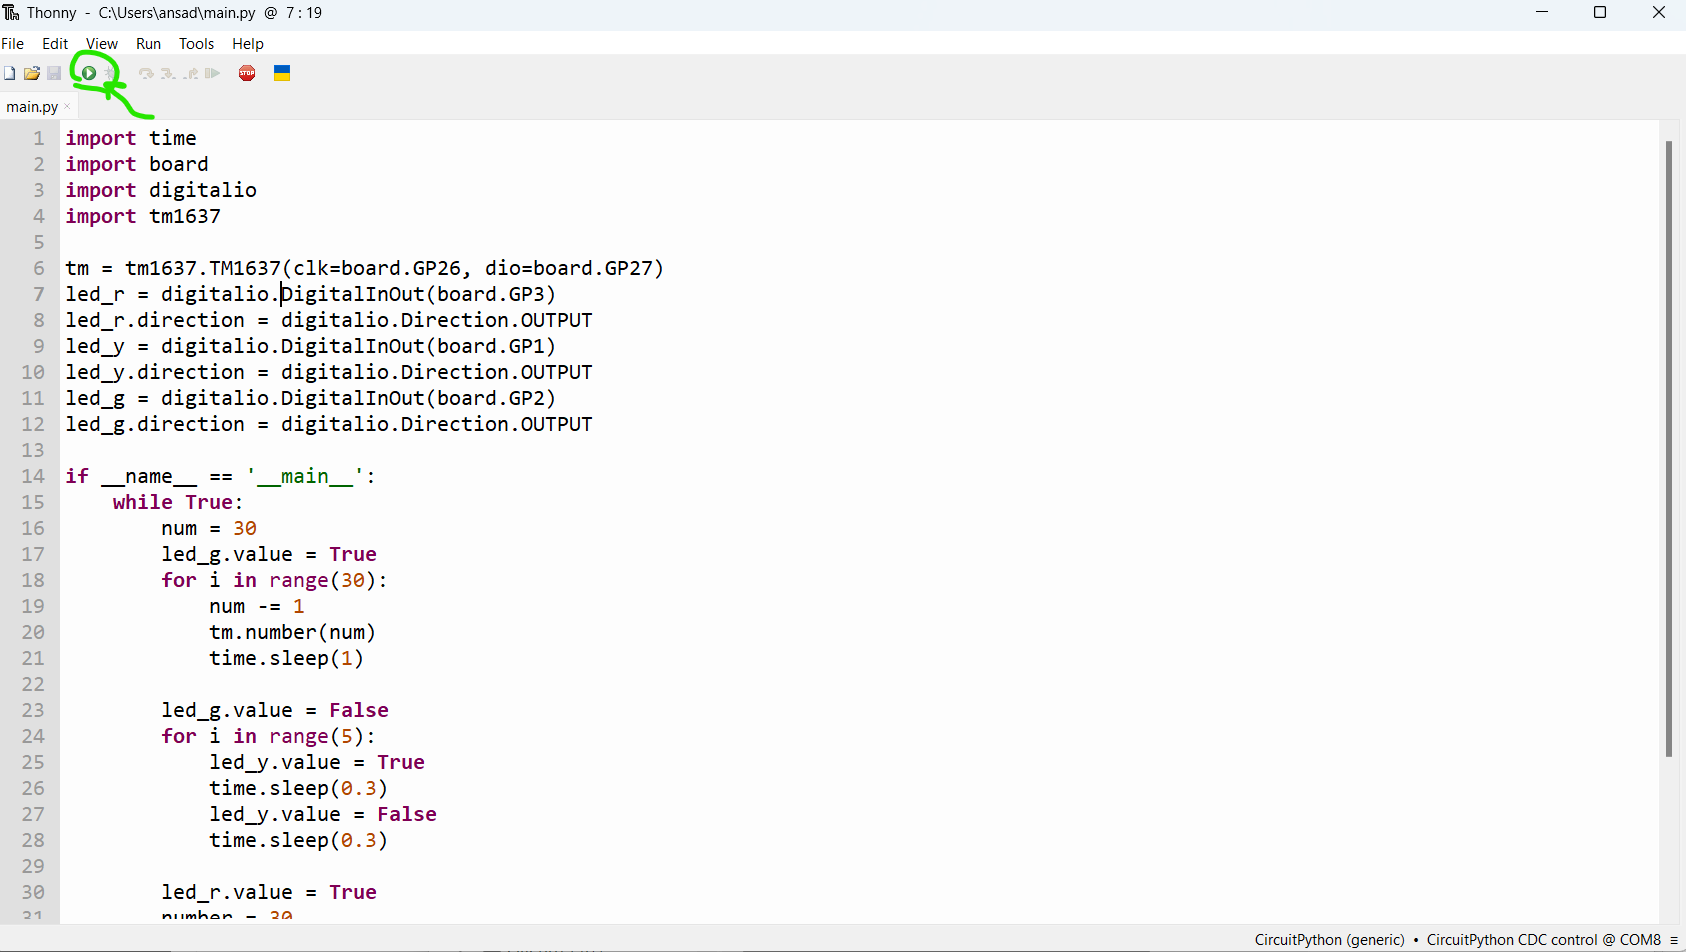
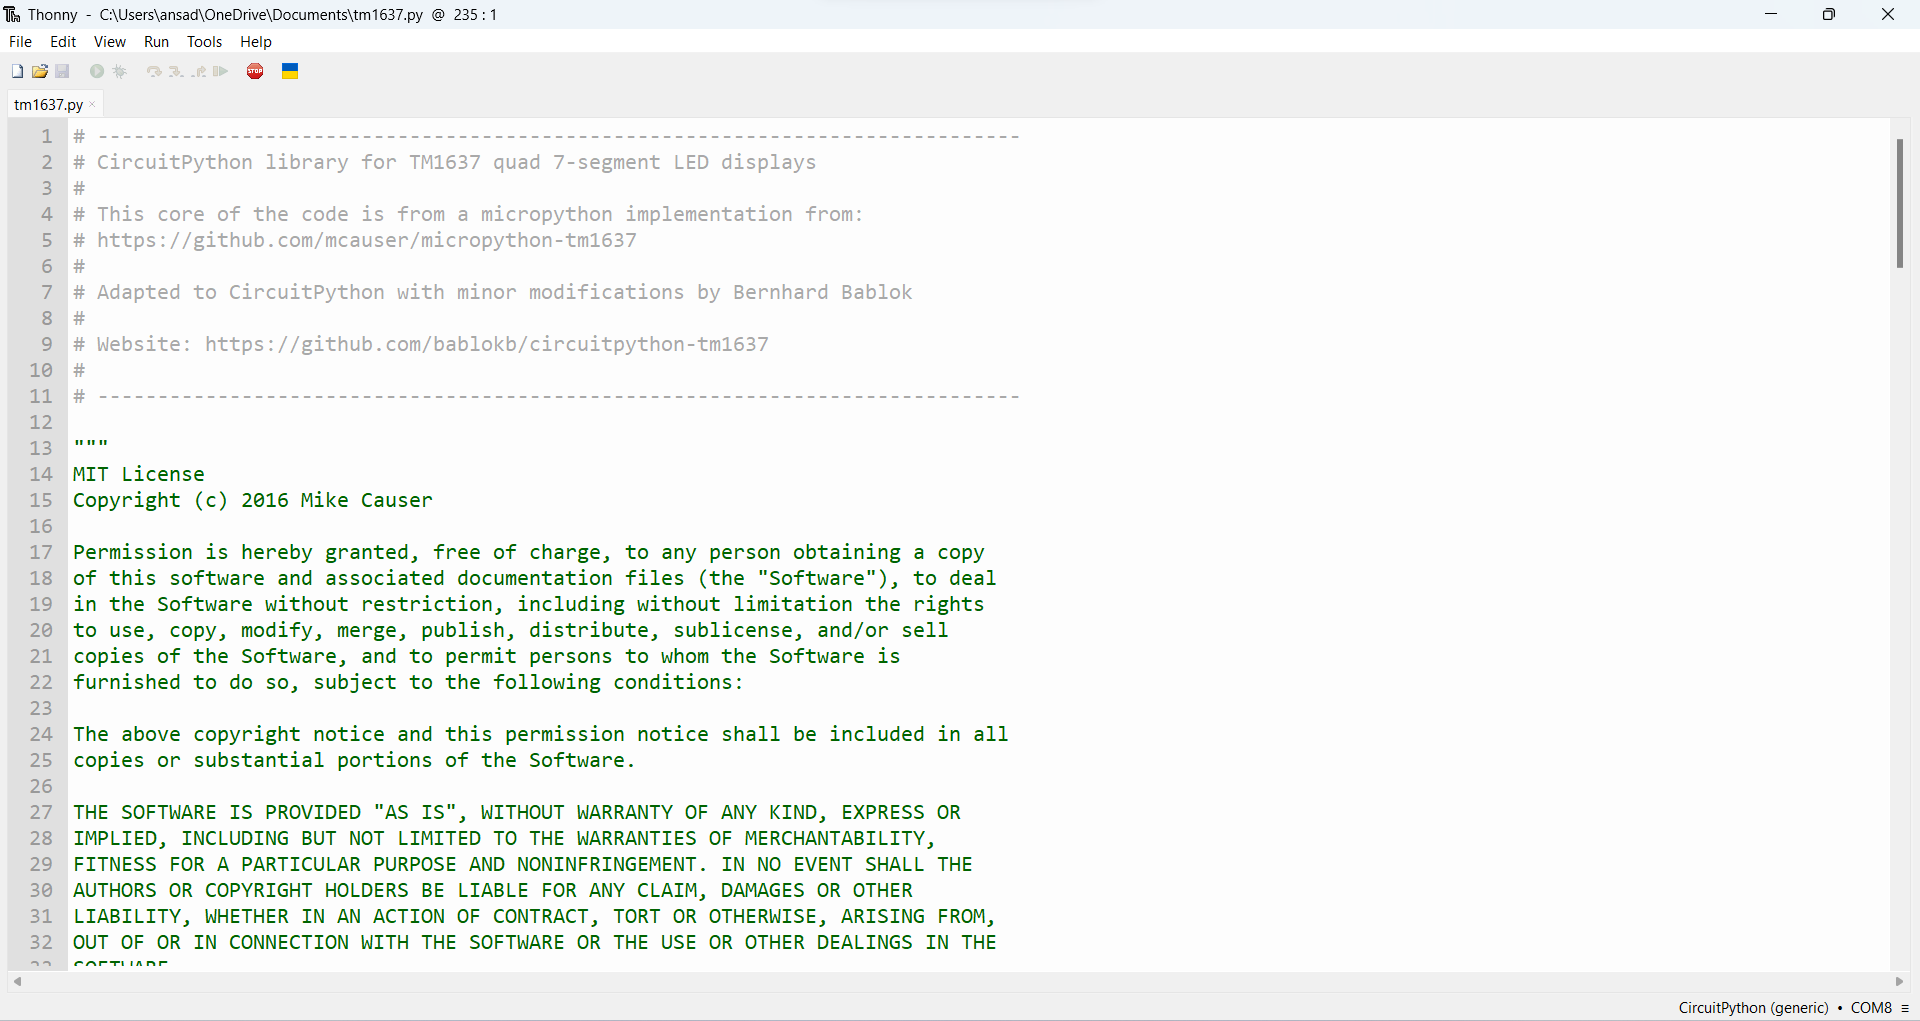
Open Thonny and create a new file named tm1637.py and paste this code:
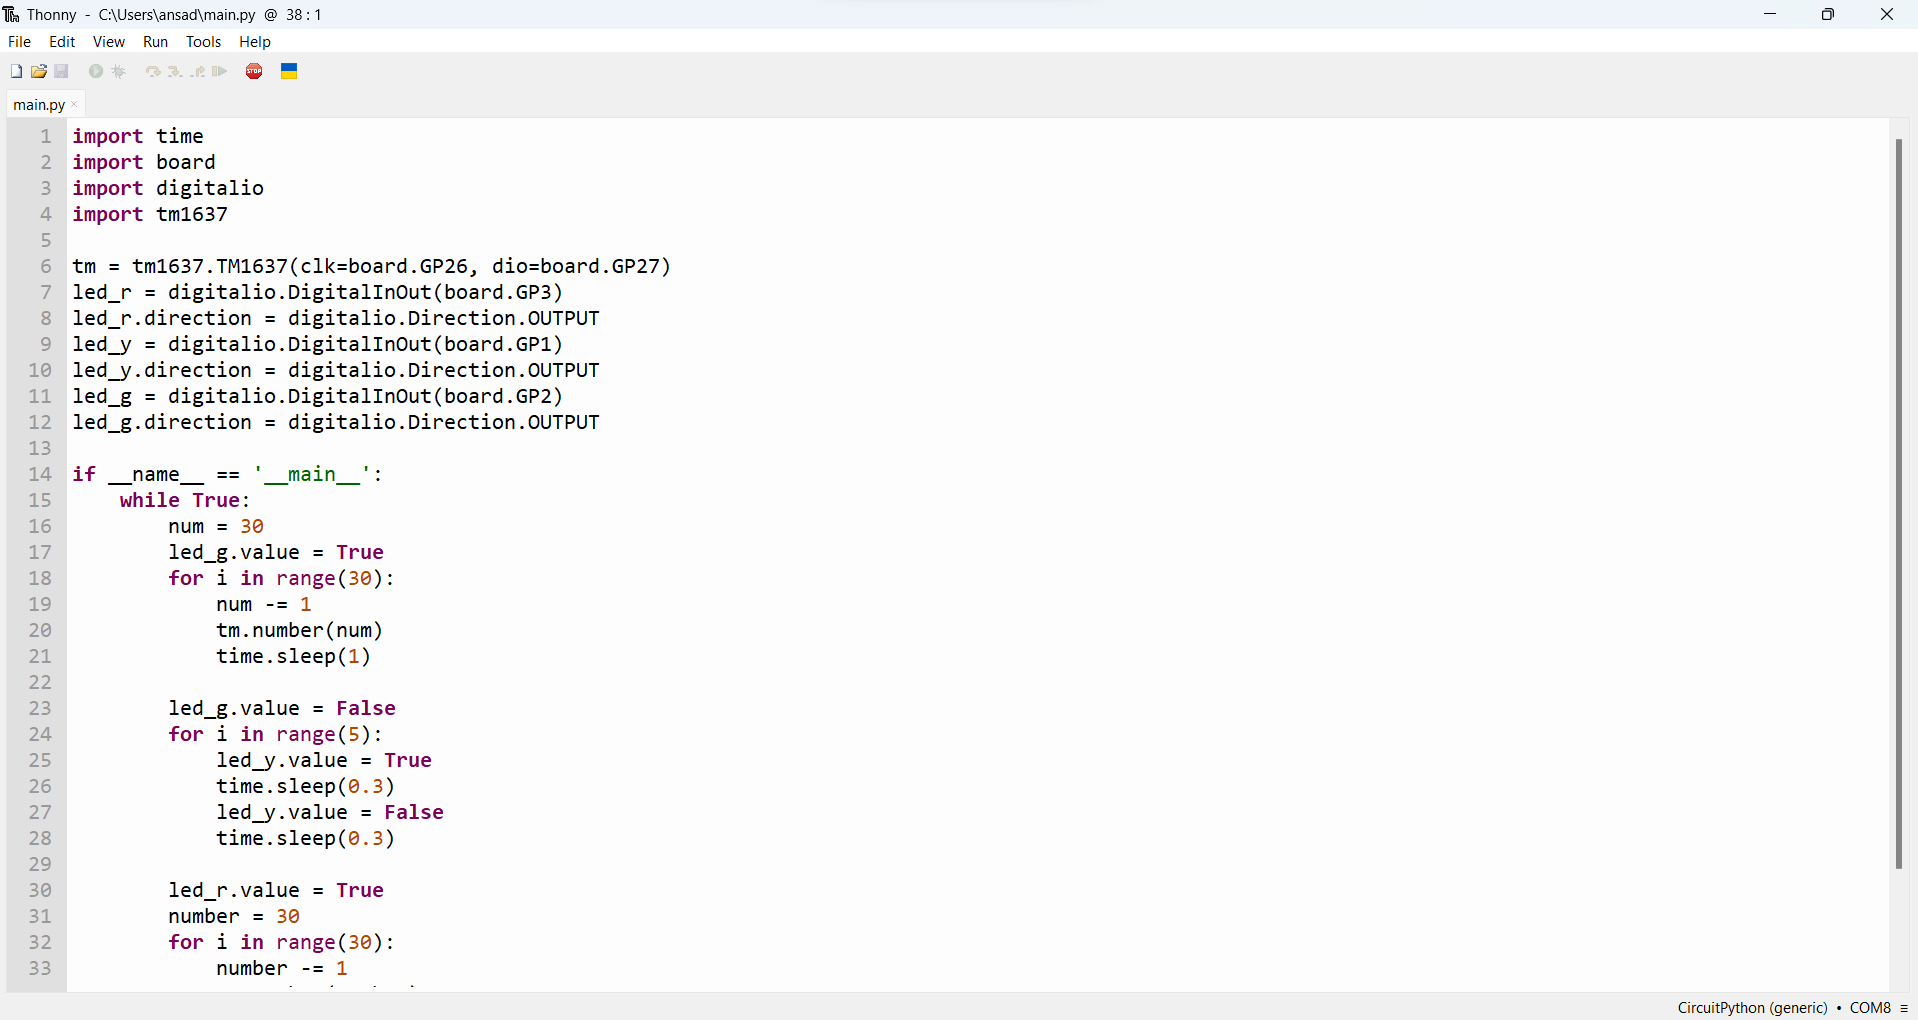
Then create new file name it as main.py and paste this code:
Step 3: Uploading the Code to Raspberry Pi Pico
Save the CicuitPython code to the Raspberry Pi Pico's USB drive. The Pico will automatically execute the code once it is connected to power.