Your shopping cart is empty!

Chapter 4: EDU PICO Pet Feeder
- Wan Chun Zhung
- 06 Jun 2024
- Tutorial
- Intermediate
- 96
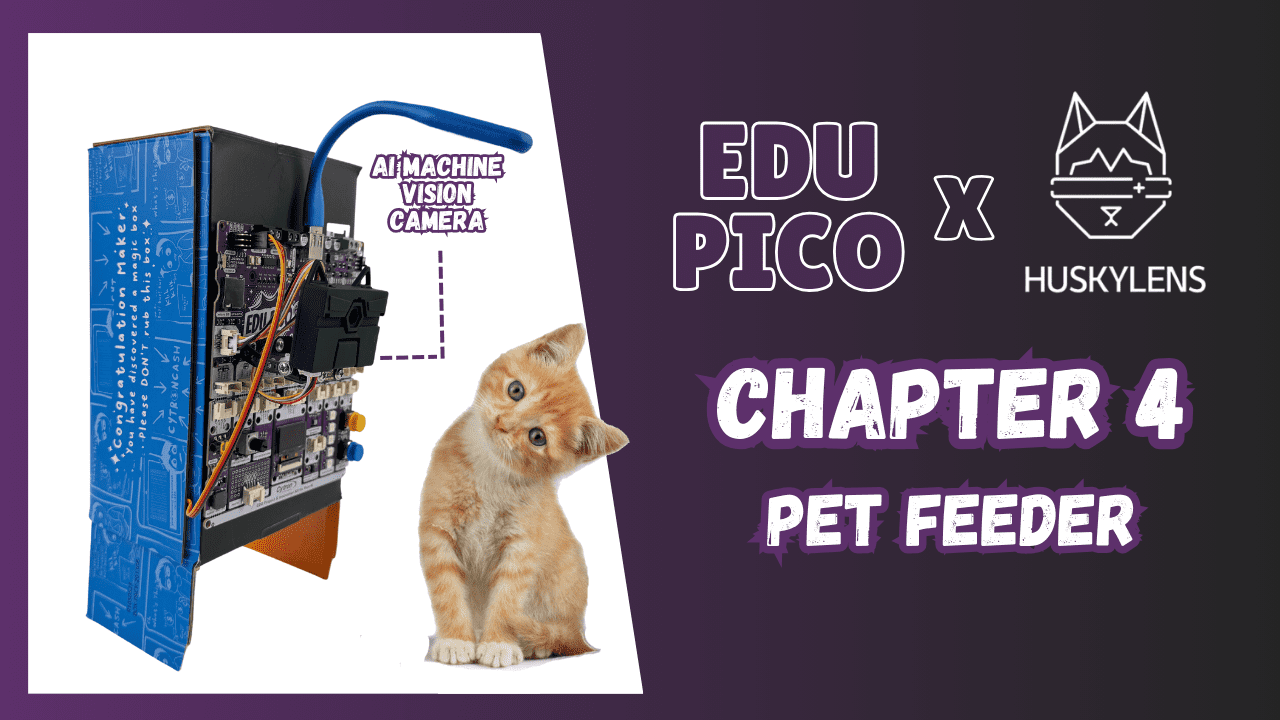
Create an automated pet feeder using the powerful combination of EDU-PICO and Husky Lens for precise object recognition. You'll learn :
- Pet Detection with Husky Lens: Discover how Husky Lens detects a cat or dog presence and sends a signal to initiate the feeding process.
- Servo and Relay Control with EDU-PICO: Learn how to control a servo motor and a relay using the EDU-PICO to open the feeder and activate a light for a set duration.
- Building the Automated Feeder: Integrate object detection with servo and relay control to develop a fully automated pet feeder that dispenses food when a cat/dog is detected, providing clear feedback by showing the status thought OLED display.
Tutorial Video
Turorial
Step 1: Hardware setup
1. Huskylens Installation: Install the huskylens in the EDU PICO board and connect the cable to GP27 and GP26.
2. Servo Motor Installation: Install the servo motor to GP9
3. USB Light Installation: Install the light to USB relay GP22
Step 2: Object Learning
For object recognition, ensure the husky lens is set up correctly to detect the cat/dog. This step involves configuring the husky lens to recognize the cat/dog appearance, which is crucial for the automative feeding system to function accurately.
Step 3: Code
Copy the provided and run it on your EDU PICO
Step 4: Testing the program
Test the functionality of the program to ensure that the Husky Lens detects the cat or dog and that the system dispenses the food as expected. When the cat/dog appears, the buzzer should sound, the servo motor should open the feeder, the light should activate for 60 seconds, and the OLED should display that the feeder is open. Afterward, the feeder should close, and the OLED should display that the feeder is closed.
Hardware Components
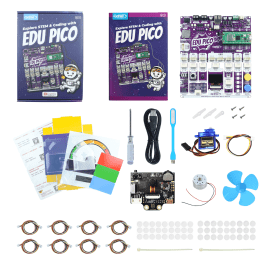
EDU PICO with AI Kit (Pico W included)
S$173.68 S$173.68
 International
 Singapore
 Malaysia
 Thailand
 Vietnam
