 International
 Singapore
 Malaysia
 Thailand
 Vietnam
Your shopping cart is empty!
")
Cytron NodeMCU Starter Kit (Blynk)
- Irsyad Aiman
- 01 Aug 2024
- Tutorial
- Beginner
- 798
Overview
This IoT Kit is powered by a powerful microcontroller, the NodeMCU ESP8266. With the onboard ESP8266 module, running various IoT projects using different types of sensors and actuators will not be a problem. With all the components provided in this kit, you can explore IoT with the Blynk platform by completing sample projects. This tutorial will walk you through, step by step, how to complete the syllabus of this Cytron NodeMCU Starter Kit!
What is Arduino IDE?
Arduino IDE is a user-friendly software for programming boards, allowing users to write & upload code easily. With the ESP8266 board, which has internet connectivity, users can create projects that communicate online. The Arduino IDE supports the ESP8266, making it simple to write and upload code for internet-connected projects. For those who don't have the Arduino IDE, you can install it here.
Setup Arduino IDE for ESP8266
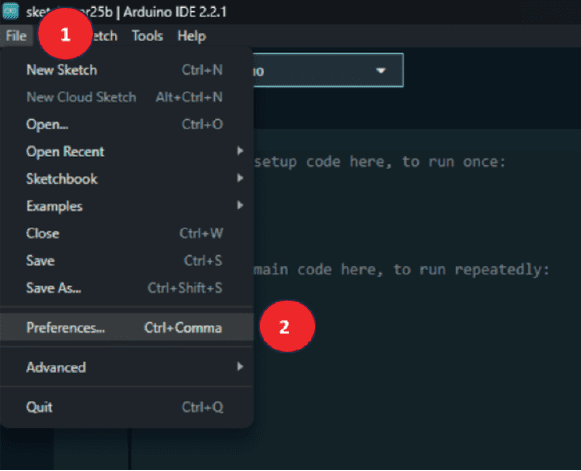
1. Open Arduino IDE software.
2. Go to File > Preferences.
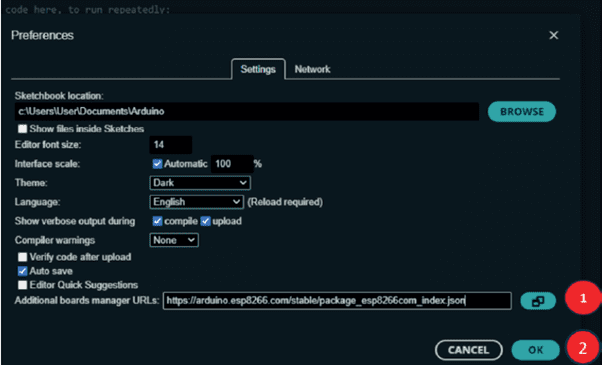
3. Copy the link below and paste it into the Additional Boards Manager URLs tab then click the OK button.
https://arduino.esp8266.com/stable/package_esp8266com_index.json
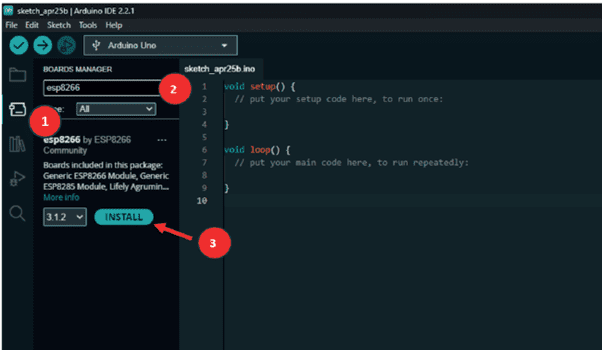
4. Choose Board Manager from the left sidebar, search for ‘esp8266’, and then click on Install
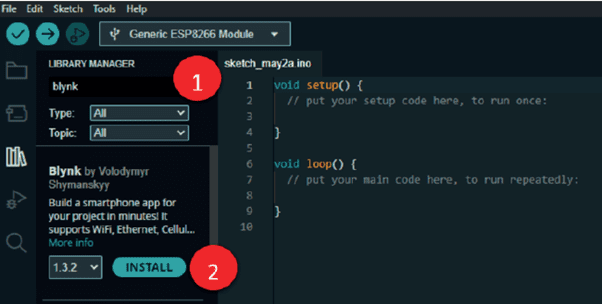
5. Choose Library Manager and type ‘Blynk’, search for Blynk by Volodymyr, and install it.
What is Blynk?

Blynk is a platform that makes it easy to create smartphone apps and web dashboards for controlling and monitoring electronic devices remotely. It's popular among hobbyists, makers, and developers because it simplifies the process of connecting hardware devices, like Arduino or Raspberry Pi, to the internet. With Blynk, users can design custom interfaces using widgets such as buttons, sliders, and graphs to interact with their connected devices. It's a versatile tool that enables users to build IoT (Internet of Things) projects without requiring extensive programming skills.
Blynk Account Registration
1. Visit blynk.io.
2. Click Start Free.

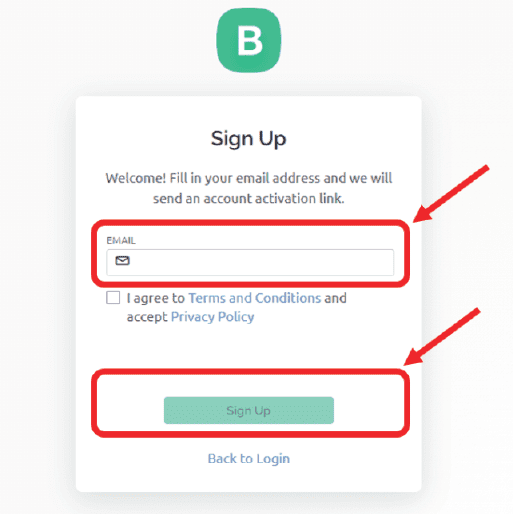
3. Enter your email address, agree to the Terms and Conditions, and then click Sign Up.
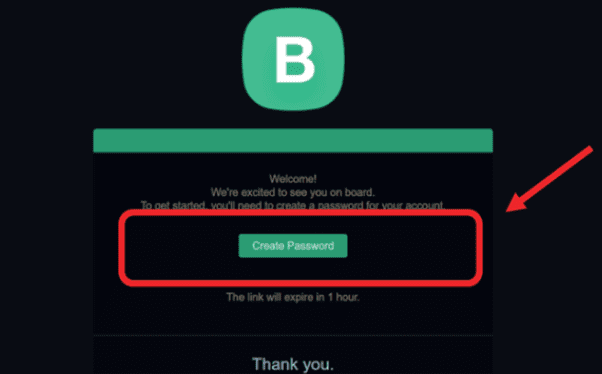
4. A confirmation email will be sent to the address you entered.
5. Open the confirmation email and click Create Password.
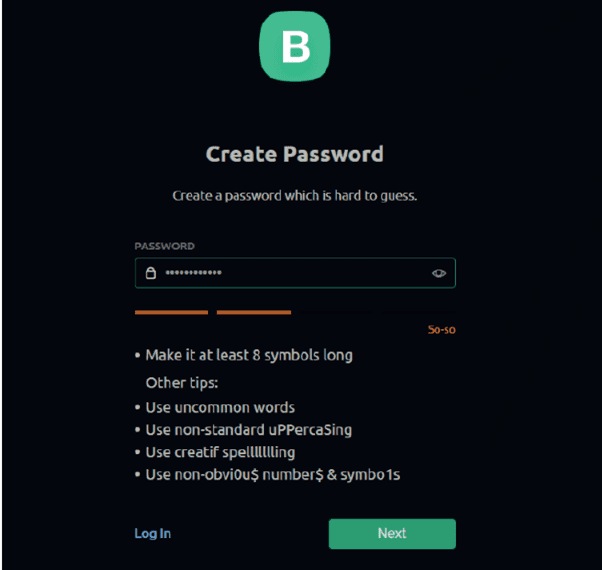
6. Enter the password then and click Next.
7. Enter your first name, then click Done.
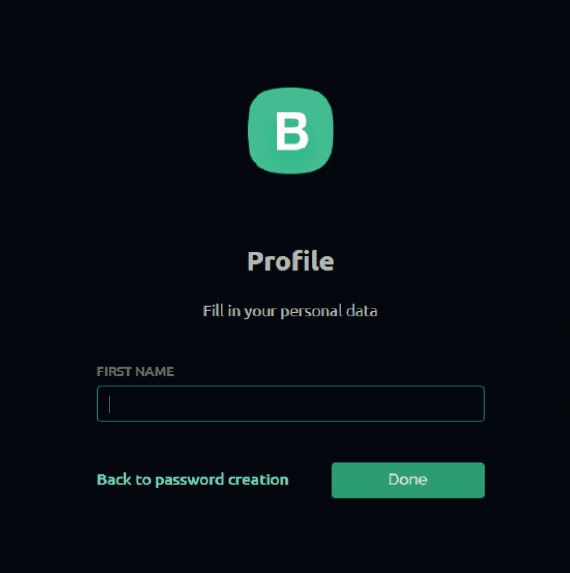
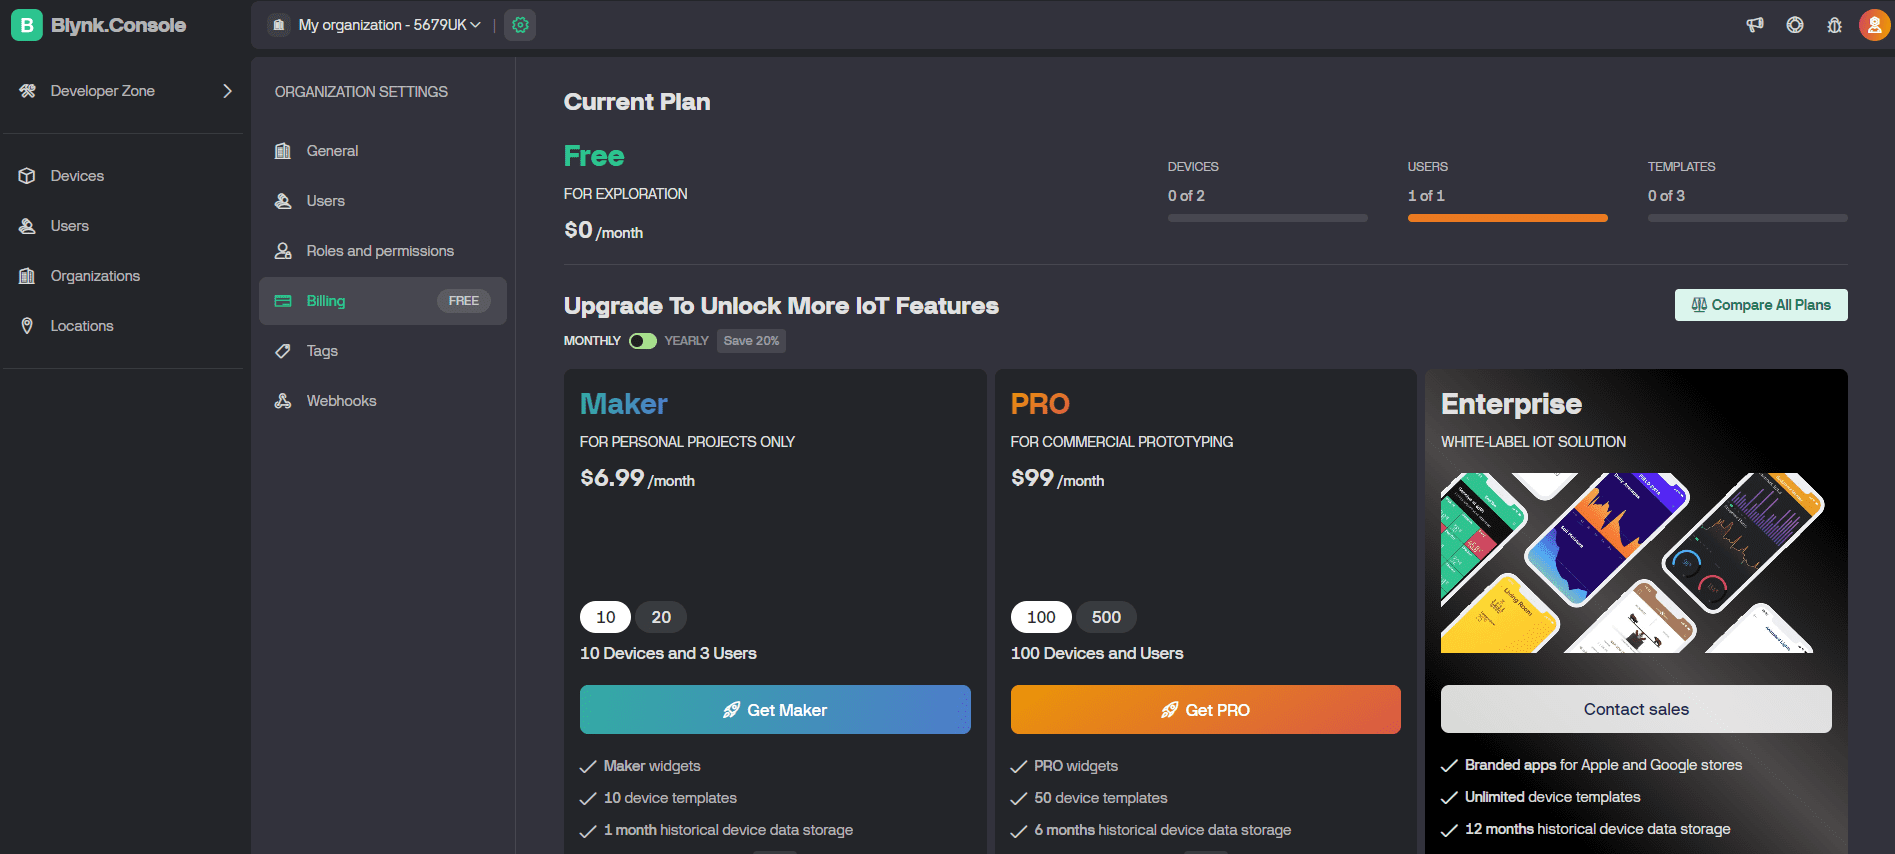
8. Once the Blynk account is successfully created, you will be able to view the Blynk Console.
You're All Set
Alright, great job. Now you have an account for Blynk and are ready to explore the exciting world of IoT. Be sure to check out the next tutorials, where we’ll explore more exciting projects and harness the power of IoT.
Hardware Components
") New
NewCytron NodeMCU Starter Kit (Blynk)
S$23.21 S$23.21
x 1 unit(s)