 International
 Singapore
 Malaysia
 Thailand
 Vietnam
Your shopping cart is empty!

Raspberry Pi AI Kit: ONNX to HEF Conversion
- Asri Ruslan
- 28 Aug 2024
- Tutorial
- Advanced
- 234
Model Conversion (ONNX to HEF)
To deploy the model on the Raspberry Pi AI Kit, we need to convert the trained model from ONNX to the Hailo's HEF format. As of now the Hailo's software only support on x86 linux machine. To simplify things. we will utilize WSL features on Windows 10/11. The process will be the same if you already have an x86 linux machine.
a) Install Linux on Windows PC with WSL
Setting up Linux on your Windows PC using Windows Subsystem for Linux (WSL) enables seamless development in a Linux environment.
Step-by-Step Guide:
- Enable WSL: Open PowerShell as administrator and run:
wsl --list --online
wsl --install -d Ubuntu-22.04
sudo apt update
- Provide username and password

b) Install Hailo Data Flow Compiler
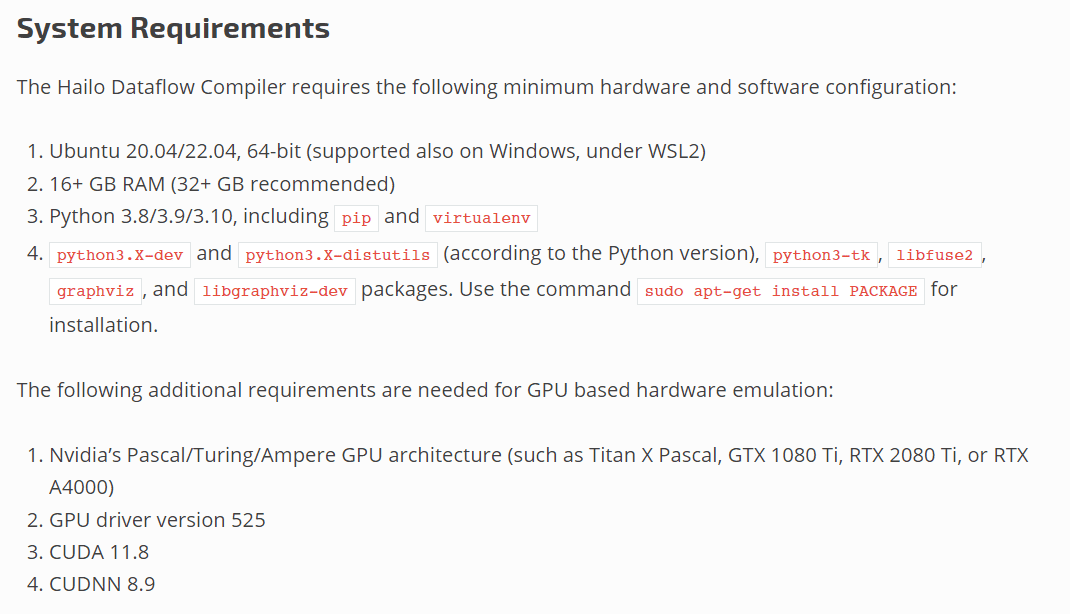
The Hailo Data Flow Compiler will allow you to convert the ONNX model to HEF format. Before that, ensure you meet the system requirements.
Step-by-Step Guide:
- Install Dependencies
sudo apt install python3-pip

sudo apt install python3.10-venv

sudo apt-get install python3.10-dev python3.10-distutils python3-tk libfuse2 graphviz libgraphviz-dev

sudo pip install pygraphviz

sudo apt install wslu - Create a virtual environment and activate it, here we name it "hailodfc".
python3 -m venv hailodfc
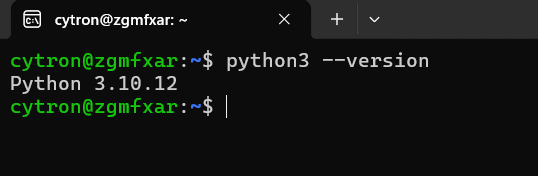
. hailodfc/bin/activate - Next we need to check the python version to ensure it is compatible with the hailo dataflow compiler version that we're going to download.
python3 --version
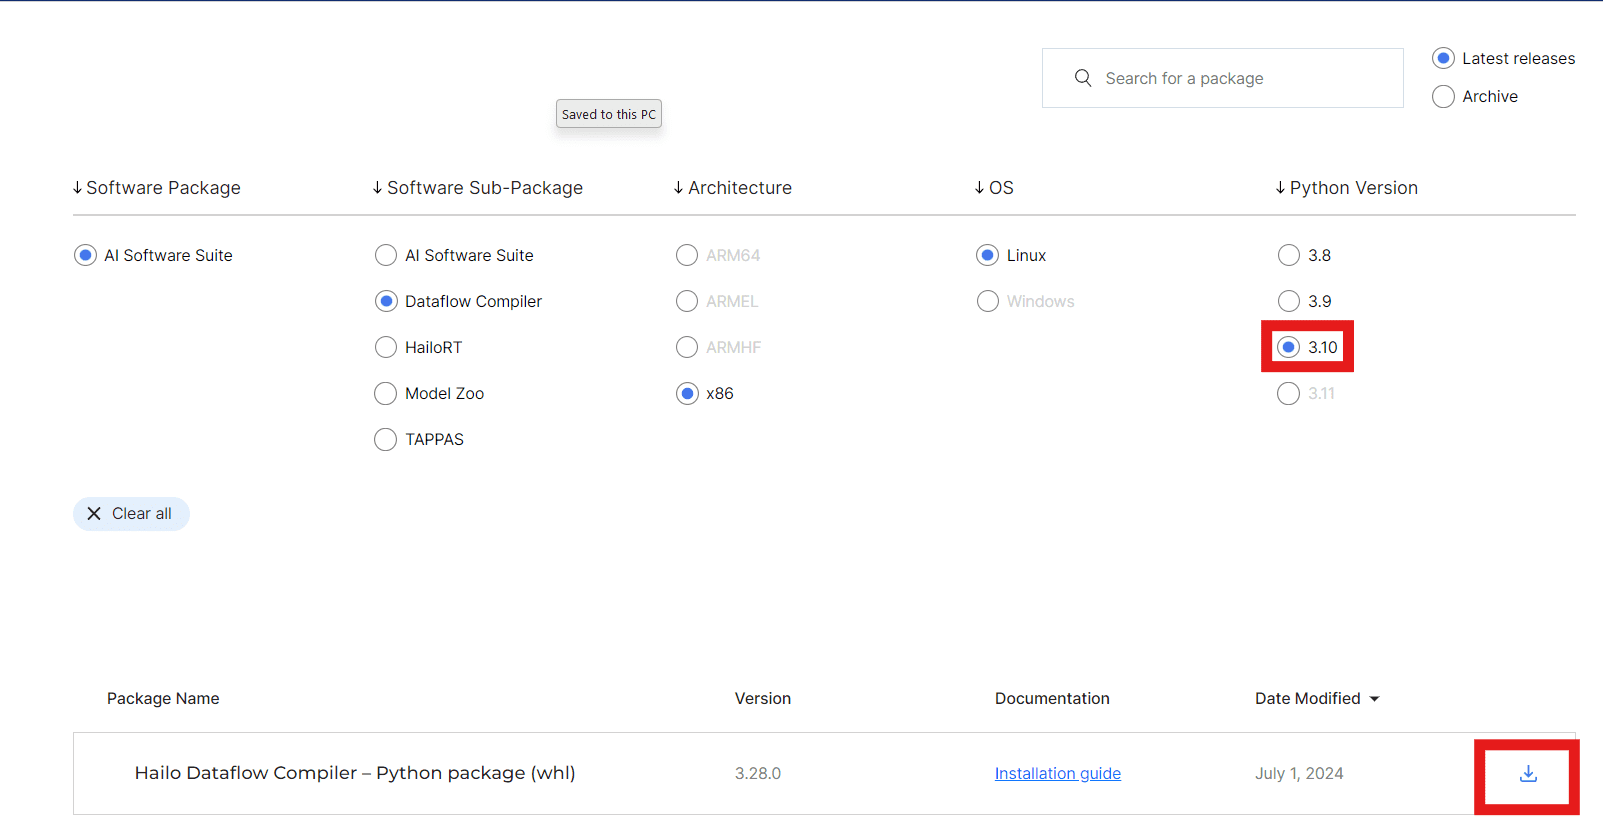
- Open this link and download the hailo dataflow compiler based on your python version (require signup)
- Go the the WSL terminal and execute the code below to open the file explorer. Move the downloaded Hailo dataflow compiler to the /home/(your username) folder
wslview .

- Install the hailo dataflow compiler
pip3 install hailo_dataflow_compiler-3.28.0-py3-none-linux_x86_64.whl
- Verify the installation
hailo -h

pip freeze | grep hailo

c) Install Hailo Model Zoo
The Hailo Model Zoo provides pre-trained models and examples, making it easier to work with custom models.
Step-by-Step Guide:
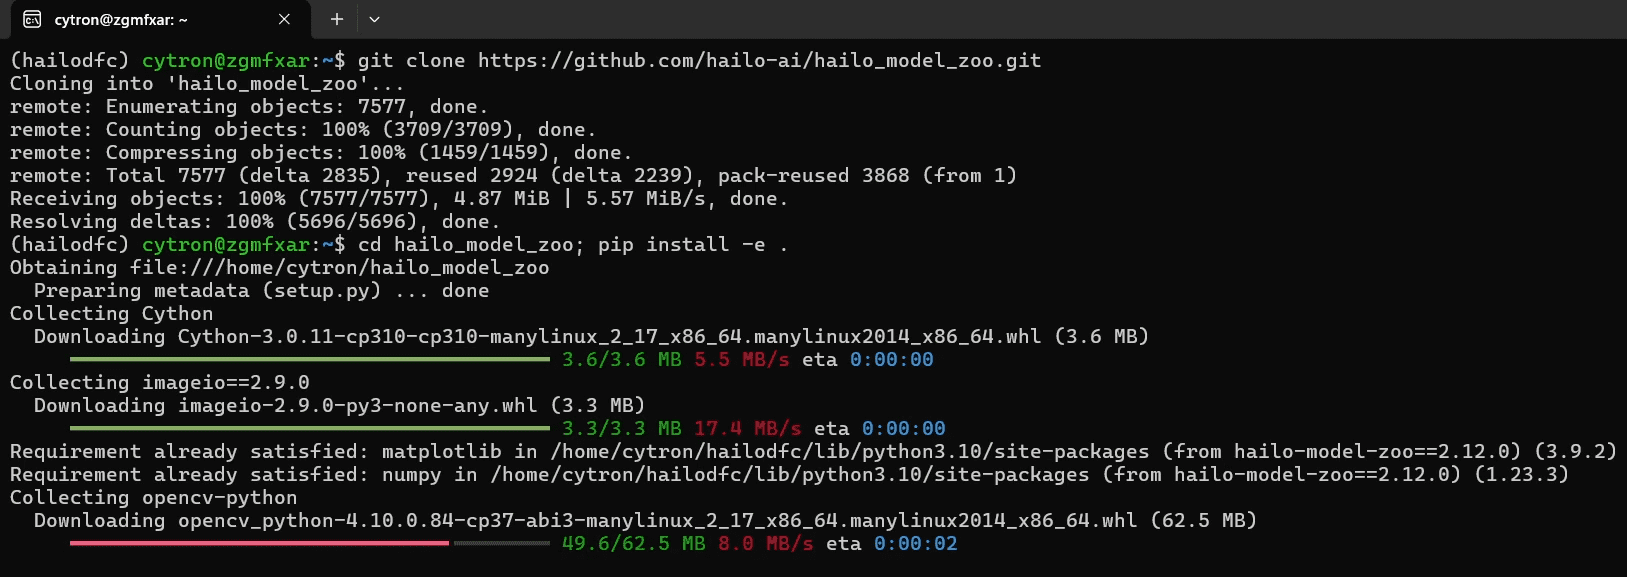
- Clone the Repository: Clone the Hailo Model Zoo repository:
git clone https://github.com/hailo-ai/hailo_model_zoo.git
Run the setup script
cd hailo_model_zoo; pip install -e .
- Next move the onnx file (best.onnx) that we download earlier to the /home/(your username) folder. Rename it to ease the identification, here I name it cybest.onnx.
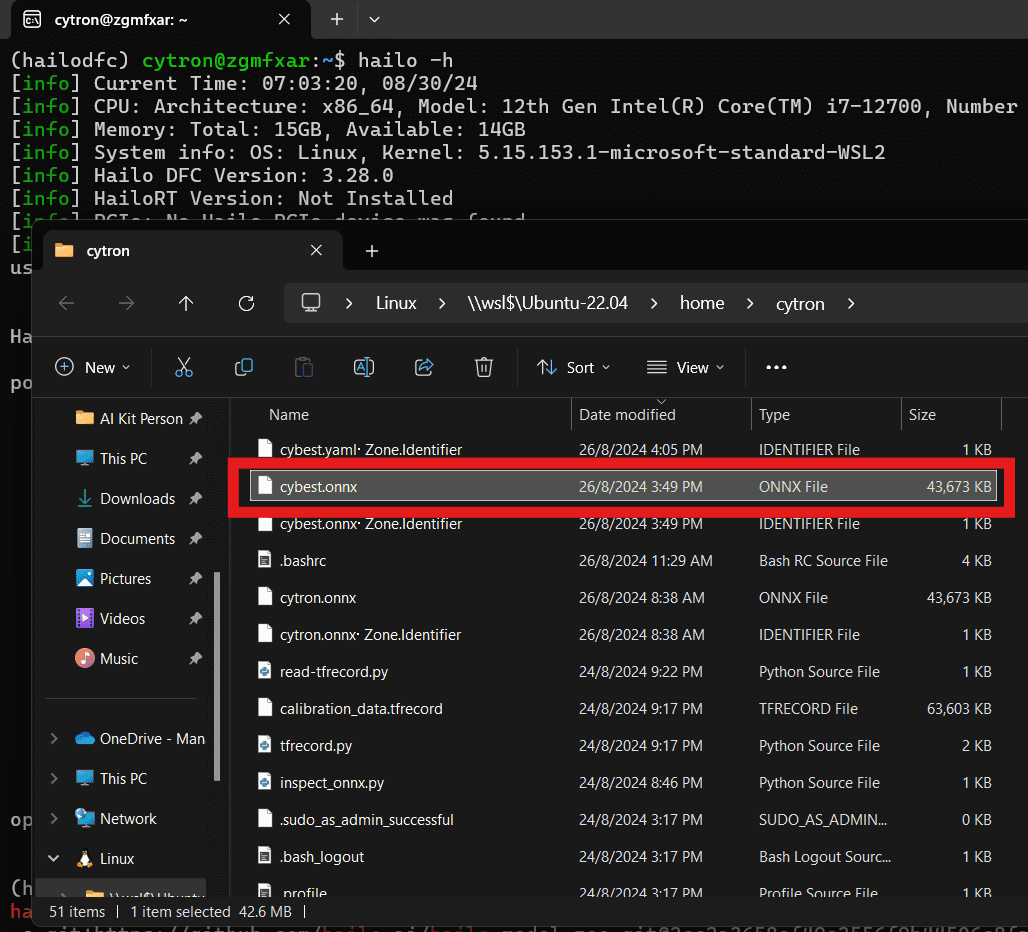
- Move the downloaded image dataset (from roboflow) to the same folder.
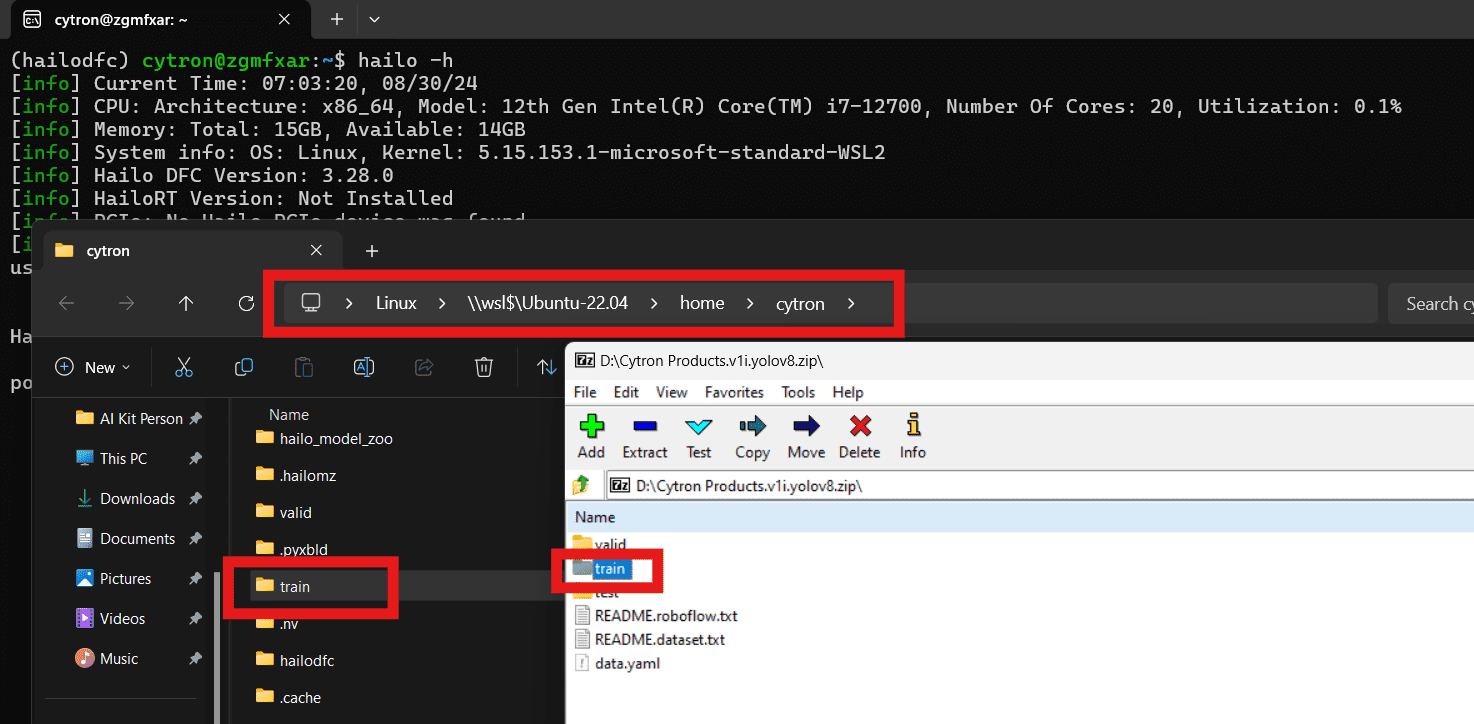
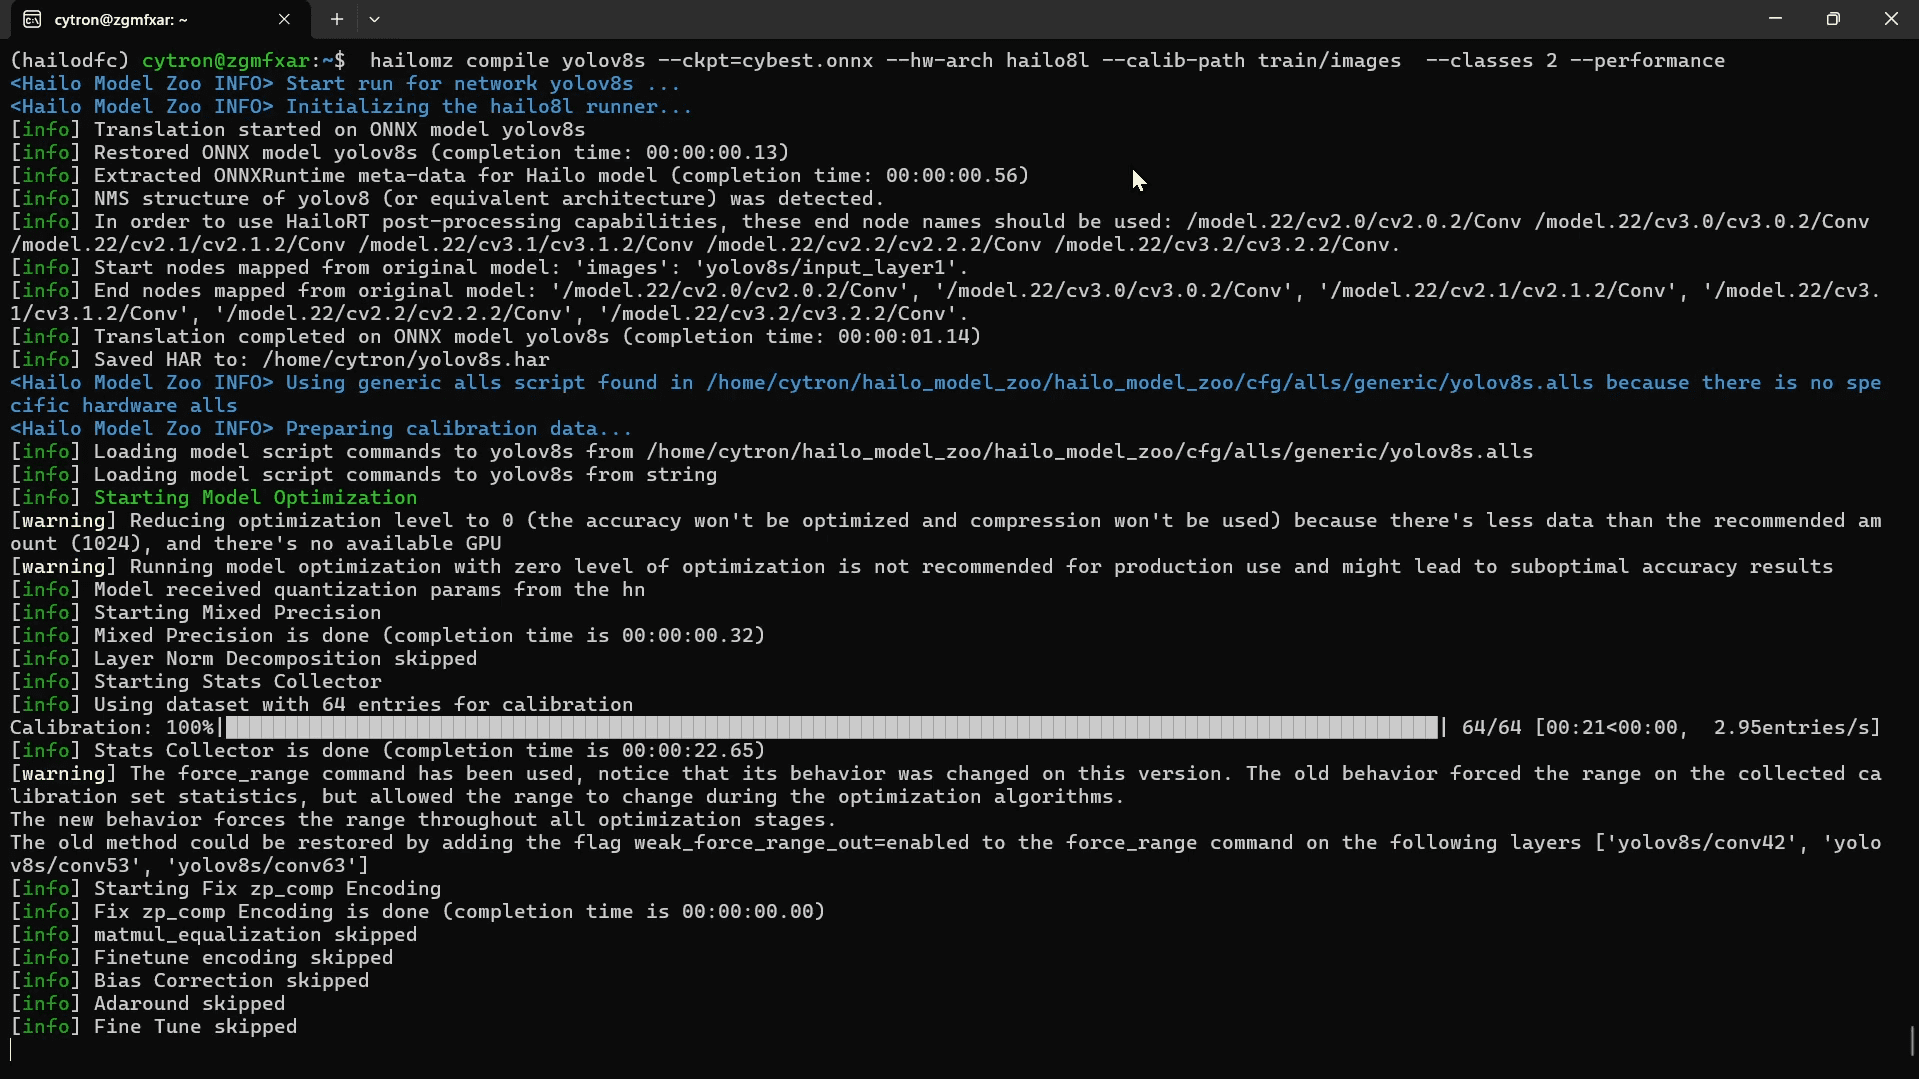
- Finally, convert the ONNX file to HEF using the following command: Ensure that the directory specified in the --calib-path parameter contains your calibration images, and that the --classes parameter matches the number of object classes you want to detect. For example, in this model, two classes of Cytron products will be detected: Maker Pi Pico and Motion Pro RP2350.
hailomz compile yolov8s --ckpt=cybest.onnx --hw-arch hailo8l --calib-path train/images --classes 2 --performance
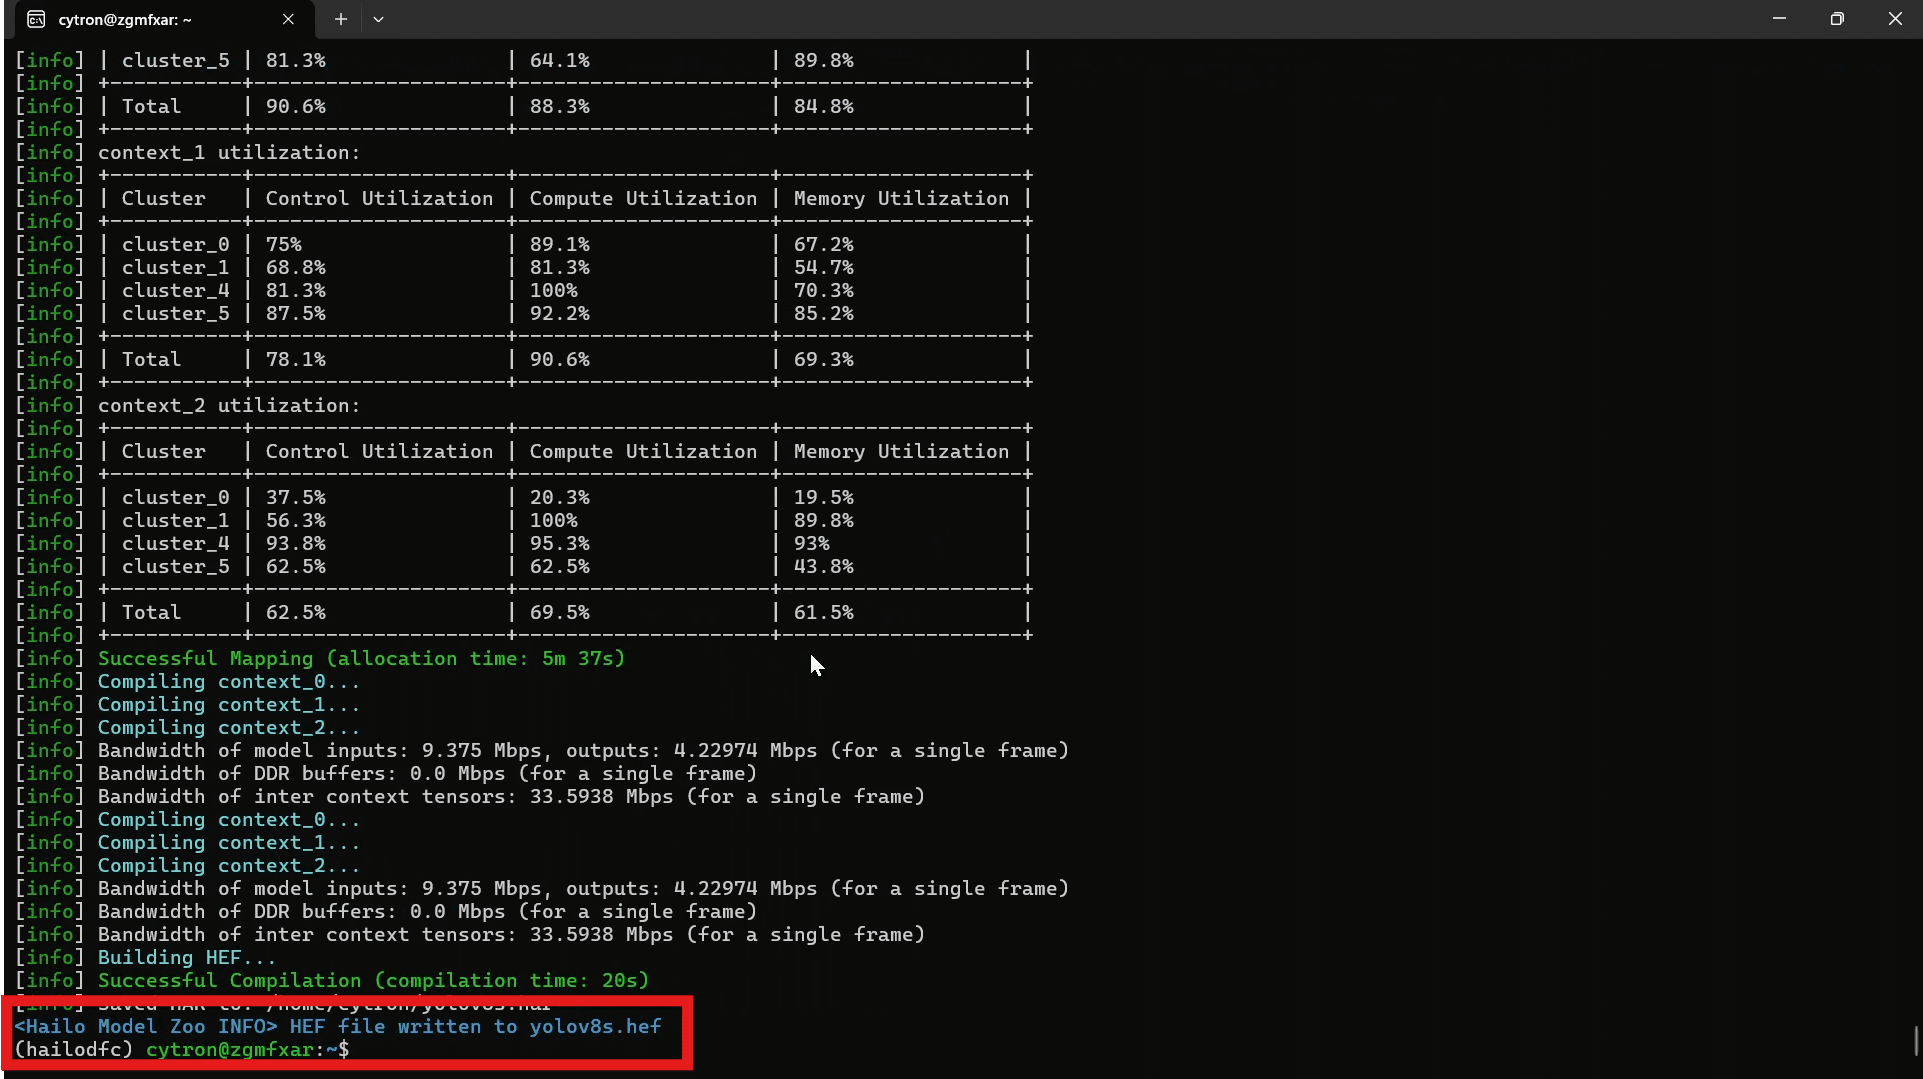
- The file will be saved as yolov8s.hef, rename it to your like for easy identification.
On the next section, we will apply the hef on the Raspberry Pi AI Kit environment.