 International
 Singapore
 Malaysia
 Thailand
 Vietnam
Your shopping cart is empty!

IR Remote Control Volume Activity Using Raspberry Pi Pico 2
- Aishah Kamal
- 21 Aug 2024
- Tutorial
- Beginner
- 100
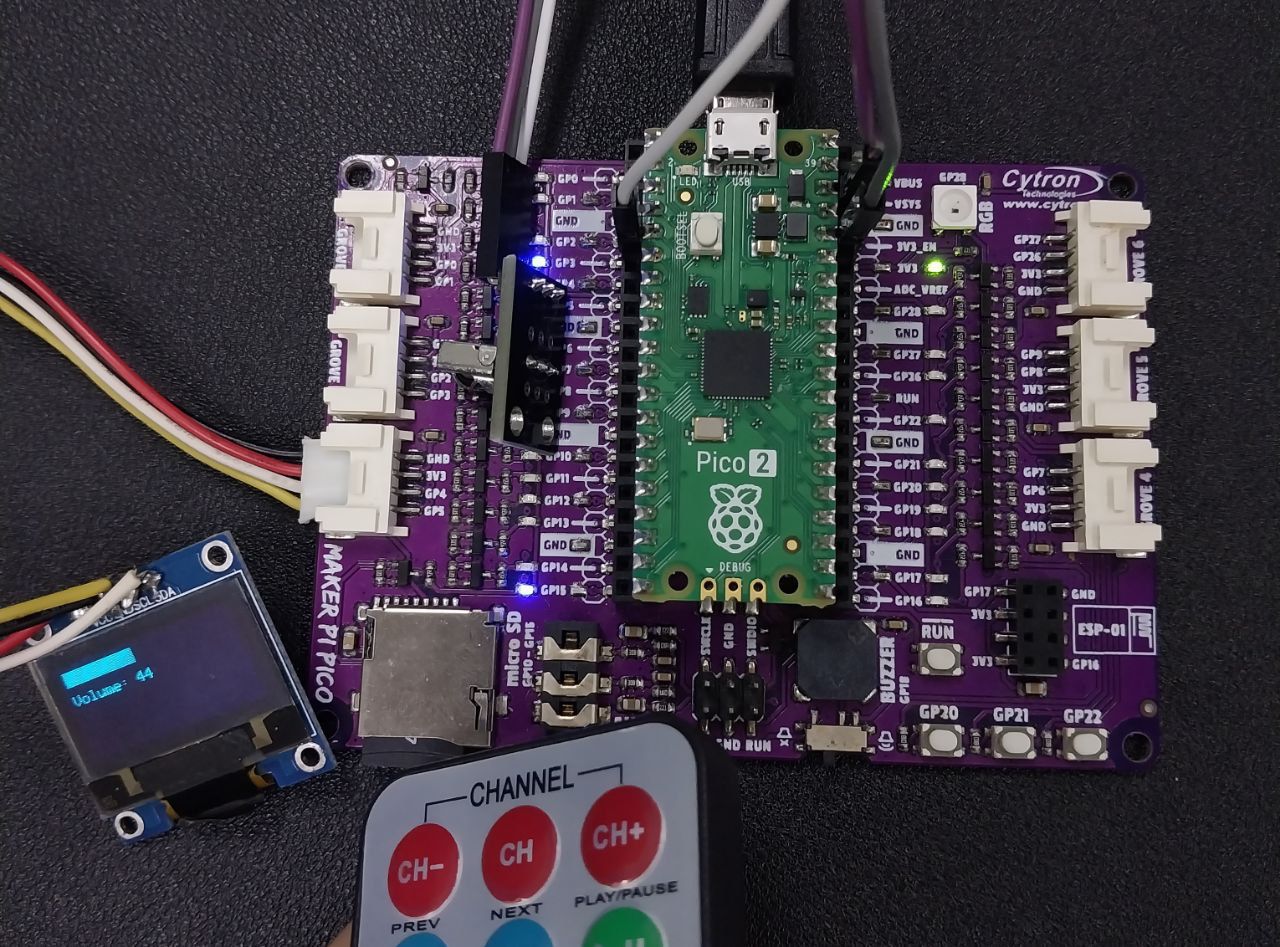
The IR remote sends signals, which are received and interpreted by the code to either increase or decrease the volume. The current volume level is then displayed as a bar on the OLED screen. Below is a step-by-step explanation and tutorial on how to build and understand this project.
Step 1: Gather Components
You will need the following components:
- Raspberry Pi Pico 2
- SSD1306 OLED display
- IR receiver module
- IR remote control
- Connecting wires
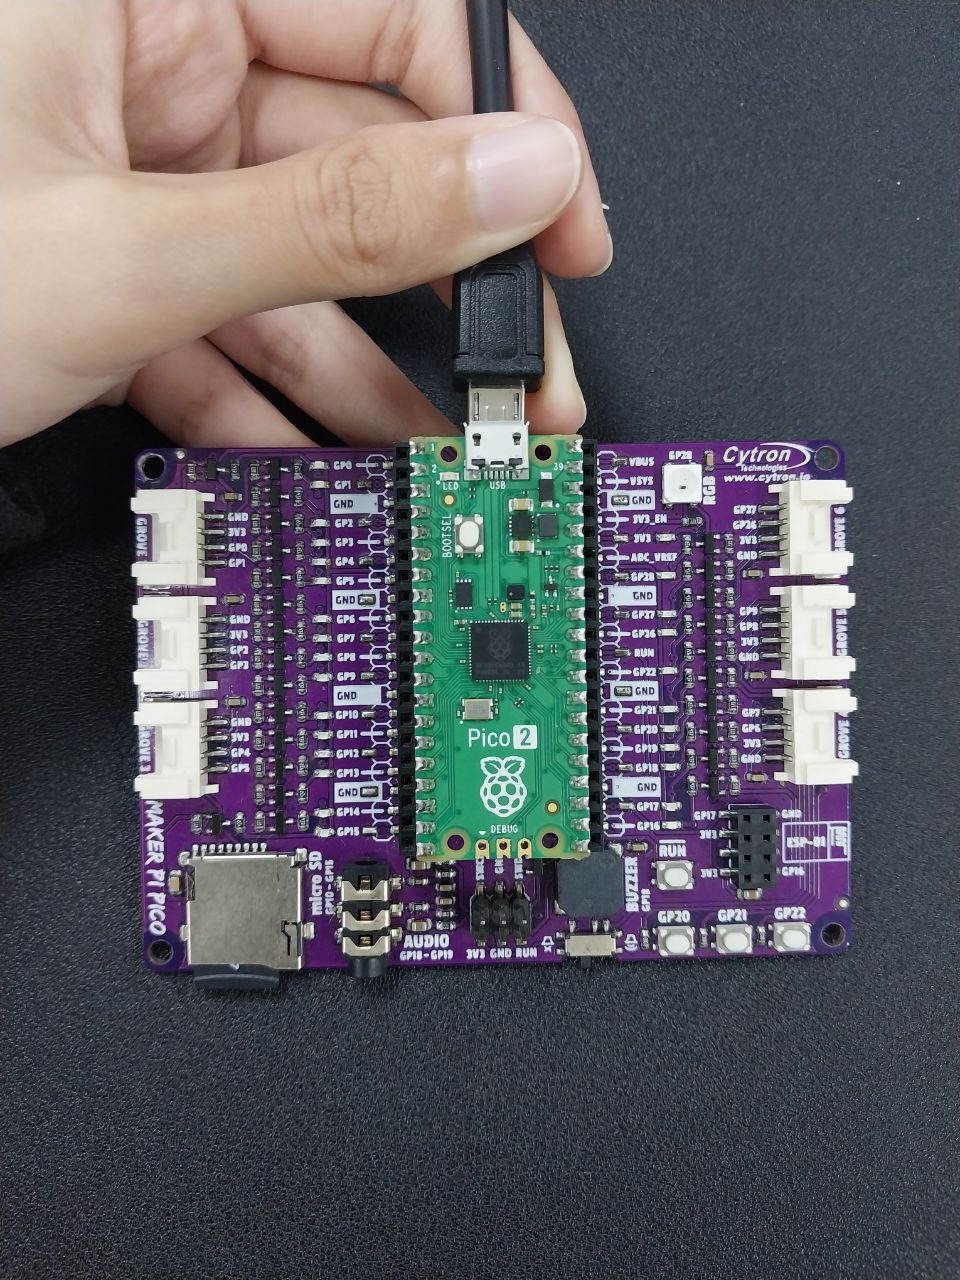
Step 2: Connect the Components
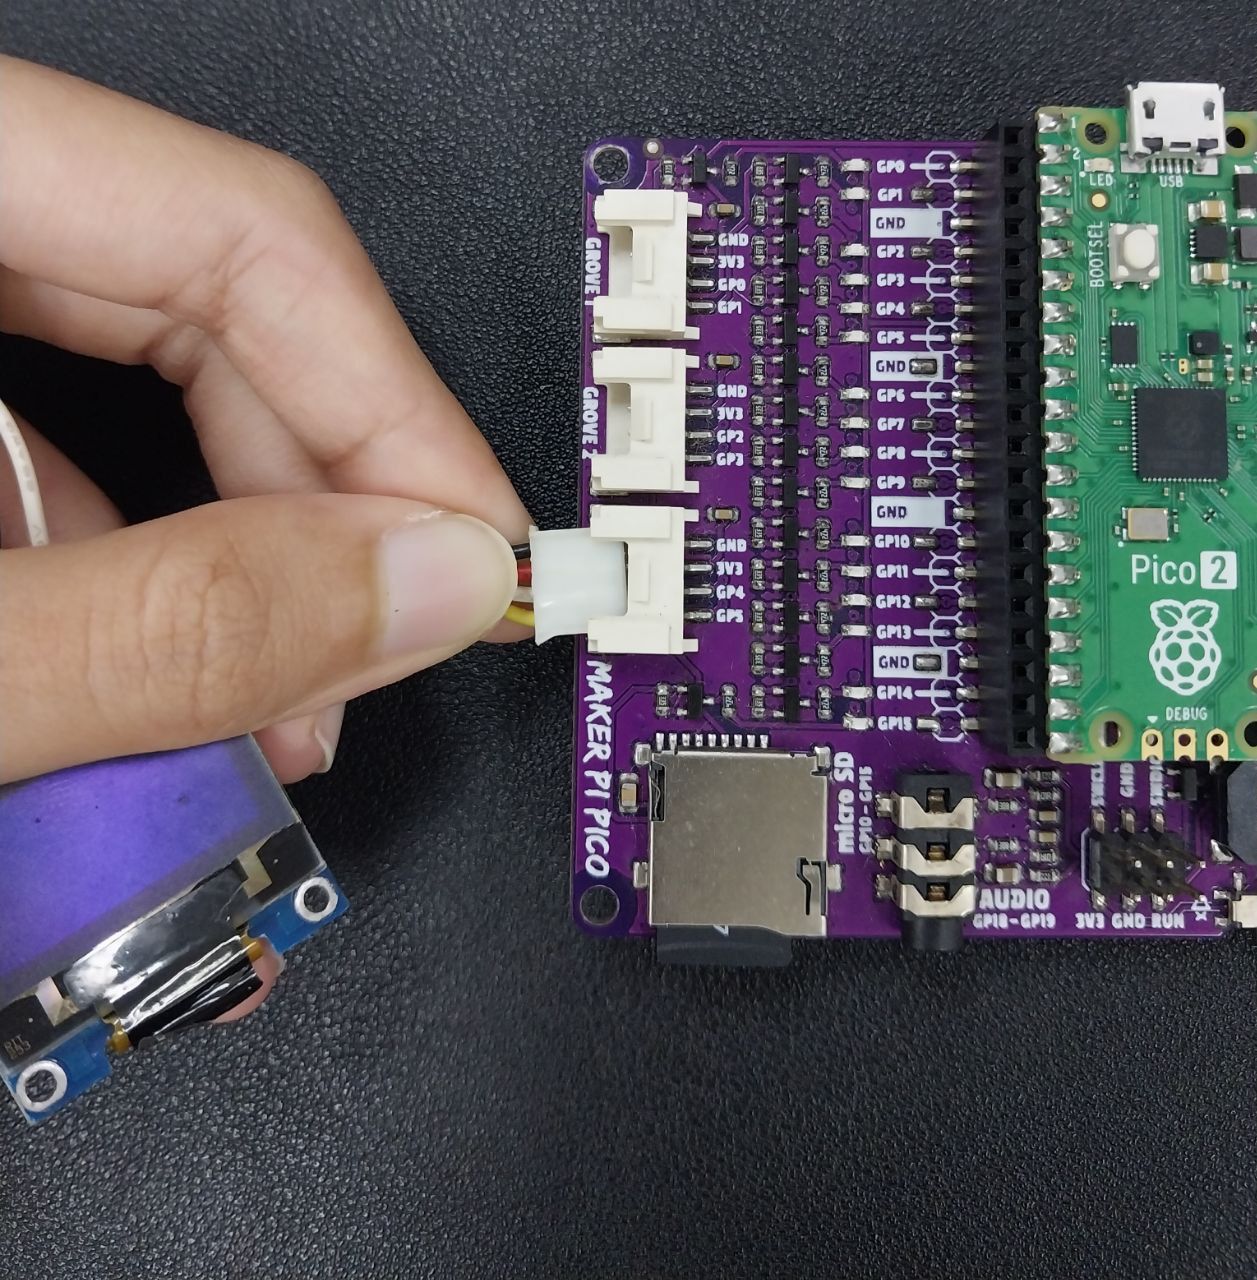
Connect the OLED Display:
- SCL (clock) pin of the OLED to GP5 on the Pico.
- SDA (data) pin of the OLED to GP4 on the Pico.
- VCC pin of the OLED to 3.3V on the Pico.
- GND pin of the OLED to GND on the Pico.
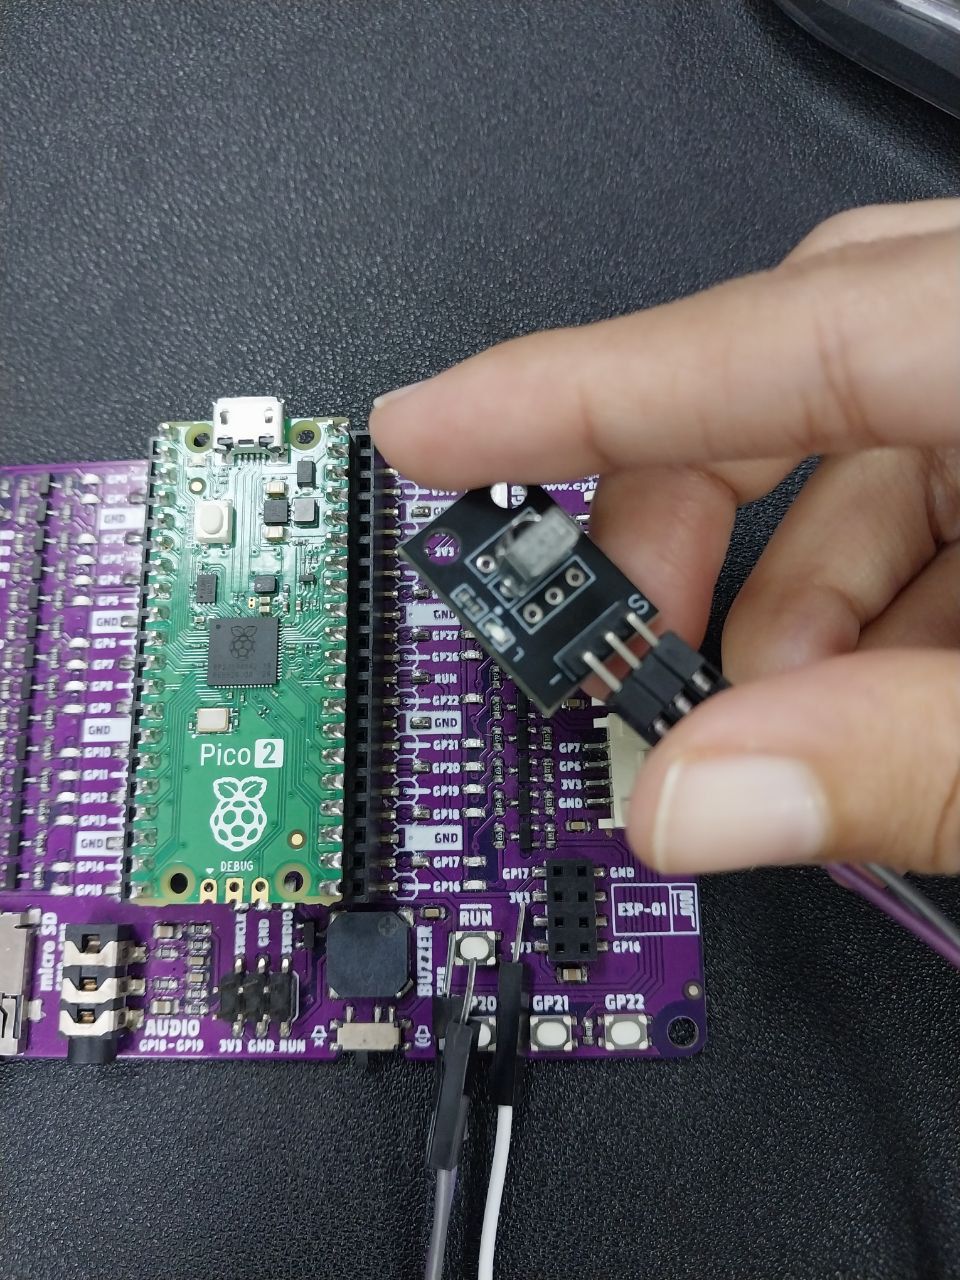
Connect the IR Receiver:
- Signal pin of the IR receiver to GP3 on the Pico.
- VCC pin of the IR receiver to 3.3V on the Pico.
- GND pin of the IR receiver to GND on the Pico.
Step 3: Install Libraries
Before you start coding, ensure you have the required libraries installed:
adafruit_ssd1306for controlling the OLED display.adafruit_irremotefor decoding IR signals.
You can download these libraries from the CircuitPython Library Bundle and copy them to the lib folder on your Pico.
Get the library here
Step 4: Writting the Code
Download the code here
Step 5: Test and Tweak
- Upload the code to your Pico and open the serial monitor to observe the received IR codes.
- Replace the placeholder IR codes with the ones specific to your remote control.
- Adjust the volume bar display if necessary.
Step 6: Running the Program
Once everything is set up, press the buttons on your remote control to adjust the volume. The OLED display will visually represent the volume level with a bar.
Video Output