Your shopping cart is empty!

Interfacing Maker Nano RP2040 With DHT22 And Sparkfun SERLCD
- Hussien Jawhar Sathik
- 24 May 2022
- Tutorial
- 1225
Introduction
In this tutorial today, we shall see how to interface Maker Nano RP2040 With DHT22 and Sparkfun serlcd. The Sparkfun serlcd is a RGB on black display, which gives a interesting view.
Video
Hardware Preparation
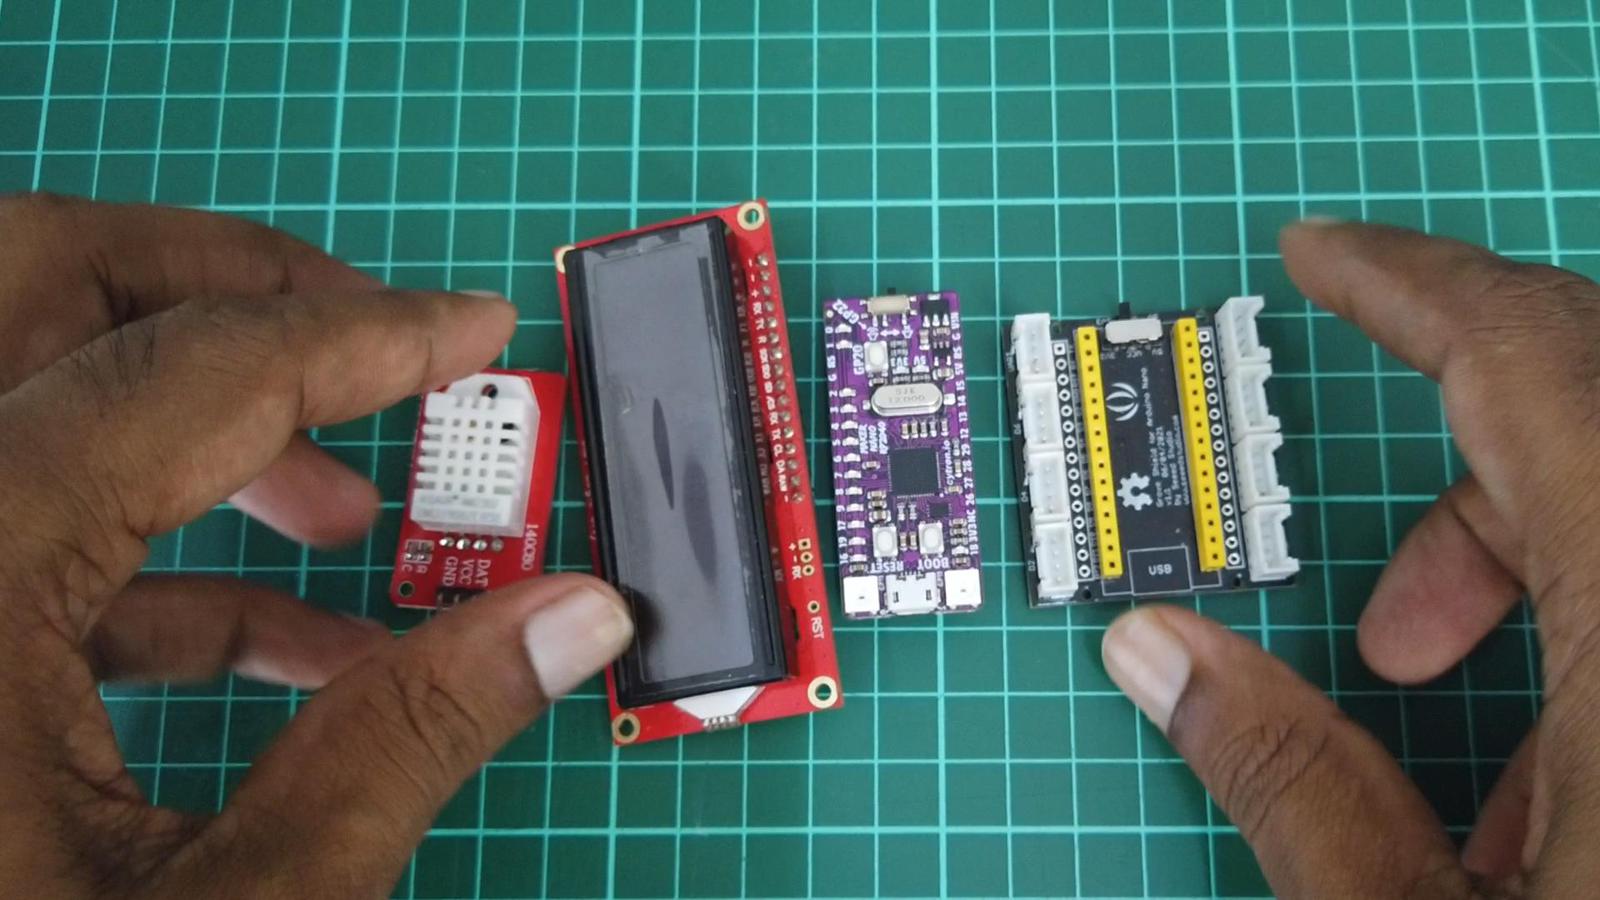
For this tutorial we will need the following components

Building The Circuit
Building the circuit is pretty straightforward since we will be using the grove connector and also the maker port connection.
Once the connection are made, we can now start to code.
Code
Below is the complete code that we have used in this tutorial
#include

#include "DHT.h"

#include
#define DHTPIN 2

#define DHTTYPE DHT22
DHT dht(DHTPIN, DHTTYPE);

SerLCD lcd;
void setup() {

  // put your setup code here, to run once:

  Serial.begin(9600);

  Wire.begin();

  lcd.begin(Wire);

  Wire.setClock(400000);

  dht.begin();
  lcd.clear();

  lcd.setBacklight(255, 0, 0); //bright red

  lcd.setCursor(0, 0);

  lcd.print("MakerNano RP2040");

  lcd.setCursor(1, 1);

  lcd.print("DHT22 + SERLCD");

  delay(2000);

}
void loop() {

  // put your main code here, to run repeatedly:

  delay(2000);

  lcd.noBlink();

  // Reading temperature or humidity takes about 250 milliseconds!

  // Sensor readings may also be up to 2 seconds 'old' (its a very slow sensor)

  float h = dht.readHumidity();

  // Read temperature as Celsius (the default)

  float t = dht.readTemperature();

  // Read temperature as Fahrenheit (isFahrenheit = true)

  float f = dht.readTemperature(true);
  // Check if any reads failed and exit early (to try again).

  if (isnan(h) || isnan(t) || isnan(f)) {

    Serial.println(F("Failed to read from DHT sensor!"));

    return;

  }
  // Compute heat index in Fahrenheit (the default)

  float hif = dht.computeHeatIndex(f, h);

  // Compute heat index in Celsius (isFahreheit = false)

  float hic = dht.computeHeatIndex(t, h, false);
  Serial.print(F("Humidity: "));

  Serial.print(h);

  Serial.print(F("%  Temperature: "));

  Serial.print(t);

  Serial.print(F("°C "));

  Serial.print(f);

  Serial.print(F("°F  Heat index: "));

  Serial.print(hic);

  Serial.print(F("°C "));

  Serial.print(hif);

  Serial.println(F("°F"));
lcd.setBacklight(0, 255, 0);
  lcd.clear();

  lcd.setCursor(0, 0);

  lcd.print("Temp: ");

  lcd.print(t);

  //lcd.print((char)223);

  lcd.print("C");


  lcd.setCursor(0, 1);

  lcd.print("Humidity: ");

  lcd.print(h);
//delay(2000);
}
Outcome
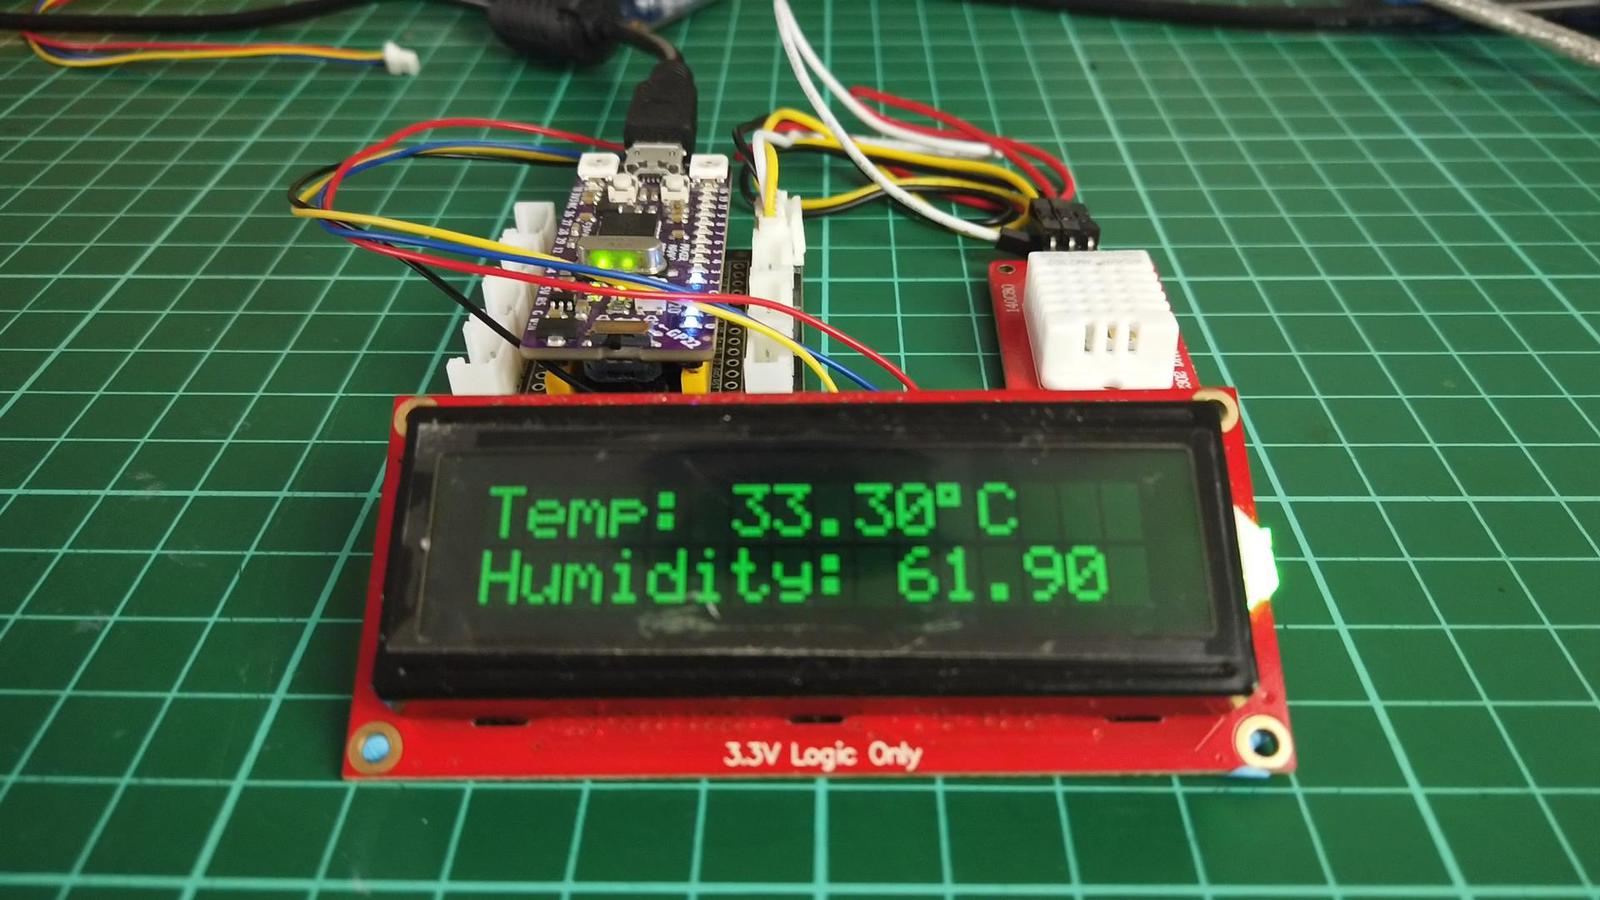
The lcd shows the value of the DHT22.

Thank You
Thanks for reading this tutorial. If you have any technical inquiries, please post at Cytron Technical Forum.
"Please be reminded, this tutorial is prepared for you to try and learn.
You are encouraged to improve the code for a better application."
 International
 Singapore
 Malaysia
 Thailand
 Vietnam