 International
 Singapore
 Malaysia
 Thailand
 Vietnam
Your shopping cart is empty!

Installing RetroPie on CM4 eMMC with RetroFlag GPi CASE 2
Disclaimer: Raspberry Pi CM4 is NOT meant for beginner. This tutorial assumes you are familiar and have prior knowledge on Raspberry Pi boards, CM4 boards, how to use raspi-config, what is eMMC, what is SSH and how to use Raspberry Pi Imager.
Introduction
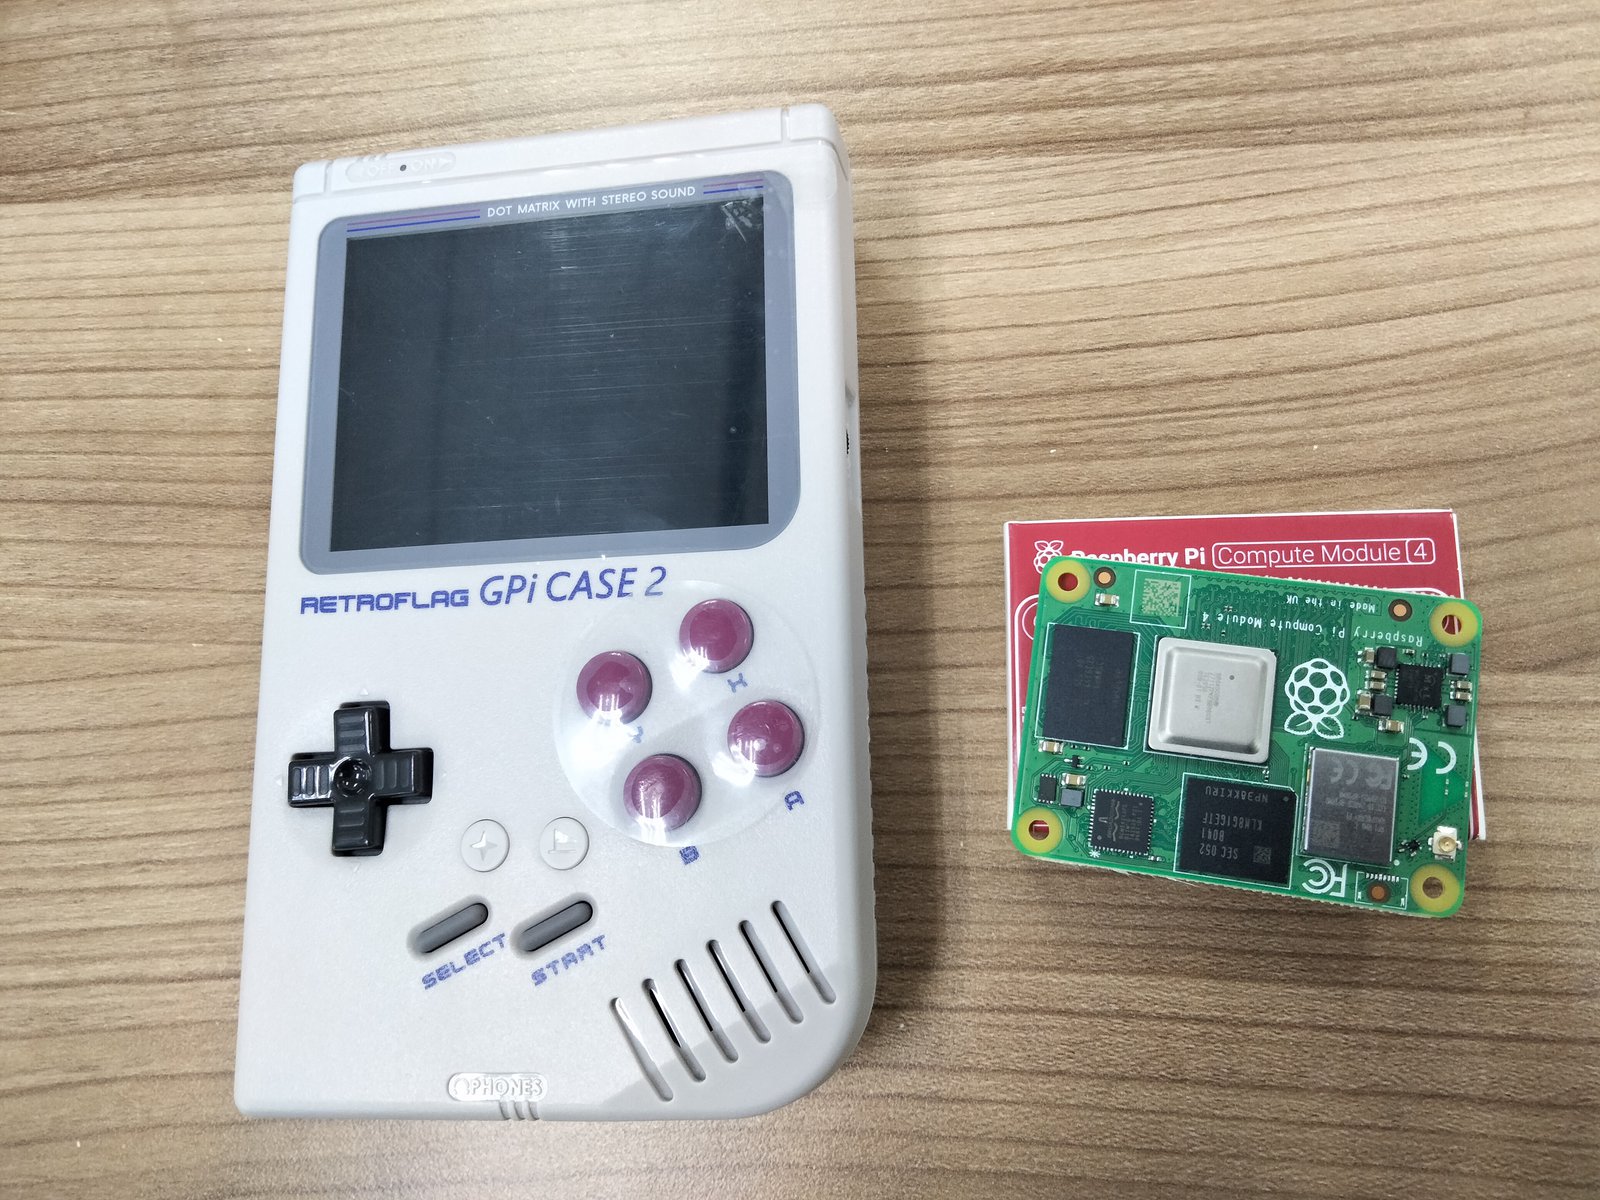
GPi CASE is one of the popular retro handheld casing that use Raspberry Pi boards. While GPi CASE use Raspberry Pi Zero / Zero W, the new GPi CASE 2 use the more powerful Raspberry Pi Compute Module 4. You could find many tutorials online on how to install any retro gaming OS on GPi CASE 2 CM4 with no eMMC, using SD Card. But it is hard to find a tutorial for CM4 with eMMC. Due to the nature of the CM4, the SD Card slot is not useable on GPi CASE 2 if you are using a CM4 with eMMC. In this tutorial you will learn how to install RetroPie OS on CM4 eMMC with GPi CASE 2.
Note: Due to the nature of the CM4, the SD Card slot is NOT useable if you are using a CM4 with eMMC. This is the same case as any expansion or carrier board, if you use CM4 with eMMC, the SD Card slot is not useable. GPi CASE 2 also support CM4 Lite. If you decide to use CM4 with eMMC, make sure to consider the eMMC size before you buy as you will be stuck with that size and cannot be expanded via microSD card. We recommend the largest size eMMC which is 32GB as you can store the game ROM inside. Of course the best is still to use it with CM4 Lite.
Components and Requirements
- Raspberry Pi CM4 with Wireless and eMMC
- RetroFlag GPi CASE 2 Deluxe Kit
- Power Adapter Type-C
- USB Micro B Cable
- A Wifi connection is necessary. As long as you have a wifi or mobile hotspot with you, you are good to go.
Note: You cannot use a cheap Micro B USB charger cable. Only use Data Cable or an original phone brand charger cable.
Setting Up GPi CASE 2
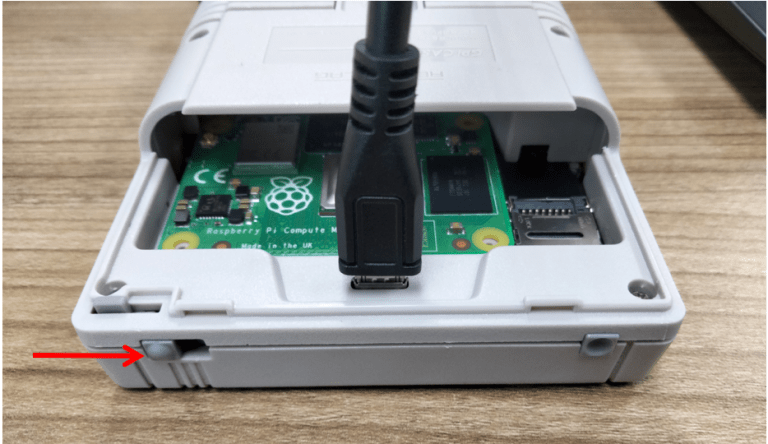
1: Open the back slider of the case
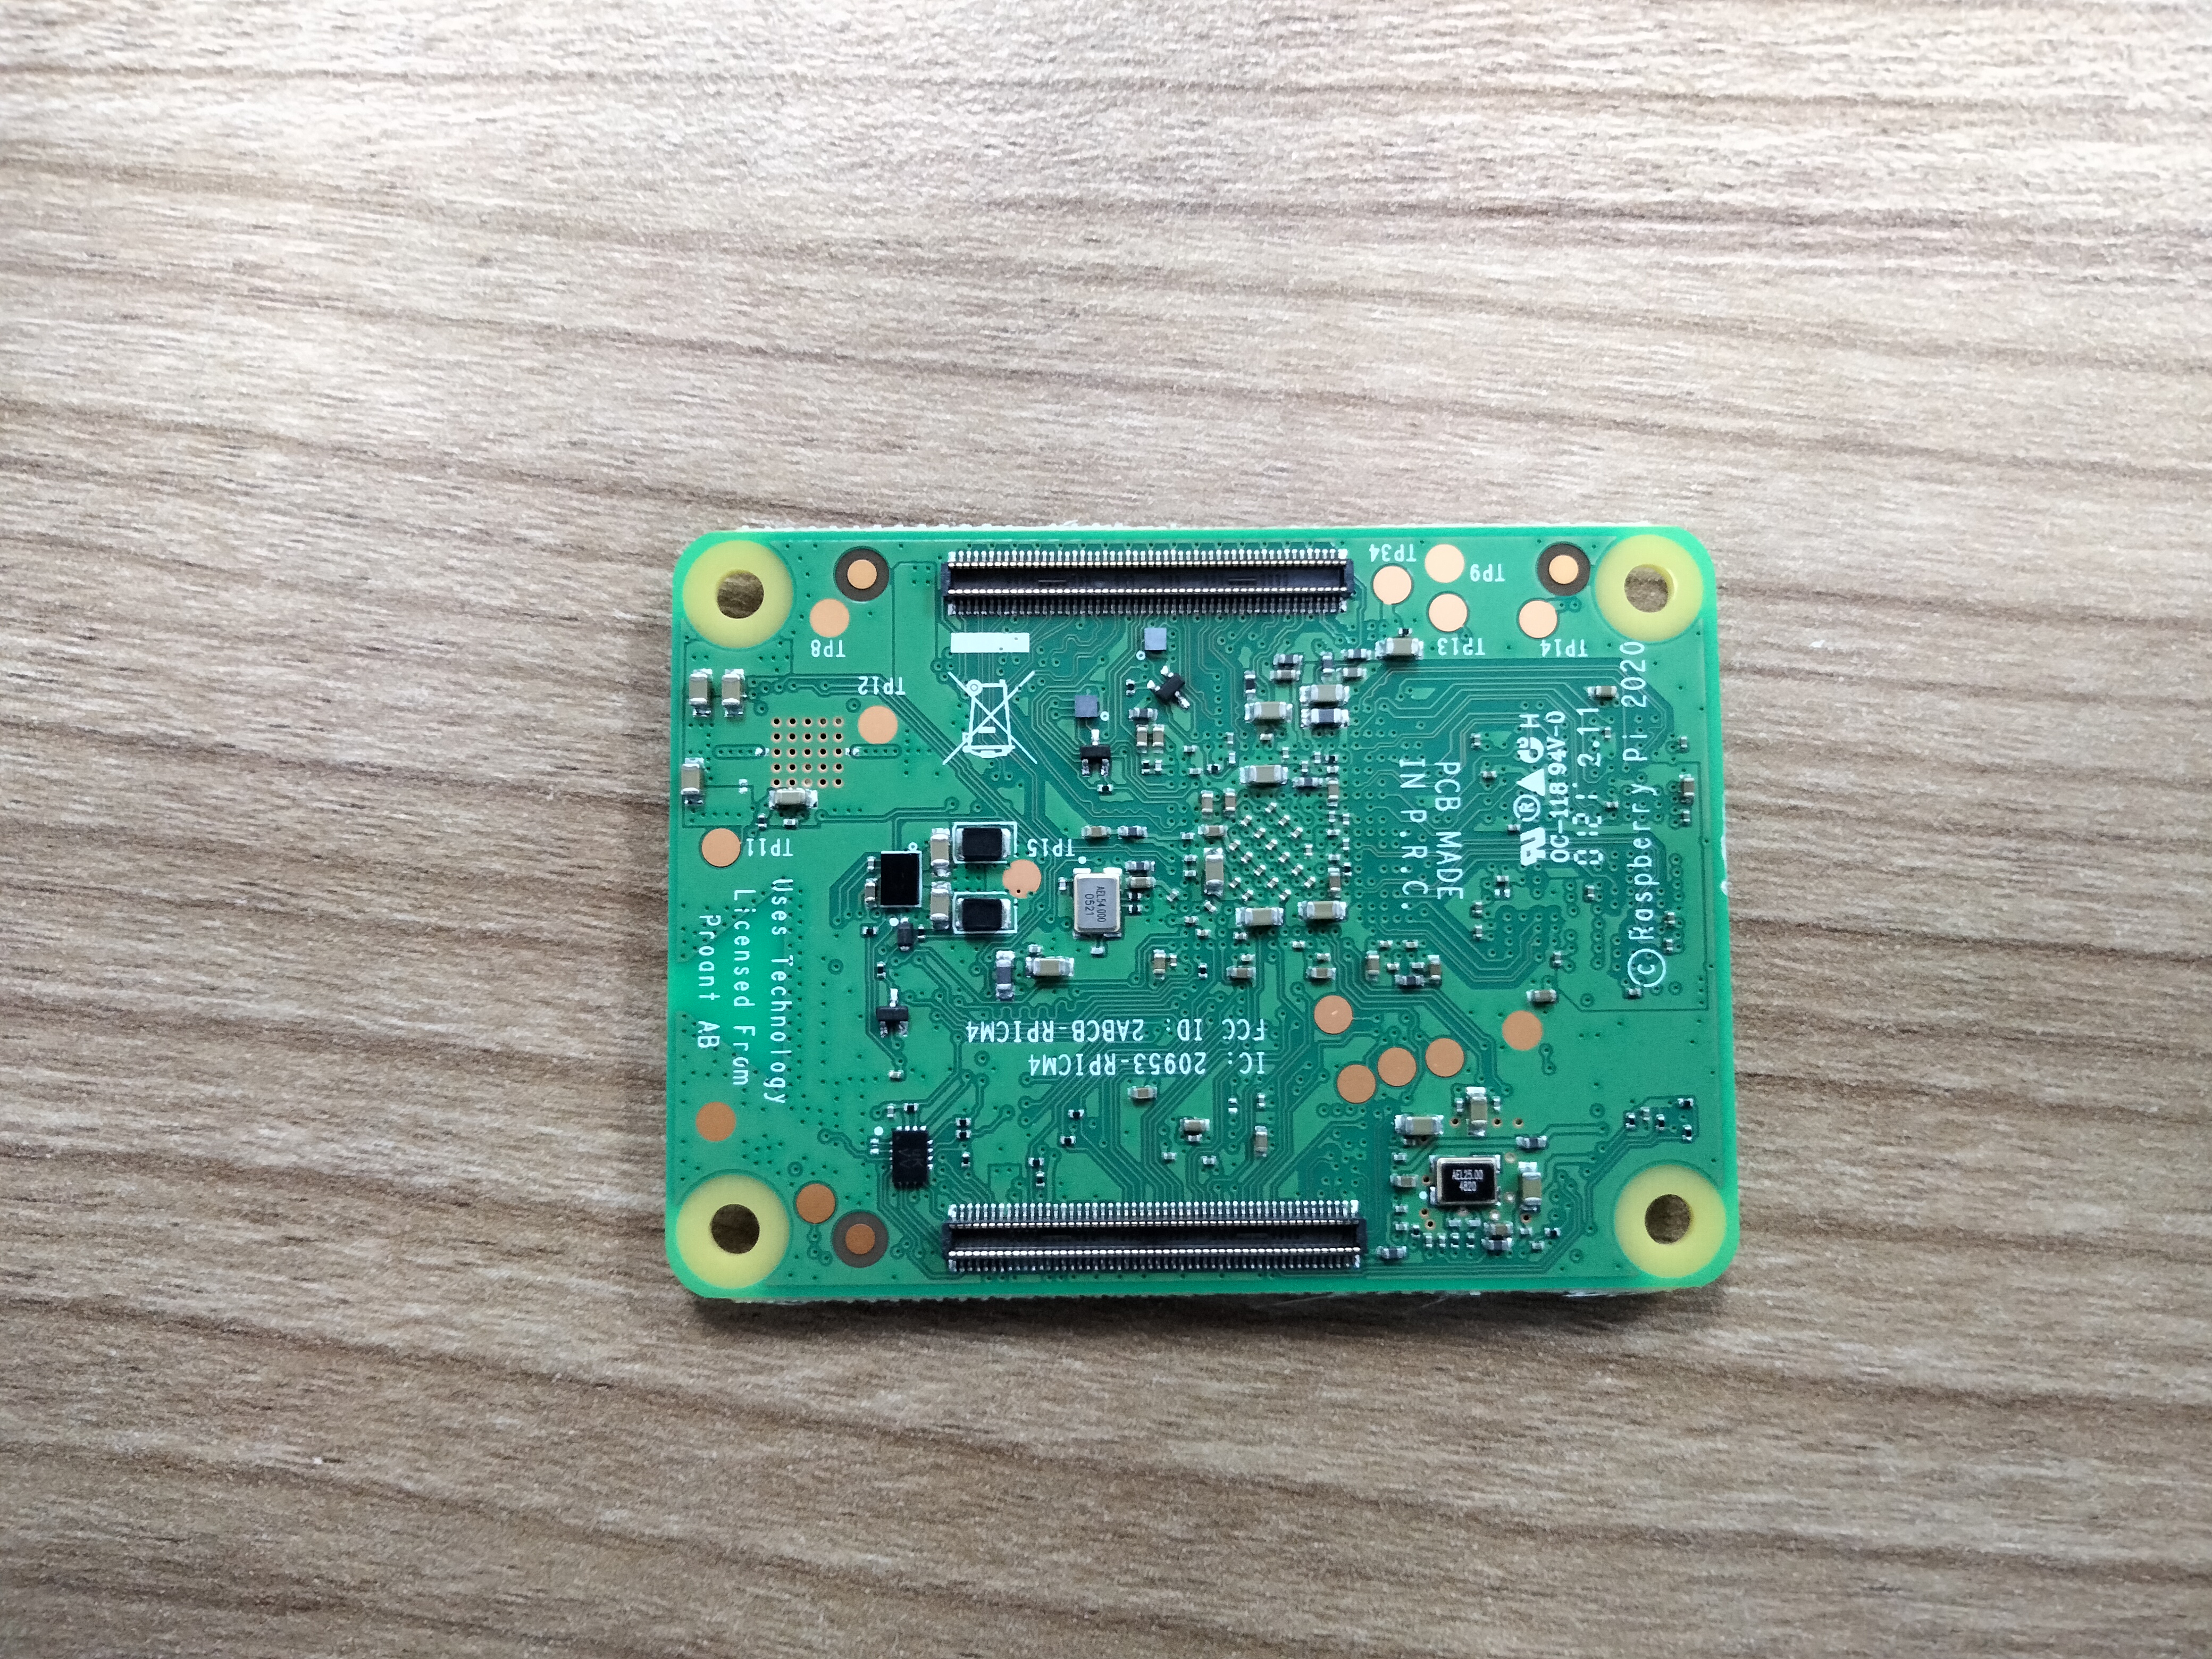
You should see a white marking that looks identical with the CM4 Board.

2: Carefully place your CM4 Board inside
CM4 got 2 set of pins on each of the longer edge. Make sure the CM4 pins are lined up correctly with the sockets on the case.
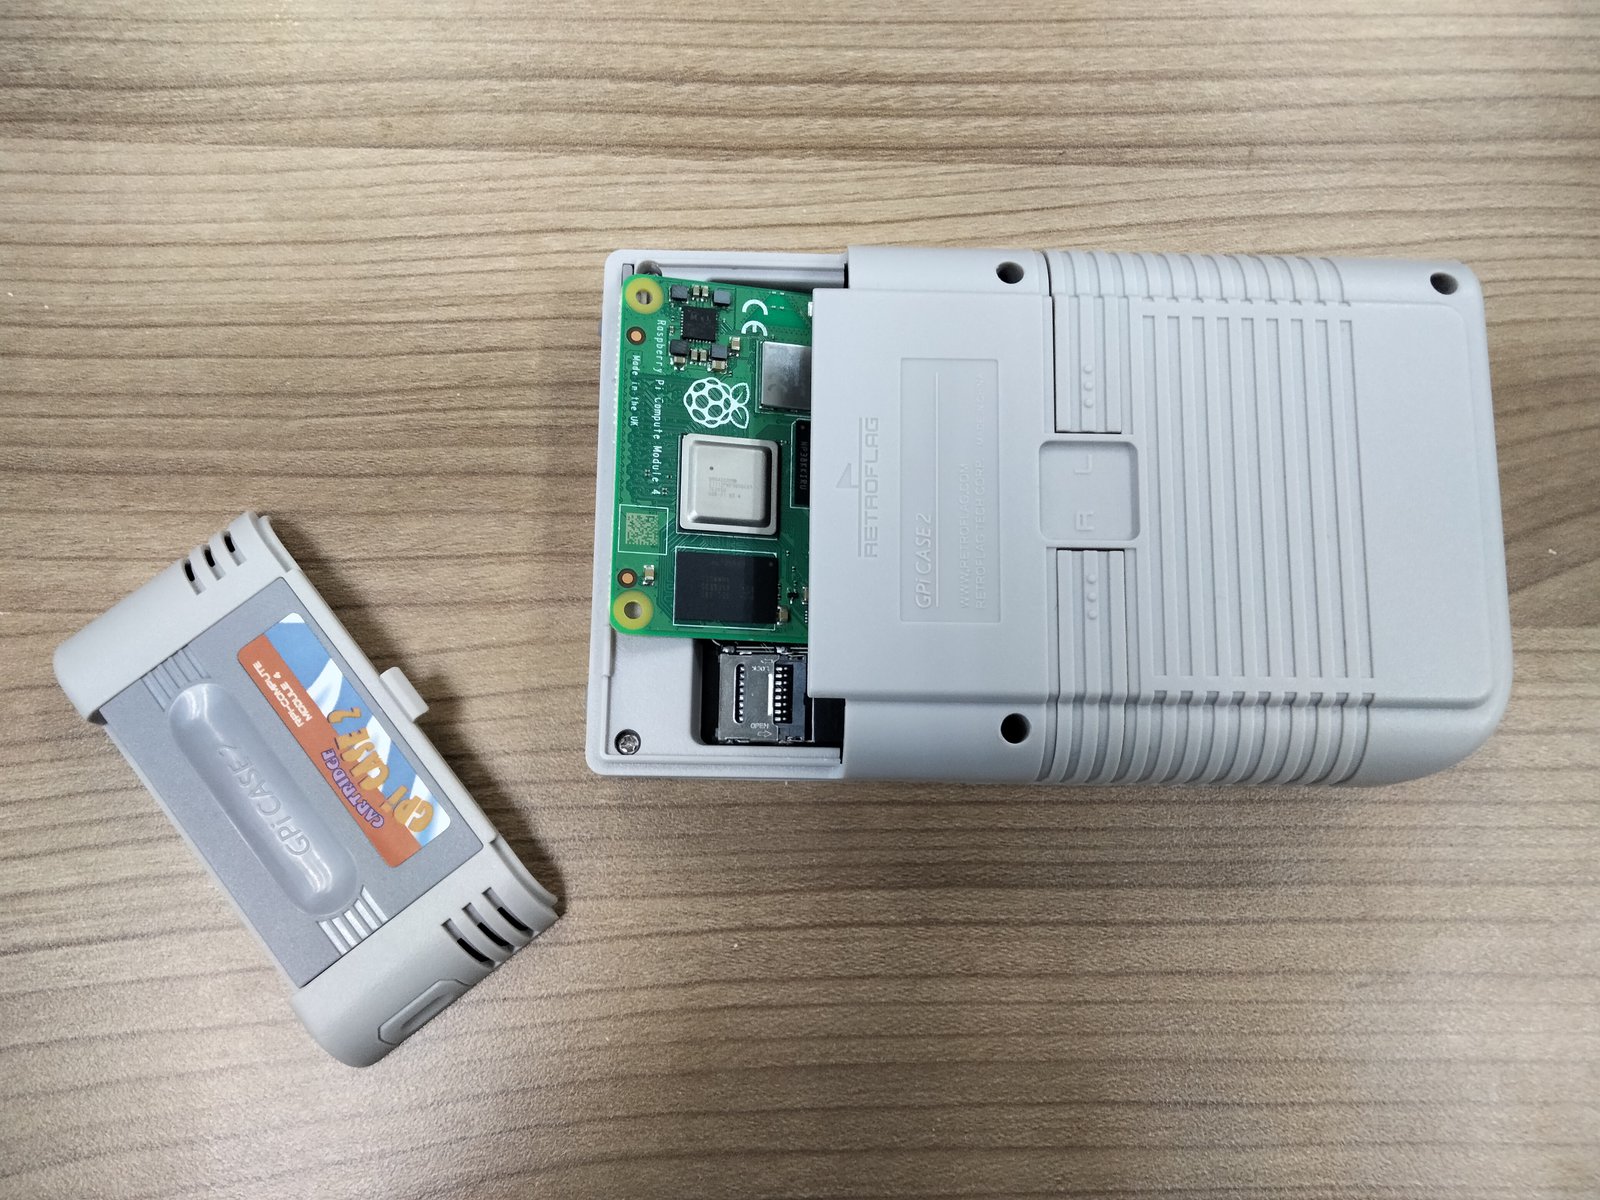
3: Make sure your CM4 orientation is correct.
Remember the white 'marking' on the case? Make sure your CM4 are placed exactly like the marking

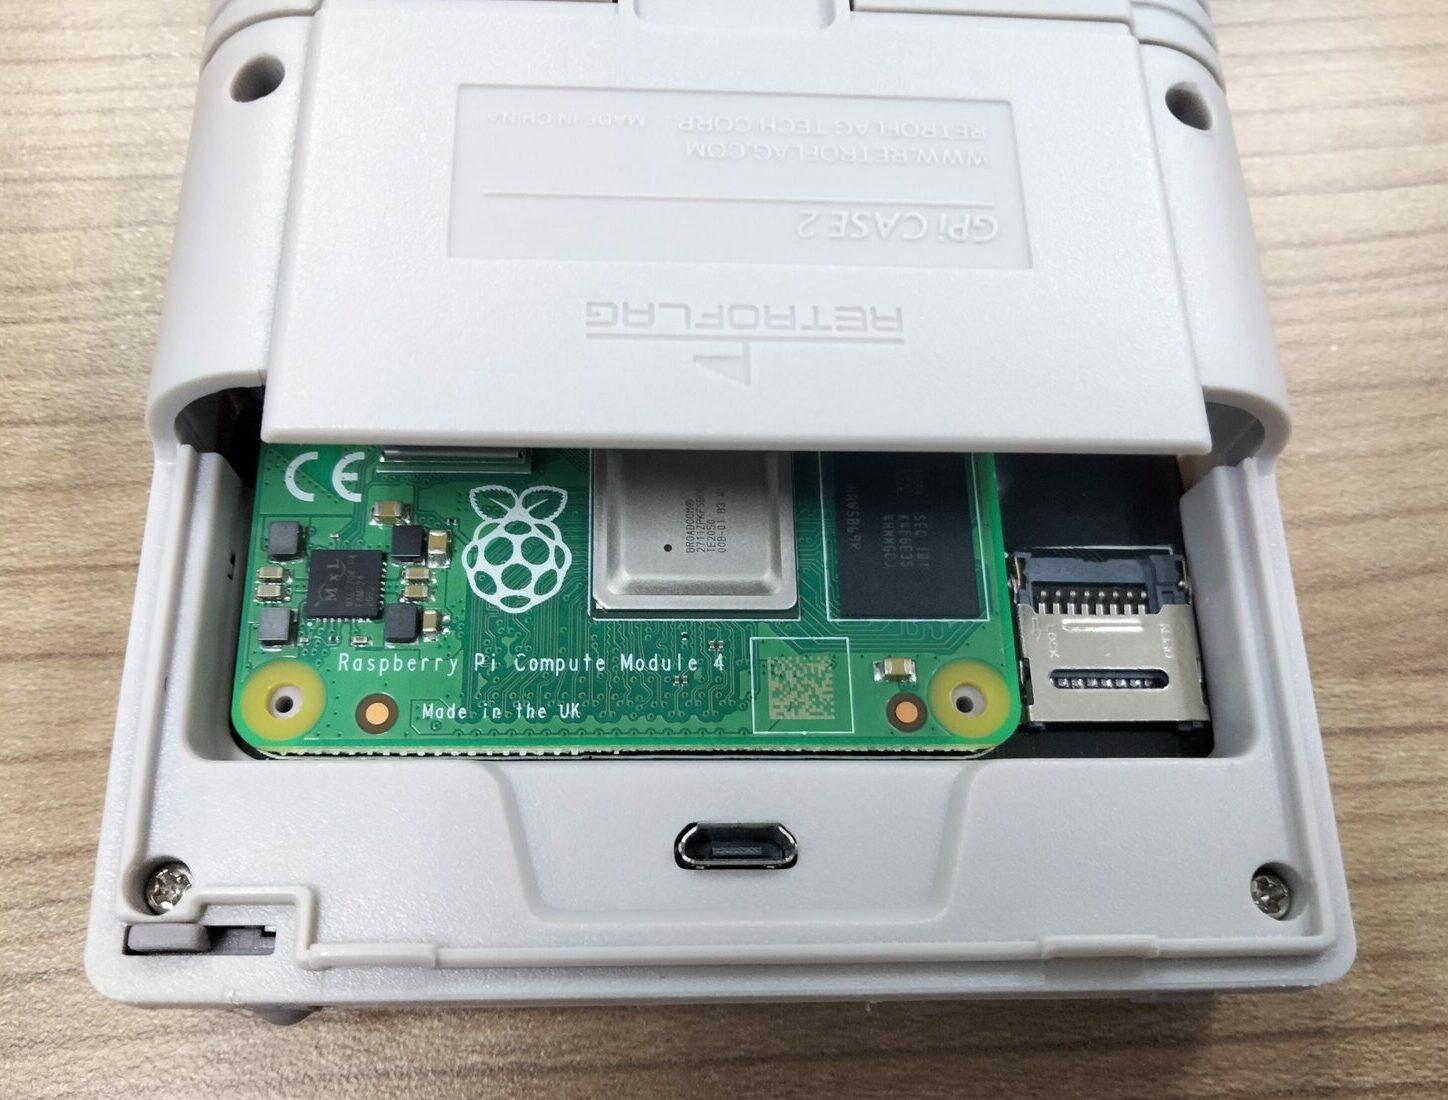
4: Gently press the CM4
Press the CM4 on the surface where the pins is underneath it. Gently press until you hear a 'snap' for each side of pins.
Software Setup
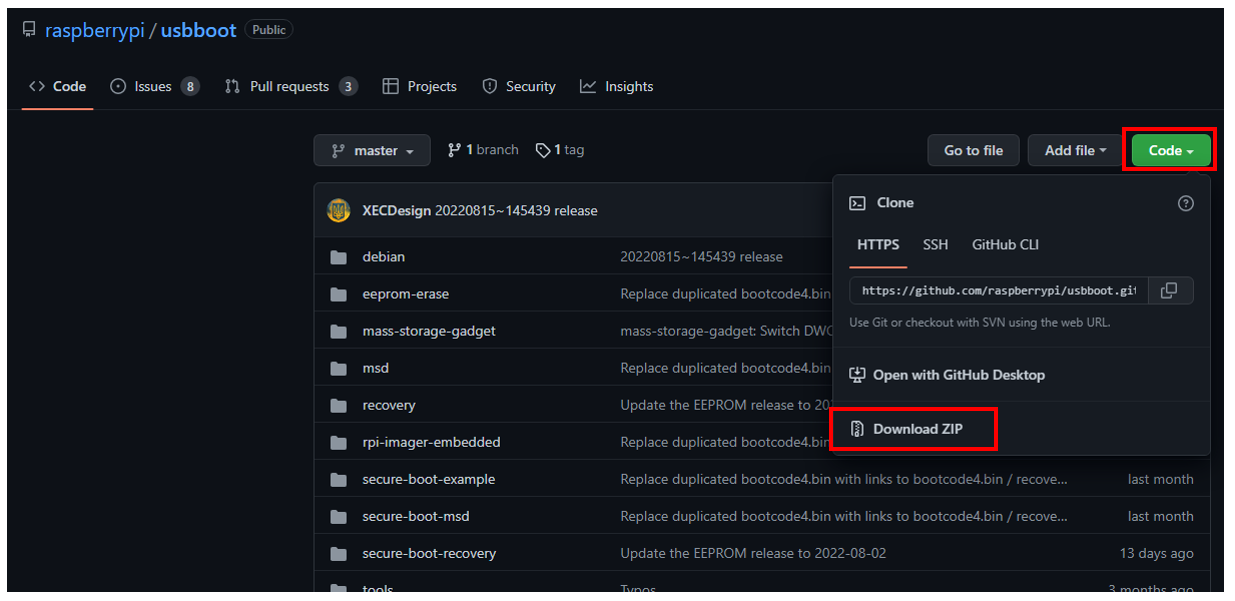
1: Downloand rpiboot software from Github
rpiboot software = https://github.com/raspberrypi/usbboot
Download and unzip the folder.
2: Install rpiboot in your PC / Laptop
Open the folder that you unzipped. Go into the win32 folder and run rpiboot_setup.exe.

Press next and agree to all prompts. Wait for a while and rpiboot should be successfully installed.


3: Download and install Raspberry Pi Imager
You should already familiar with Raspberry Pi Imager. If not, you can watch this video to learn how to download and install the Imager. In this video, only follow until the Imager installation process complete because we will do different steps afterwards.
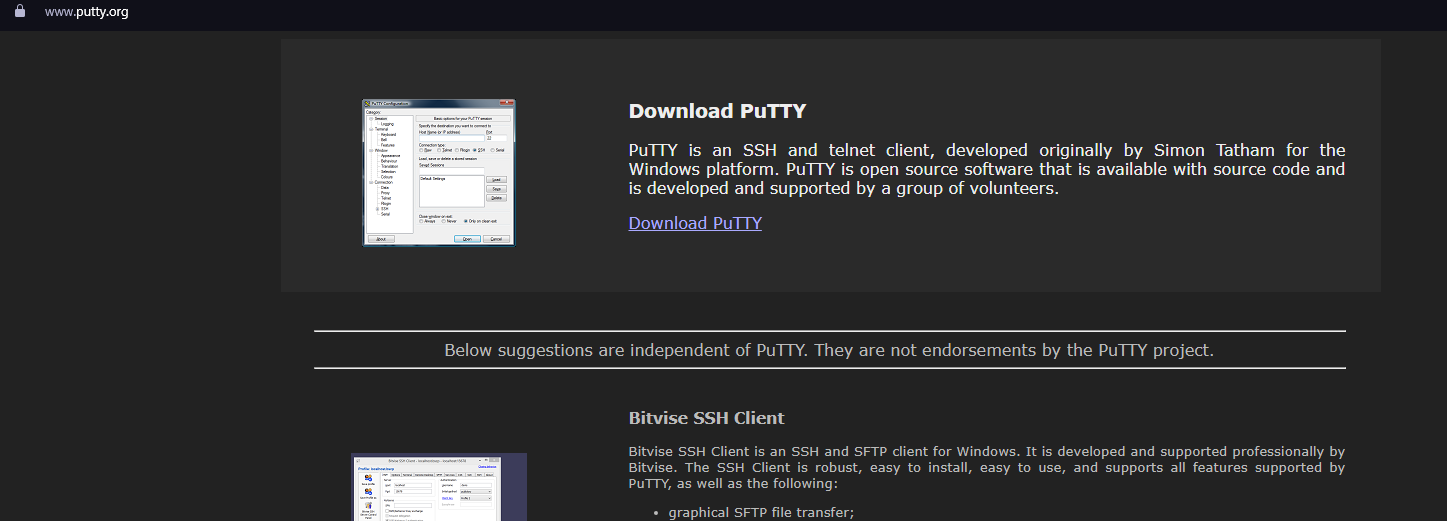
4: Download and install Putty
We will use Putty for SSH later. You can download Putty from this link. Choose the 64-bit x86 Windows Installer.
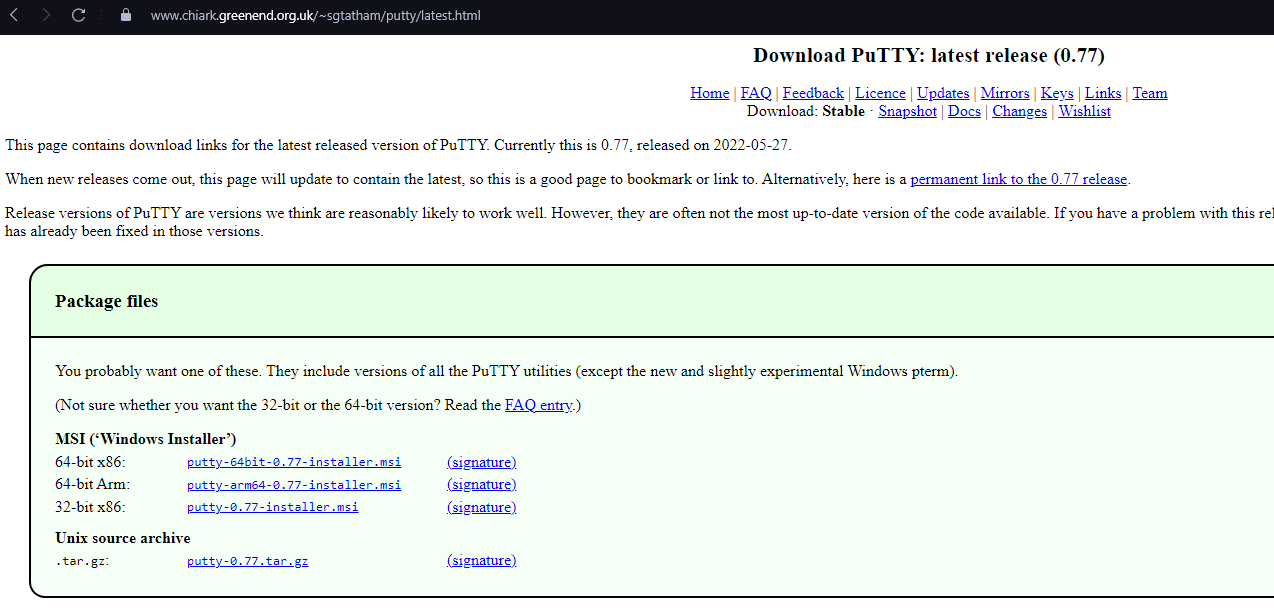
Run the installer, press next and agree to all prompt. Putty should be installed successfully.
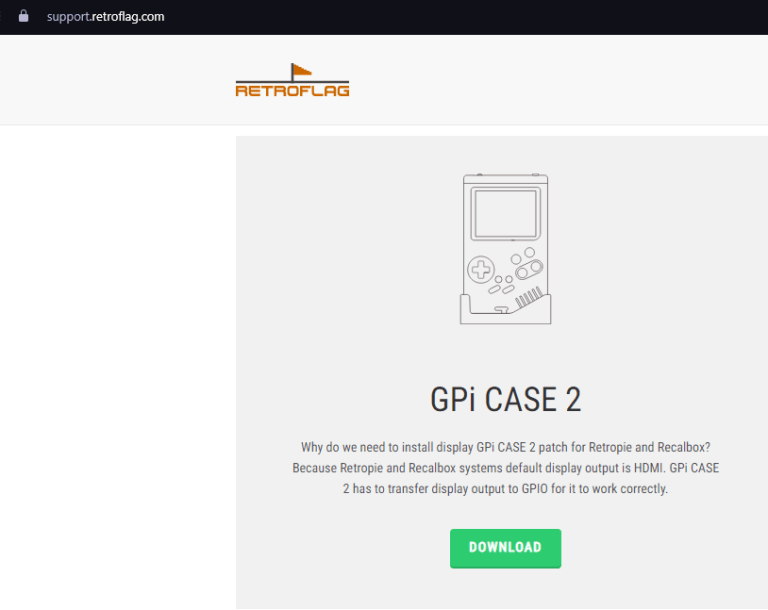
5: Download GPi CASE 2 Patch
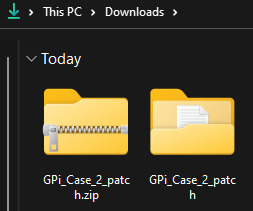
Download and unzip the GPi CASE 2 Patch.
Flashing RetroPie OS
We have finished preparing the software and hardware, now lets flash the RetroPie OS into the CM4 eMMC.
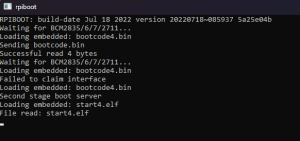
1: Launch rpiboot
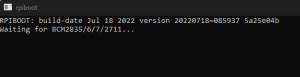
Click your windows logo and search for rpiboot, run it. A new window will pop up but still waiting for something.
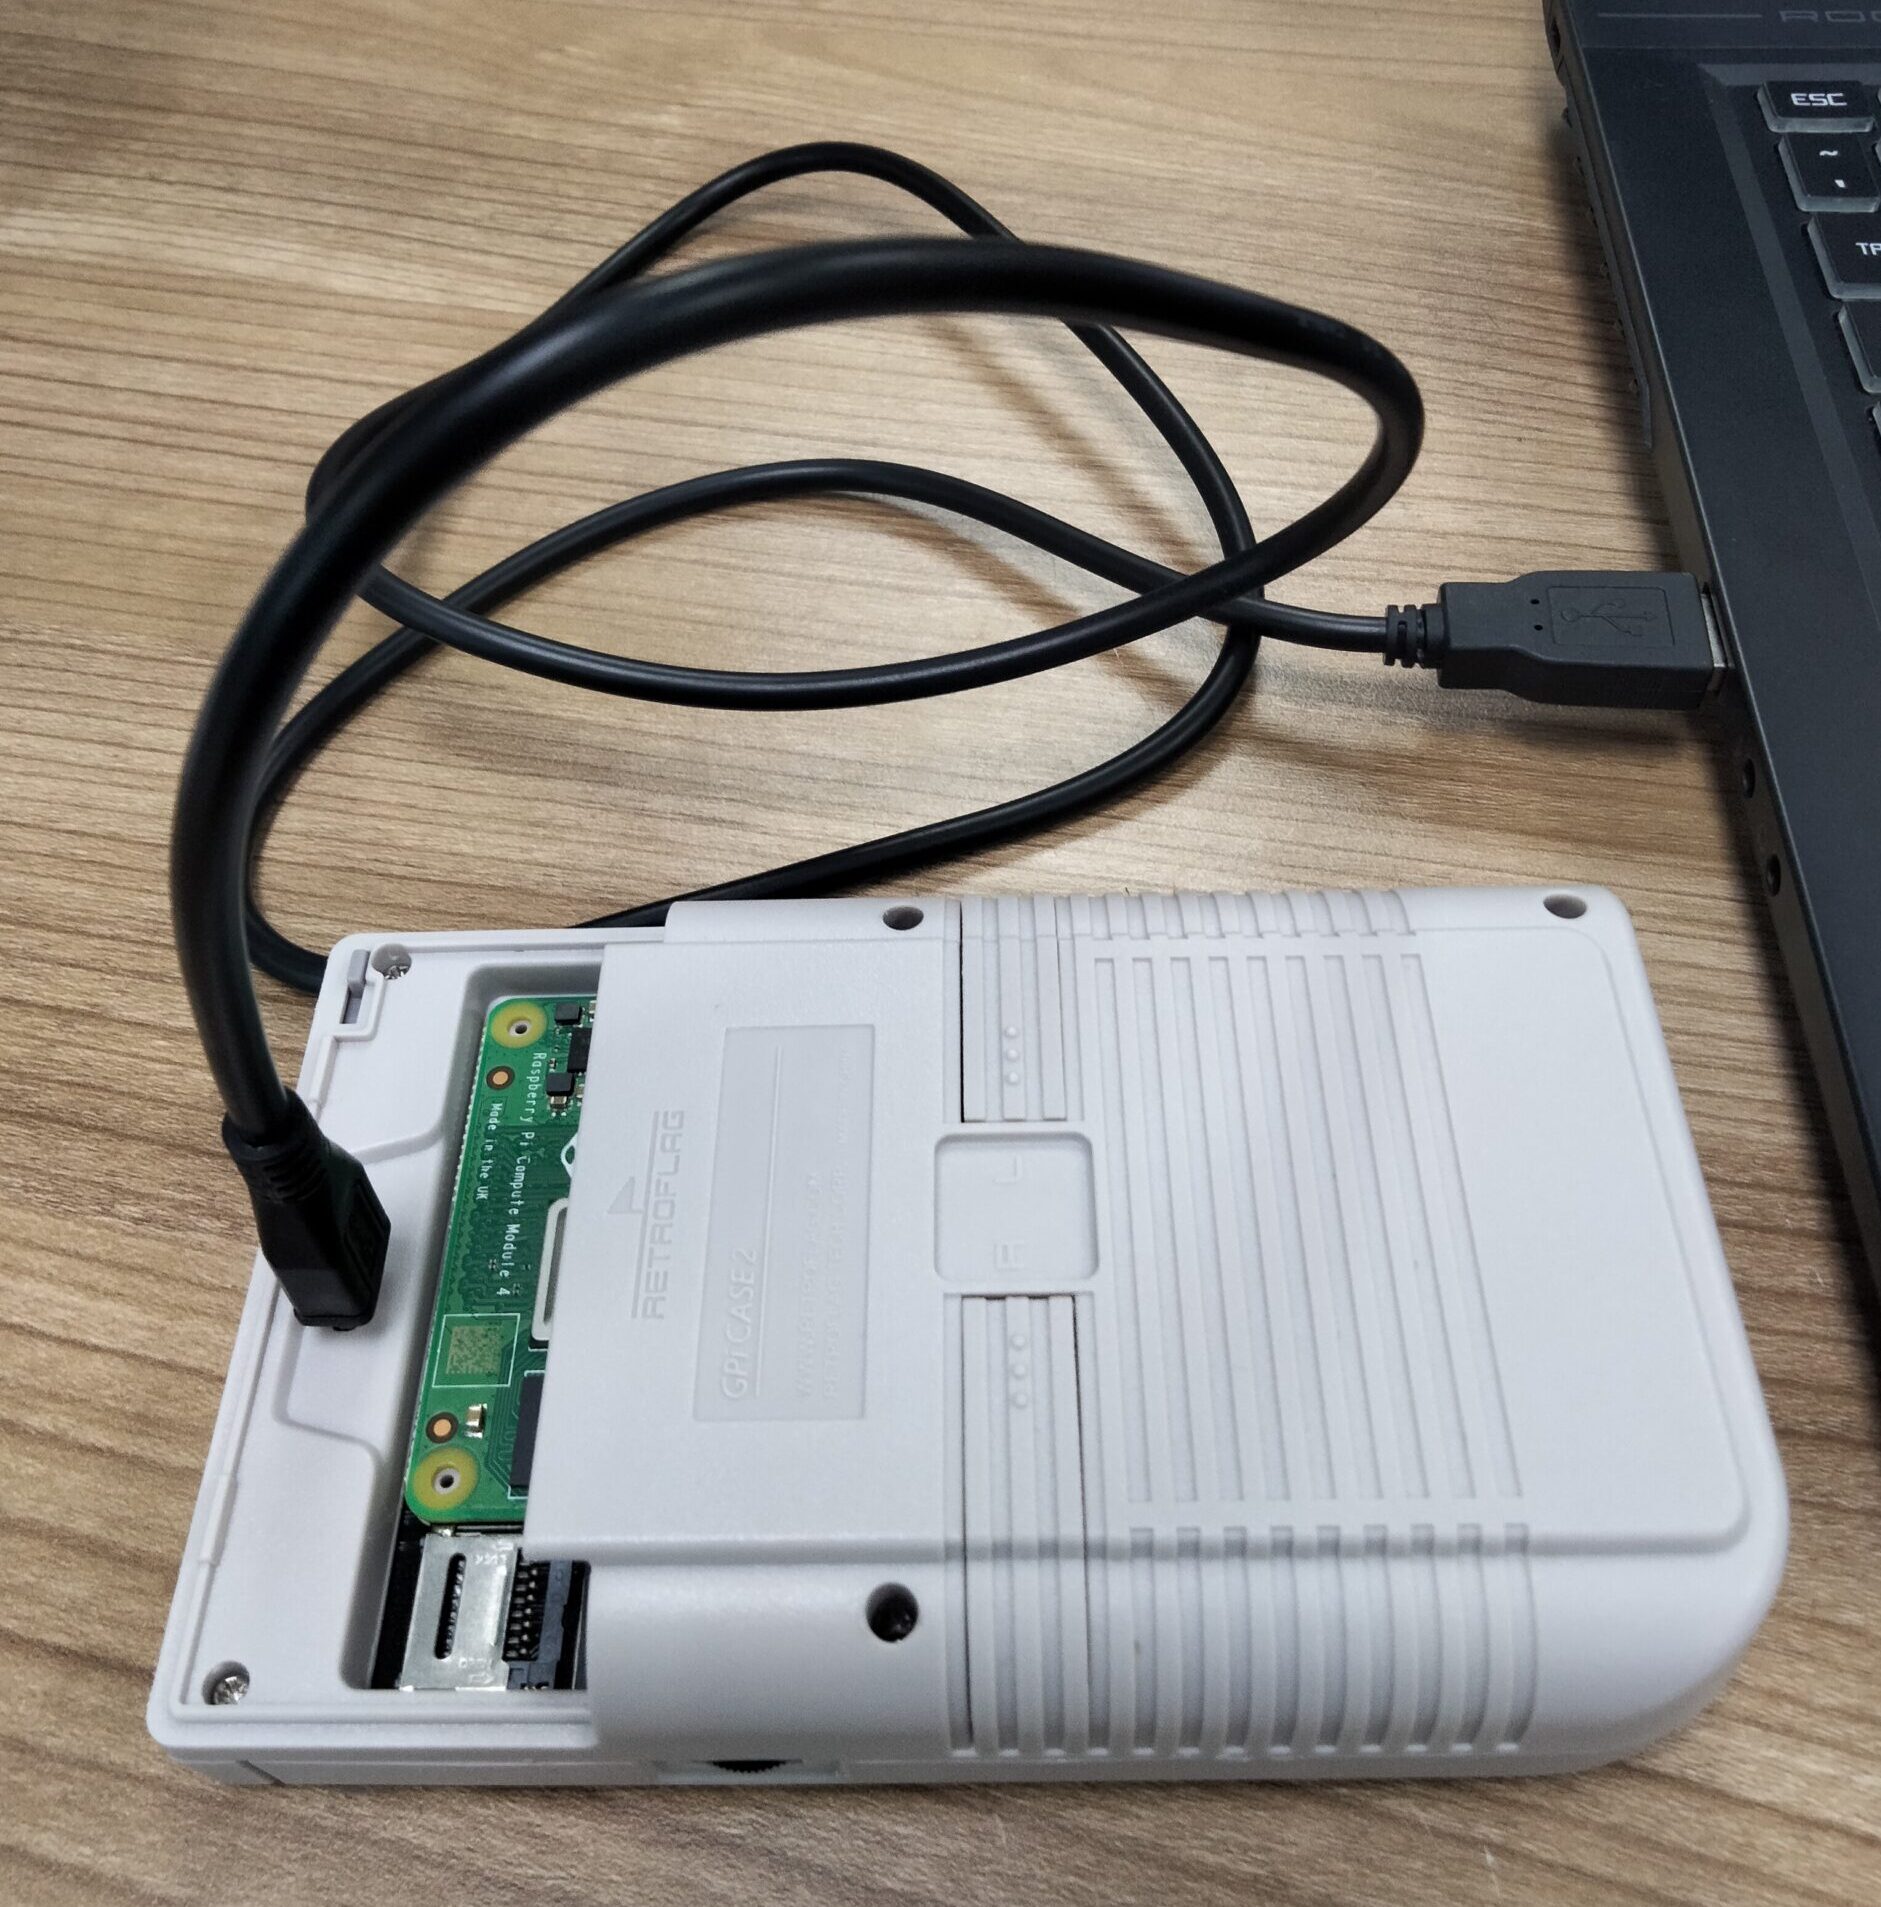
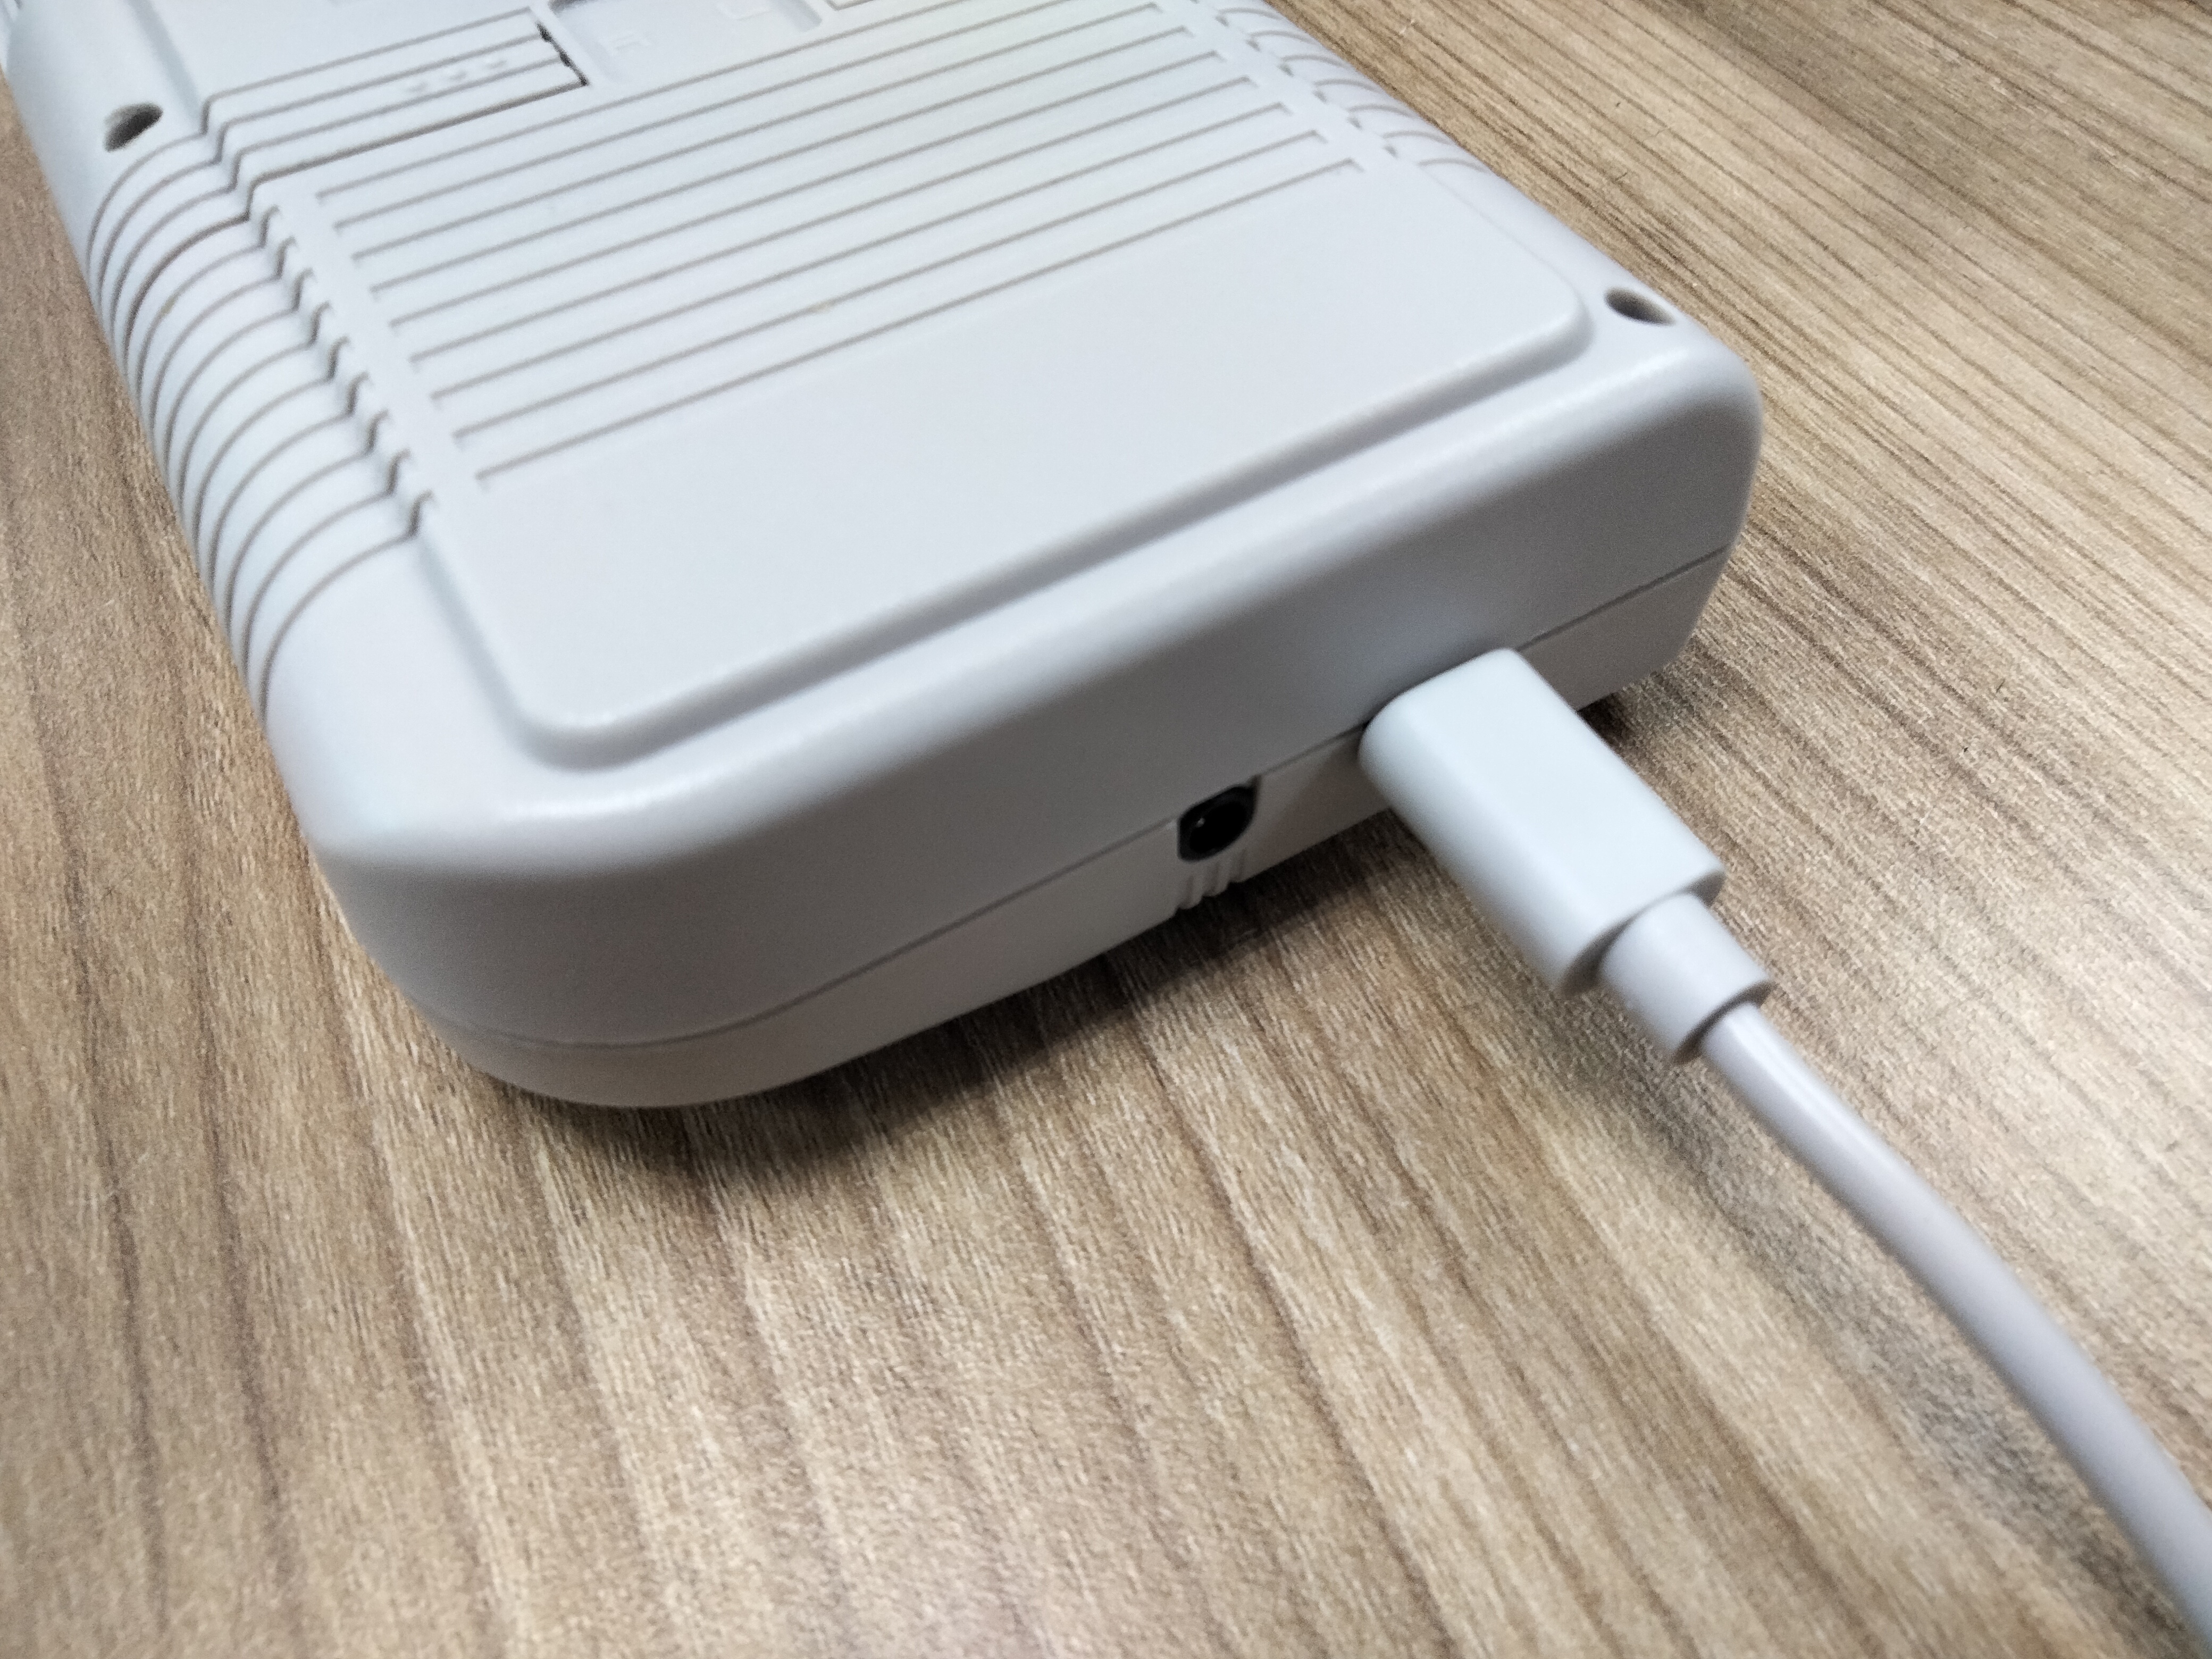
2: Plug in your cables
GPi CASE 2 have 2 ports:
- Type-C for Power Supply
- USB Micro B for firmware upgrade and modification
3: Power on your GPi CASE 2
Push the switch to the right to turn on the GPi CASE 2. Remember the pop up window from Step 1? It will display some new lines of stuffs, and it will close the window by itself. This indicates that rpiboot has detected CM4 in the GPi Case 2.
If yours didn't happen like this, please check your CM4 board placement. Make sure it placed correctly, and snap into the place properly. Turn off your case, open rpiboot again, and turn on your case again. Repeat until it detect the case.
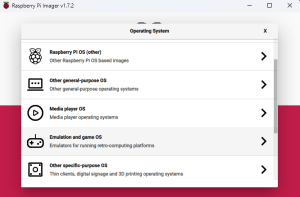
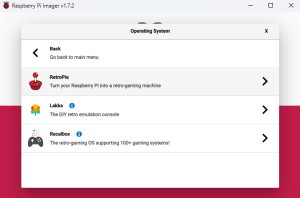
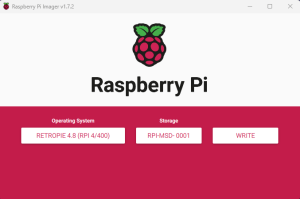
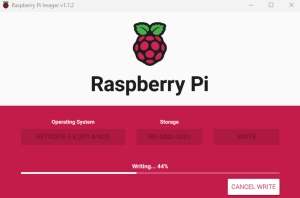
4: Flash RetroPie using Raspberry Pi Imager
Once your case is detected by rpiboot, you can proceed to Flash RetroPie into the CM4. If your case is not detected, check your CM4 placement and repeat step 1-3.
Choose RetroPie for Raspberry Pi 4/400.
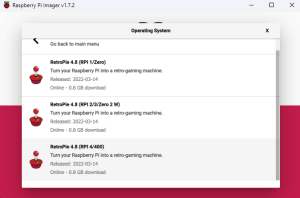
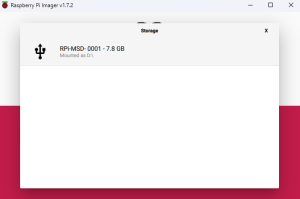
Choose your board eMMC storage and write the RetroPie OS.
Note: If your board is detected by rpiboot, it should appear in the storage option. If not, repeat step 1-3
5: Installing GPi CASE 2 Patch
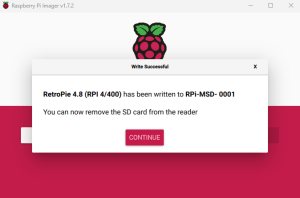
After Raspberry Pi Imager finish writing the OS, do not plug out anything yet.
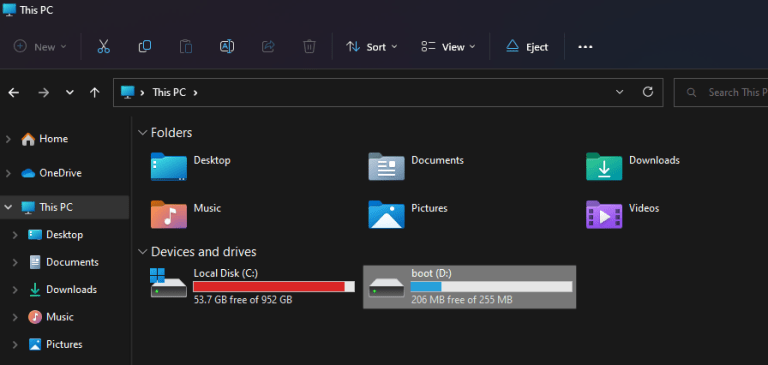
You need to repeat step 1-3 which is turn off your case, open rpiboot and then turn your case back on. rpiboot should detect the case again. Once your case is detected, open "This PC" on your laptop/PC and you should see the boot partition of your RetroPie.
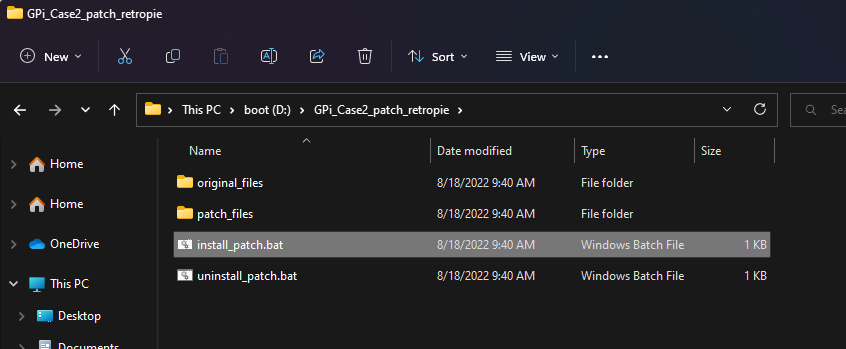
Remember that we have download and unzip GPi CASE 2 Patch? Go into that folder.
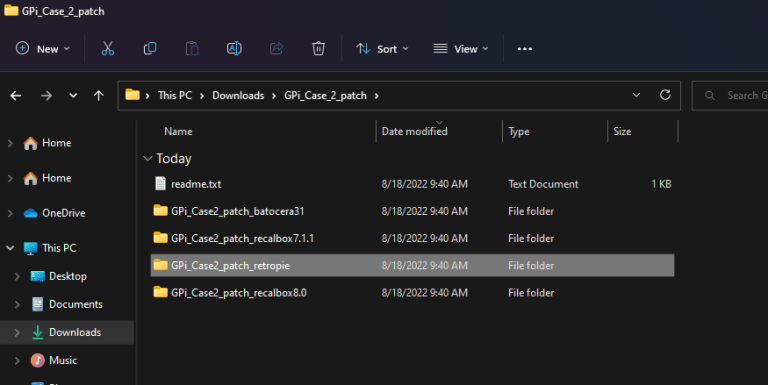
Copy the GPi_Case2_patch_retropie folder into the boot partition of the CM4
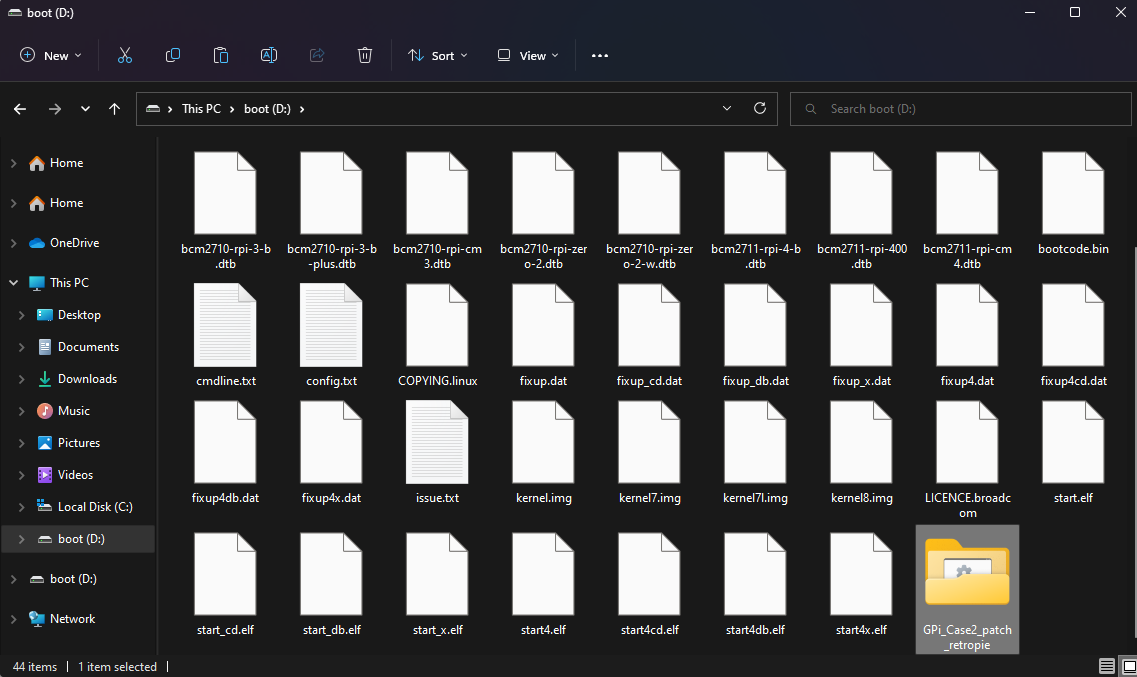
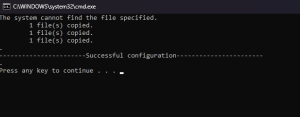
Once you copied the folder into boot partition, open that folder, and run install_patch.bat . A new window will popup. Press any key to close that window.

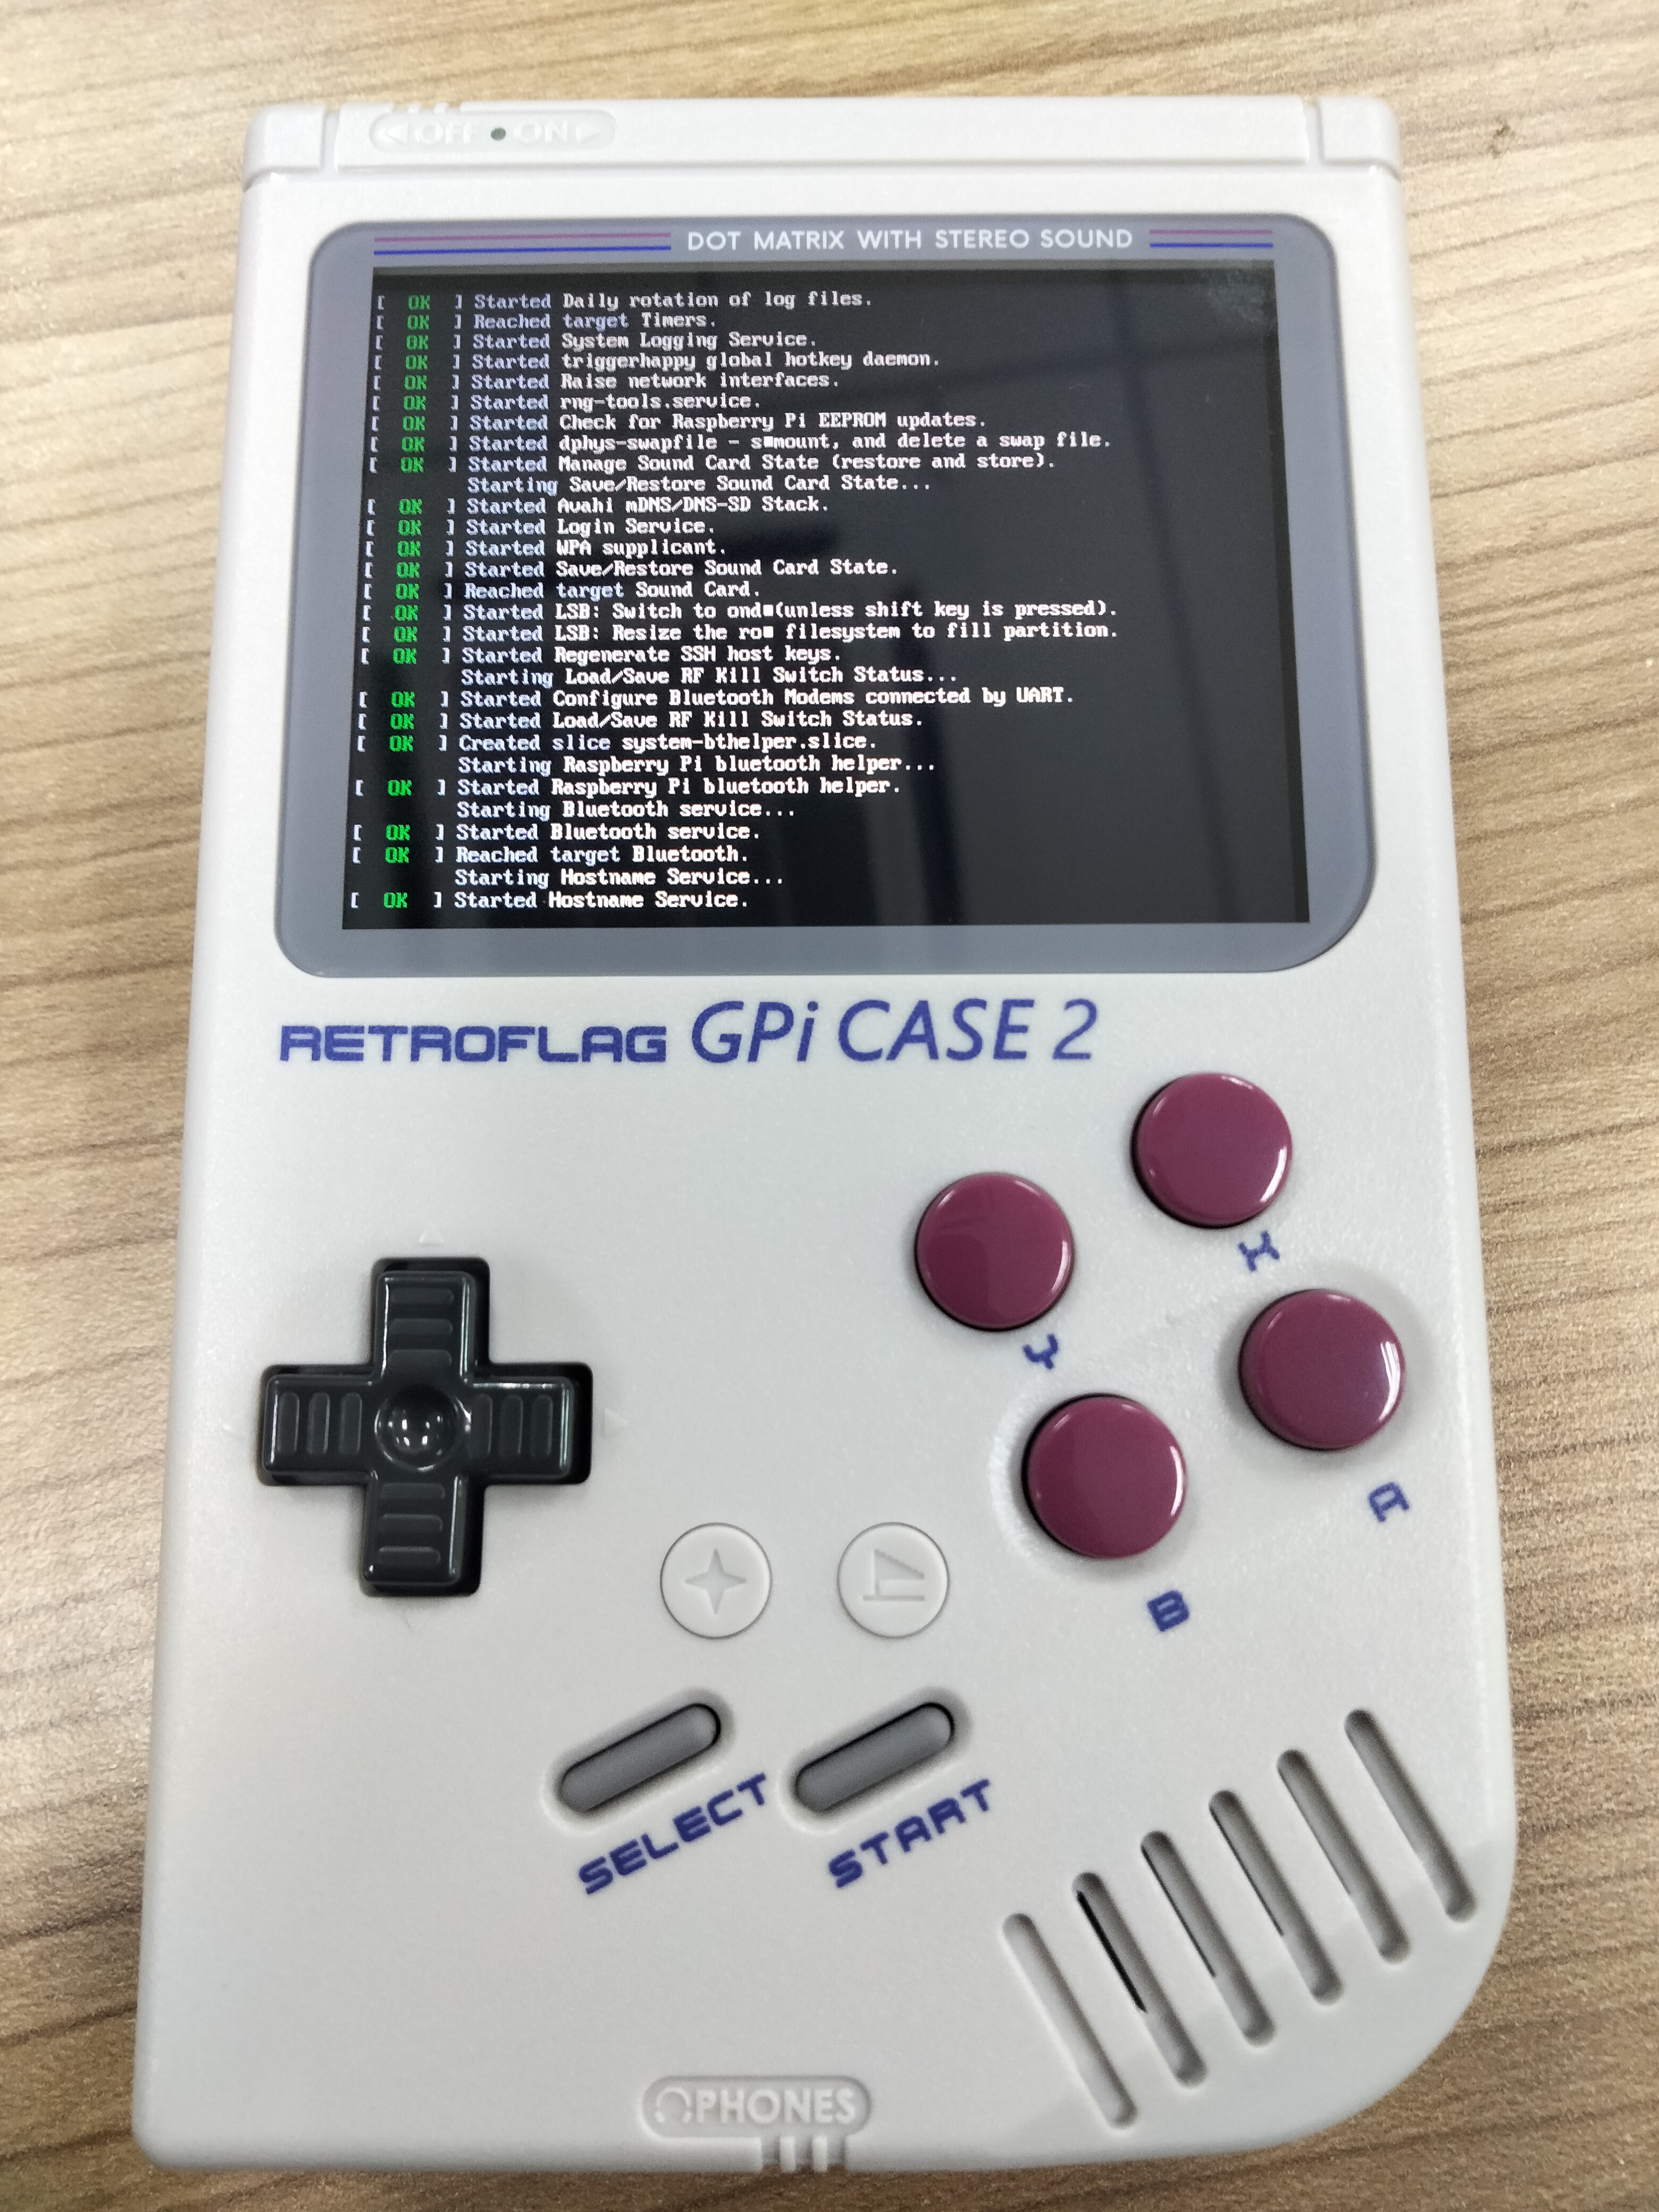
Now you are done! Turn off your case, unplug all cables and turn your case back on. It should take a couple minute before your cute little console will boot up.
Setting Up Your GPi Case
1: Configure Gamepad
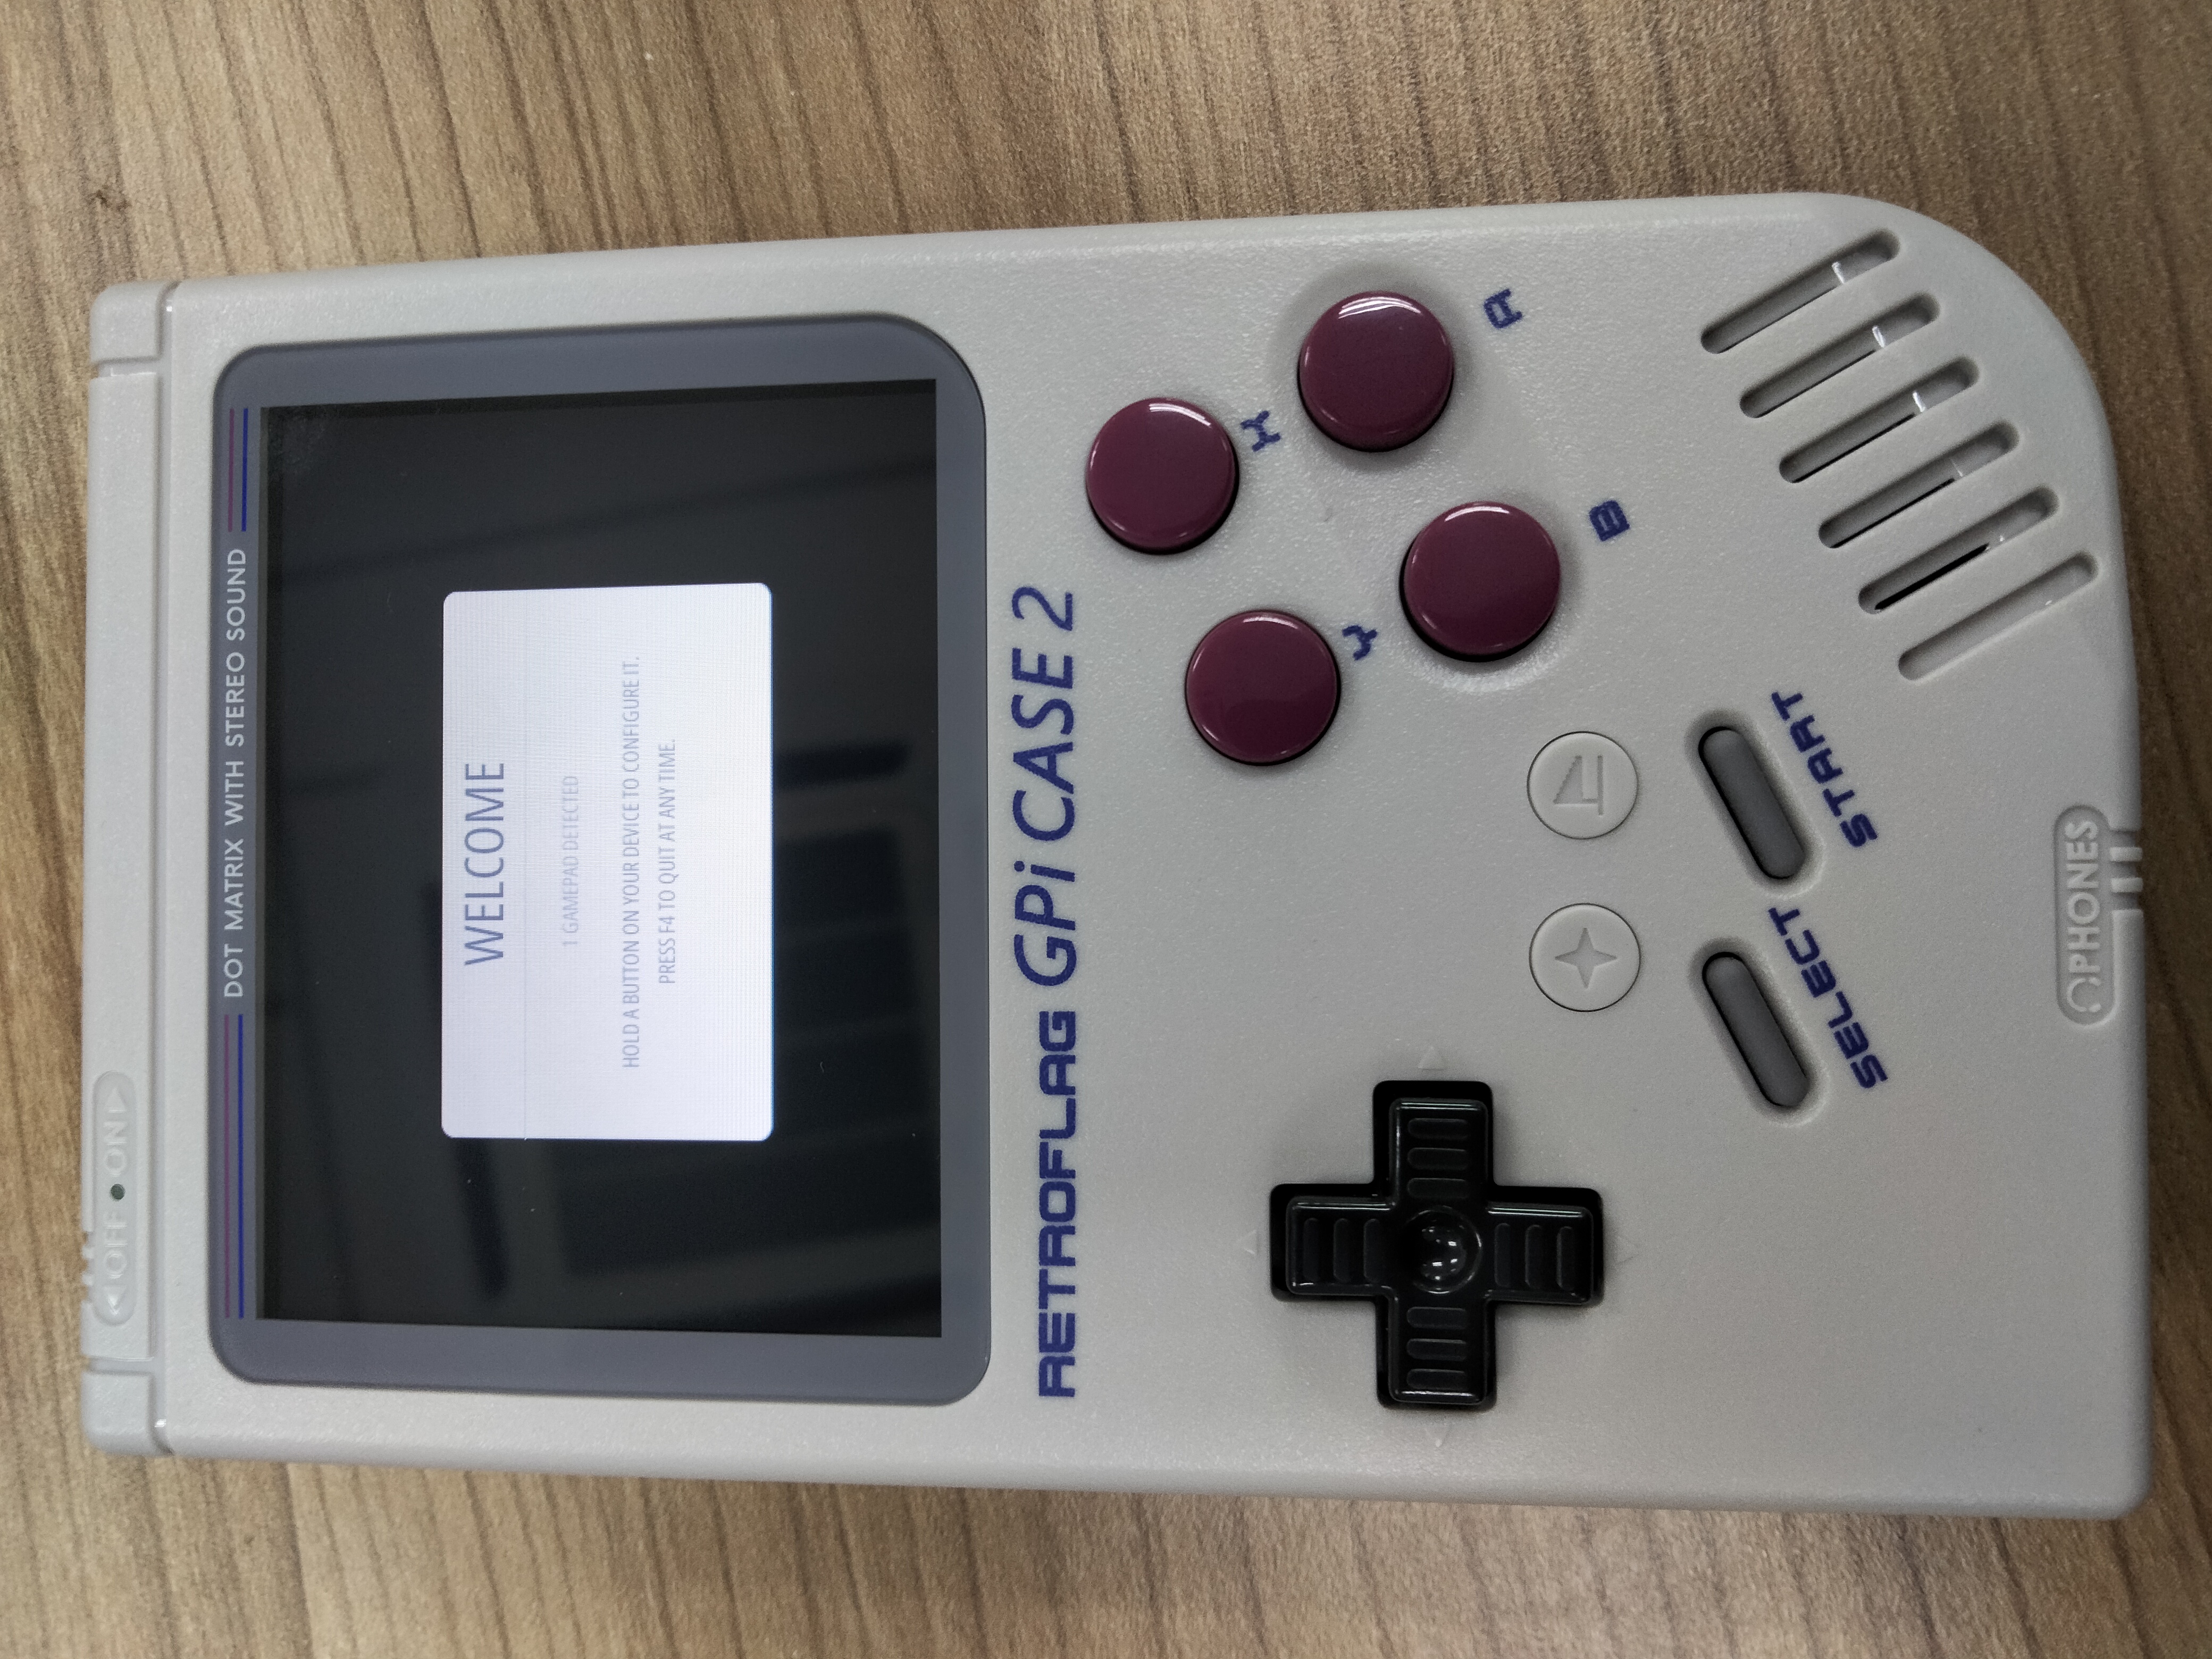
When you first time booting up your RetroPie, it will ask you to configure your gamepad, just like you install RetroPie on Raspberry Pi 4, etc.
Configure your gamepad properly. When you ran out of button to map, just hold any button to skip the mapping process.
For the last button, 'Hotkey', you can map it to any key even its already mapped. Using Select key for Hotkey is recommended.
After finish configuring your gamepad, you should see RetroPie main menu. Keep in mind for further setting up process, the button is as follow:
- In RetroPie Menu:
- A : Activate / Launch / Select
- B : Back
- In raspi-config Menu:
- A : Back
- B : Activate / Launch / Select
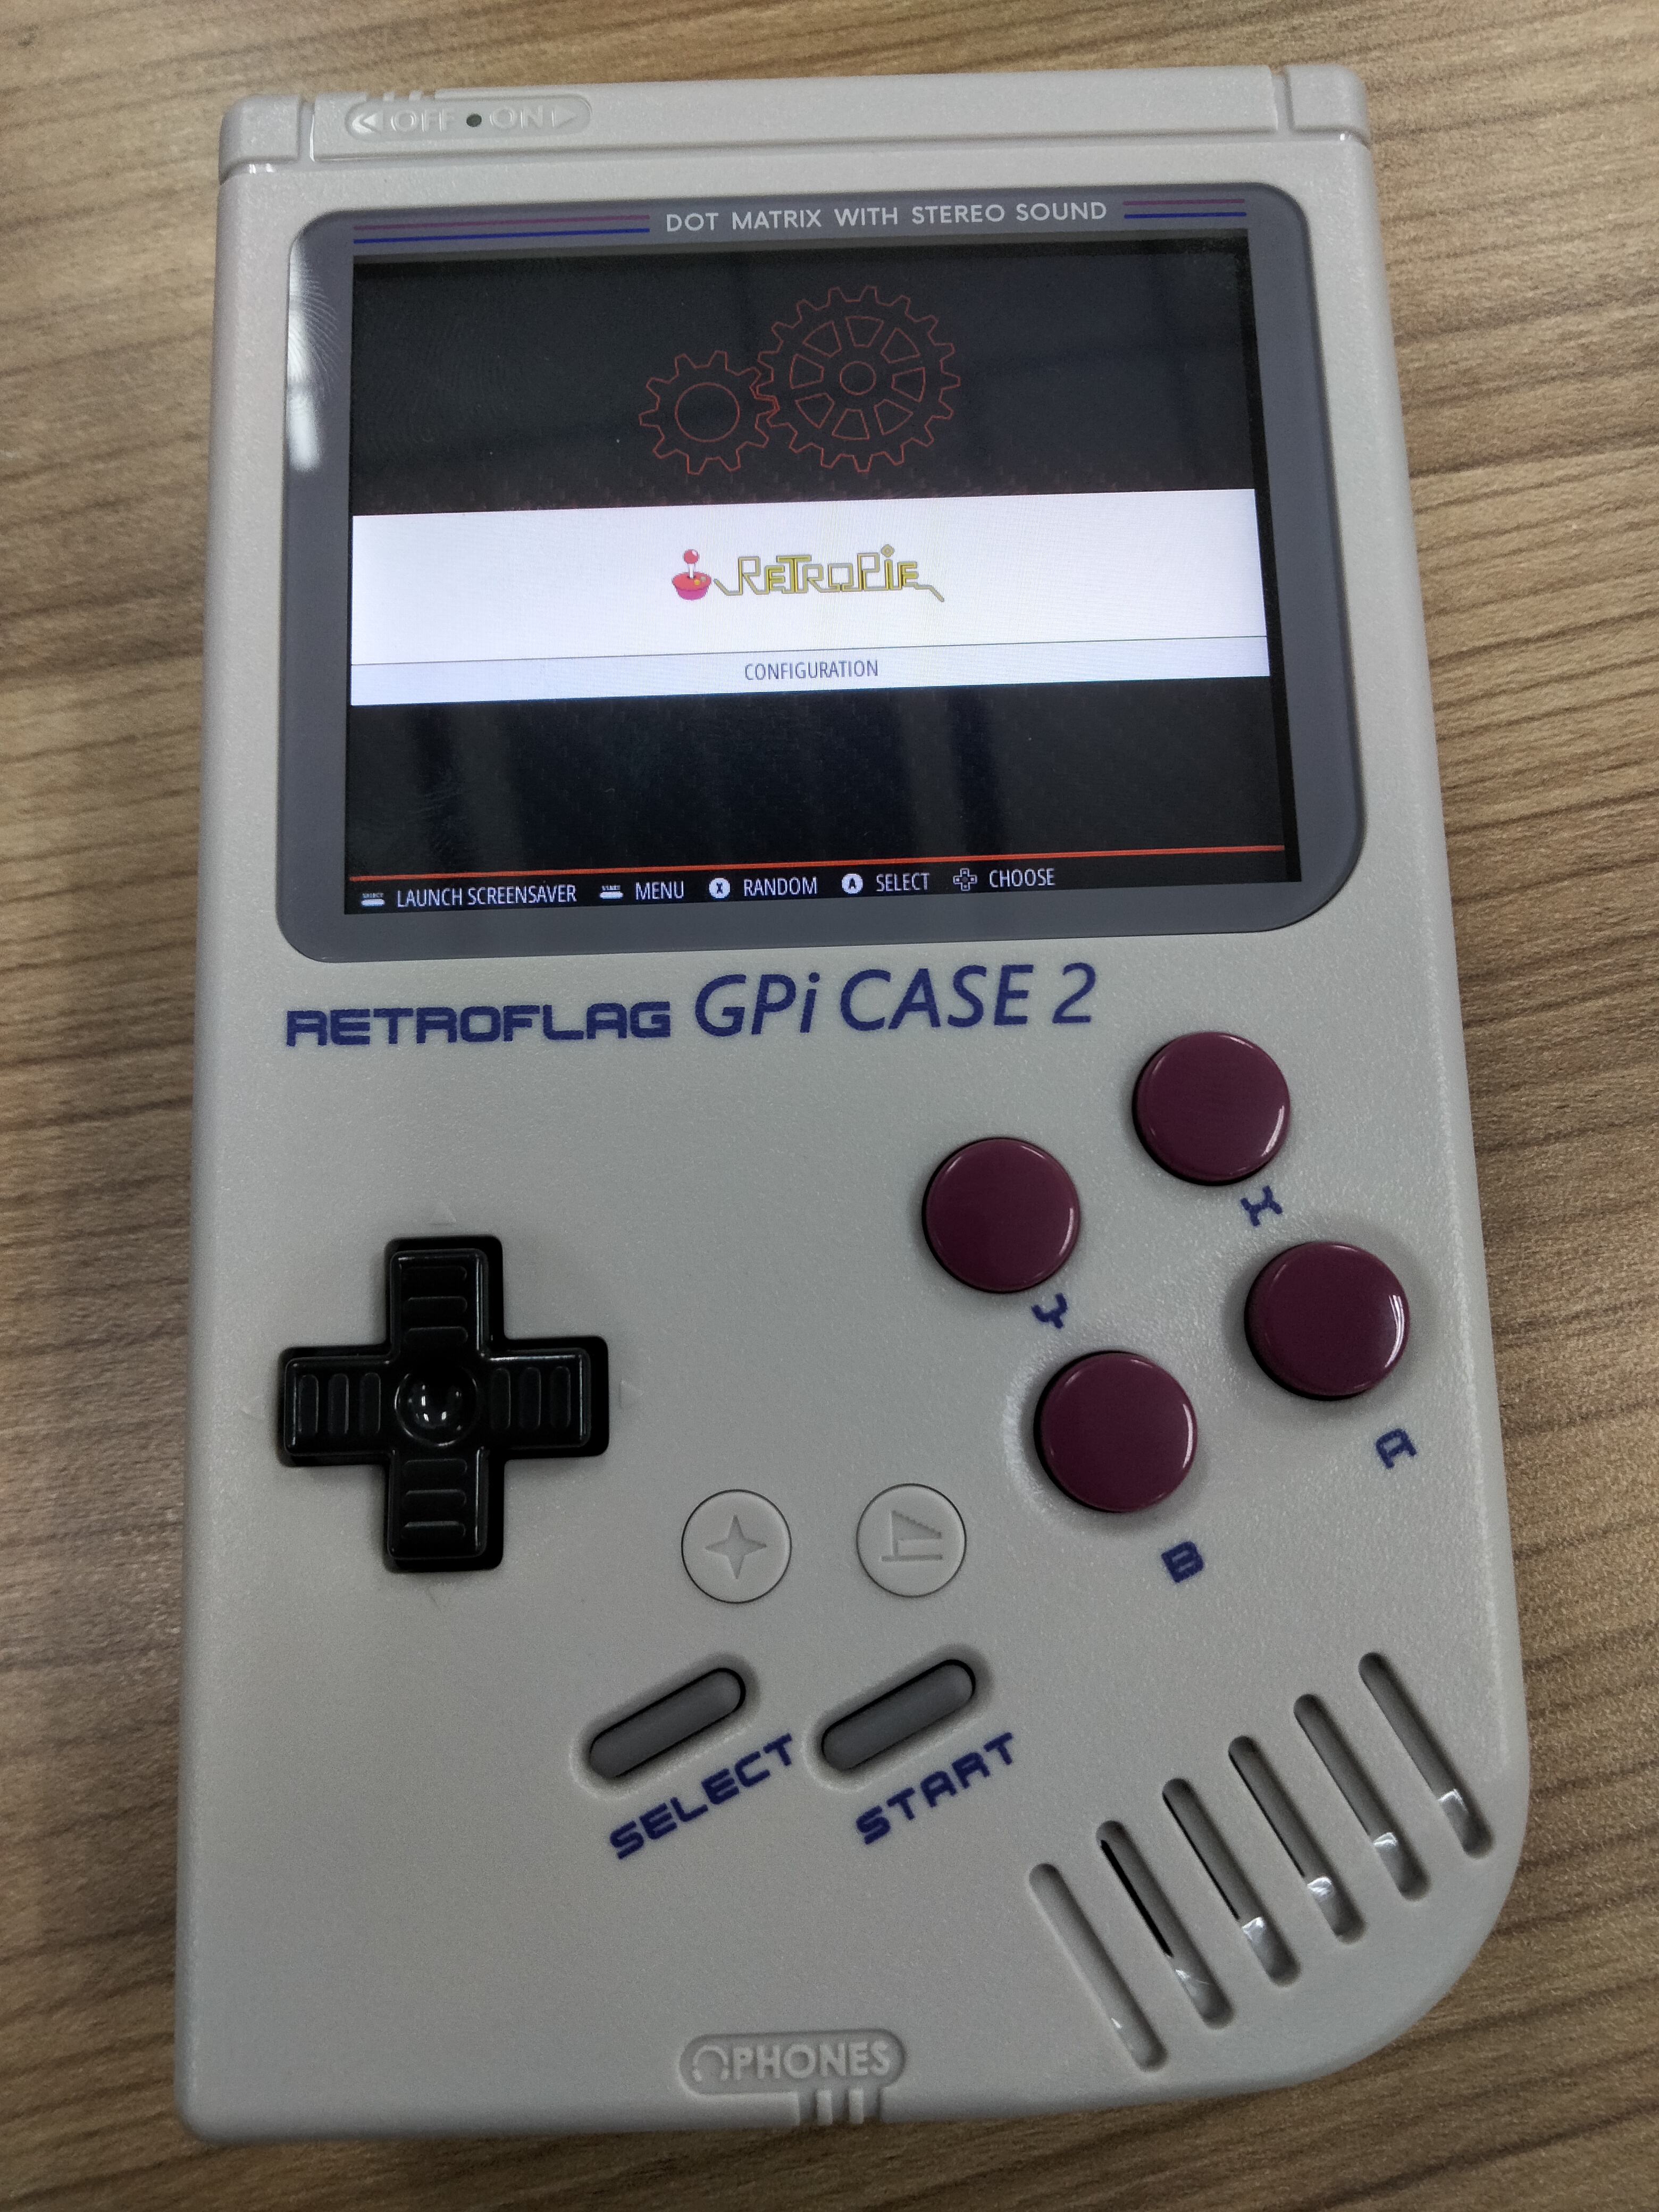
2: Setting Up Wifi and SSH

Enter the RetroPie Configuration menu, Select Wifi. You will be asked to set up the WLAN Country. RetroPie will bring you to raspi-config menu.
Note: Choose your correct country. If you choose a wrong country your RetroPie will be unable to connect to the WiFi.
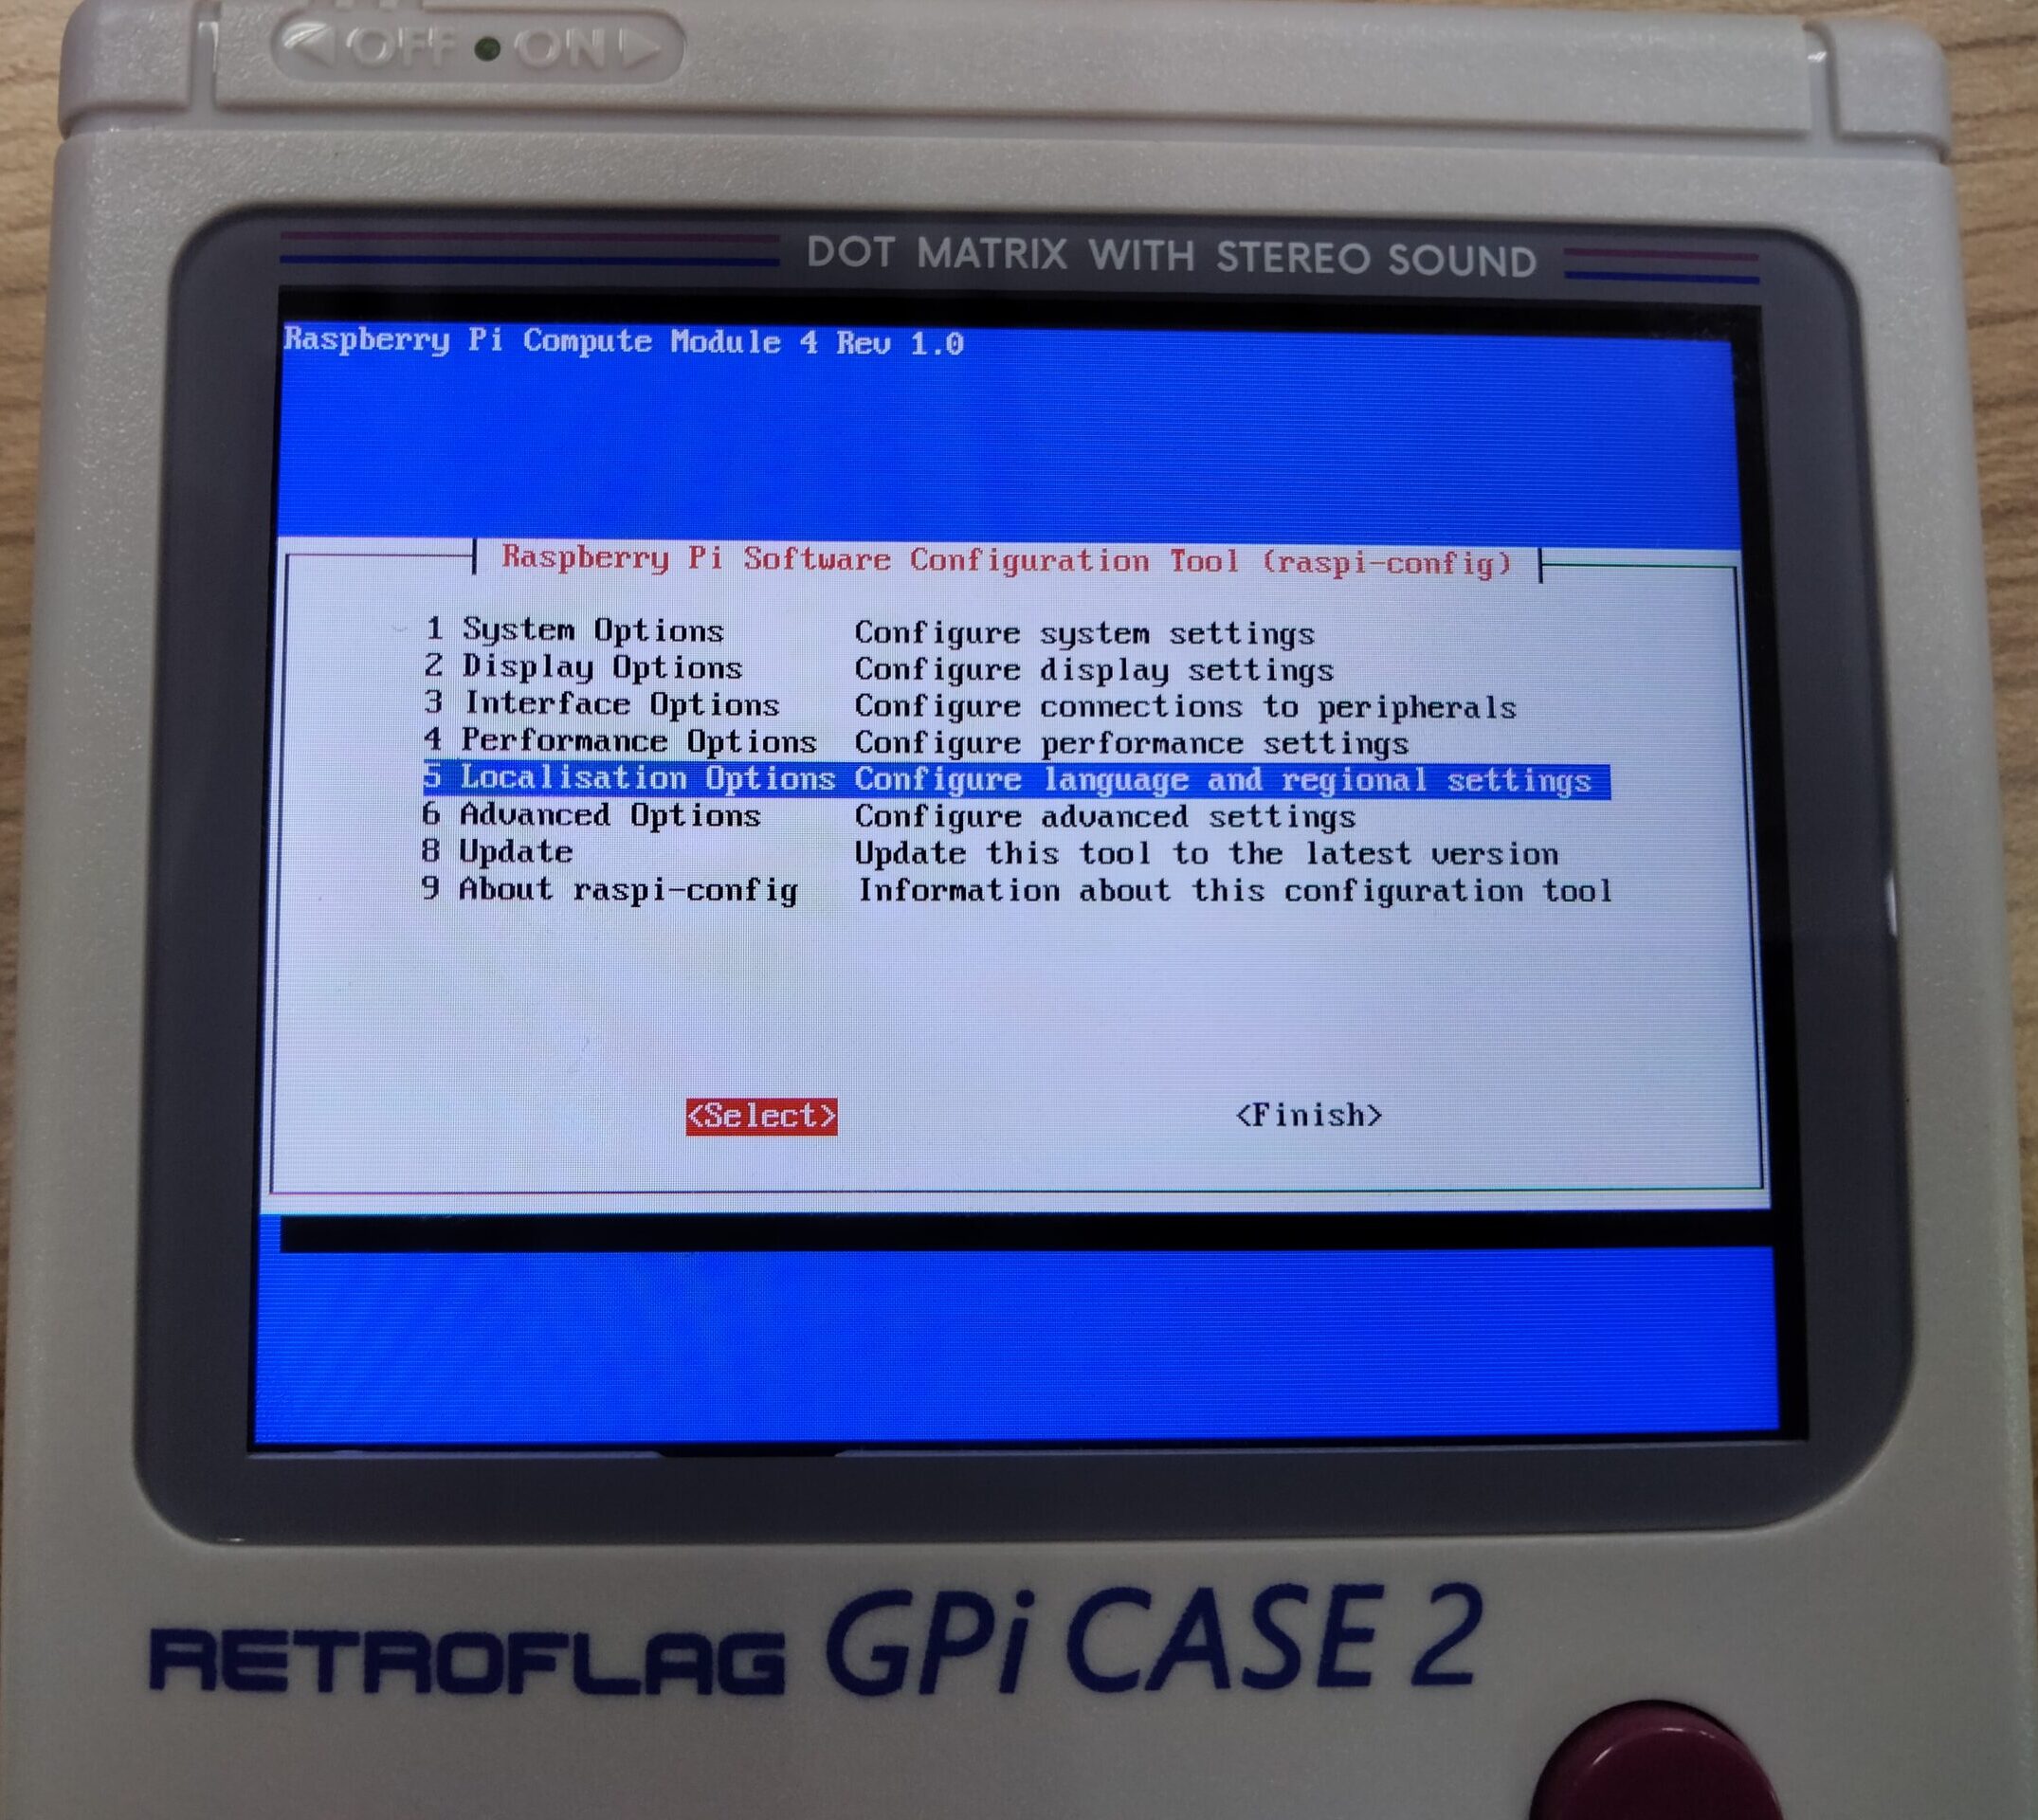
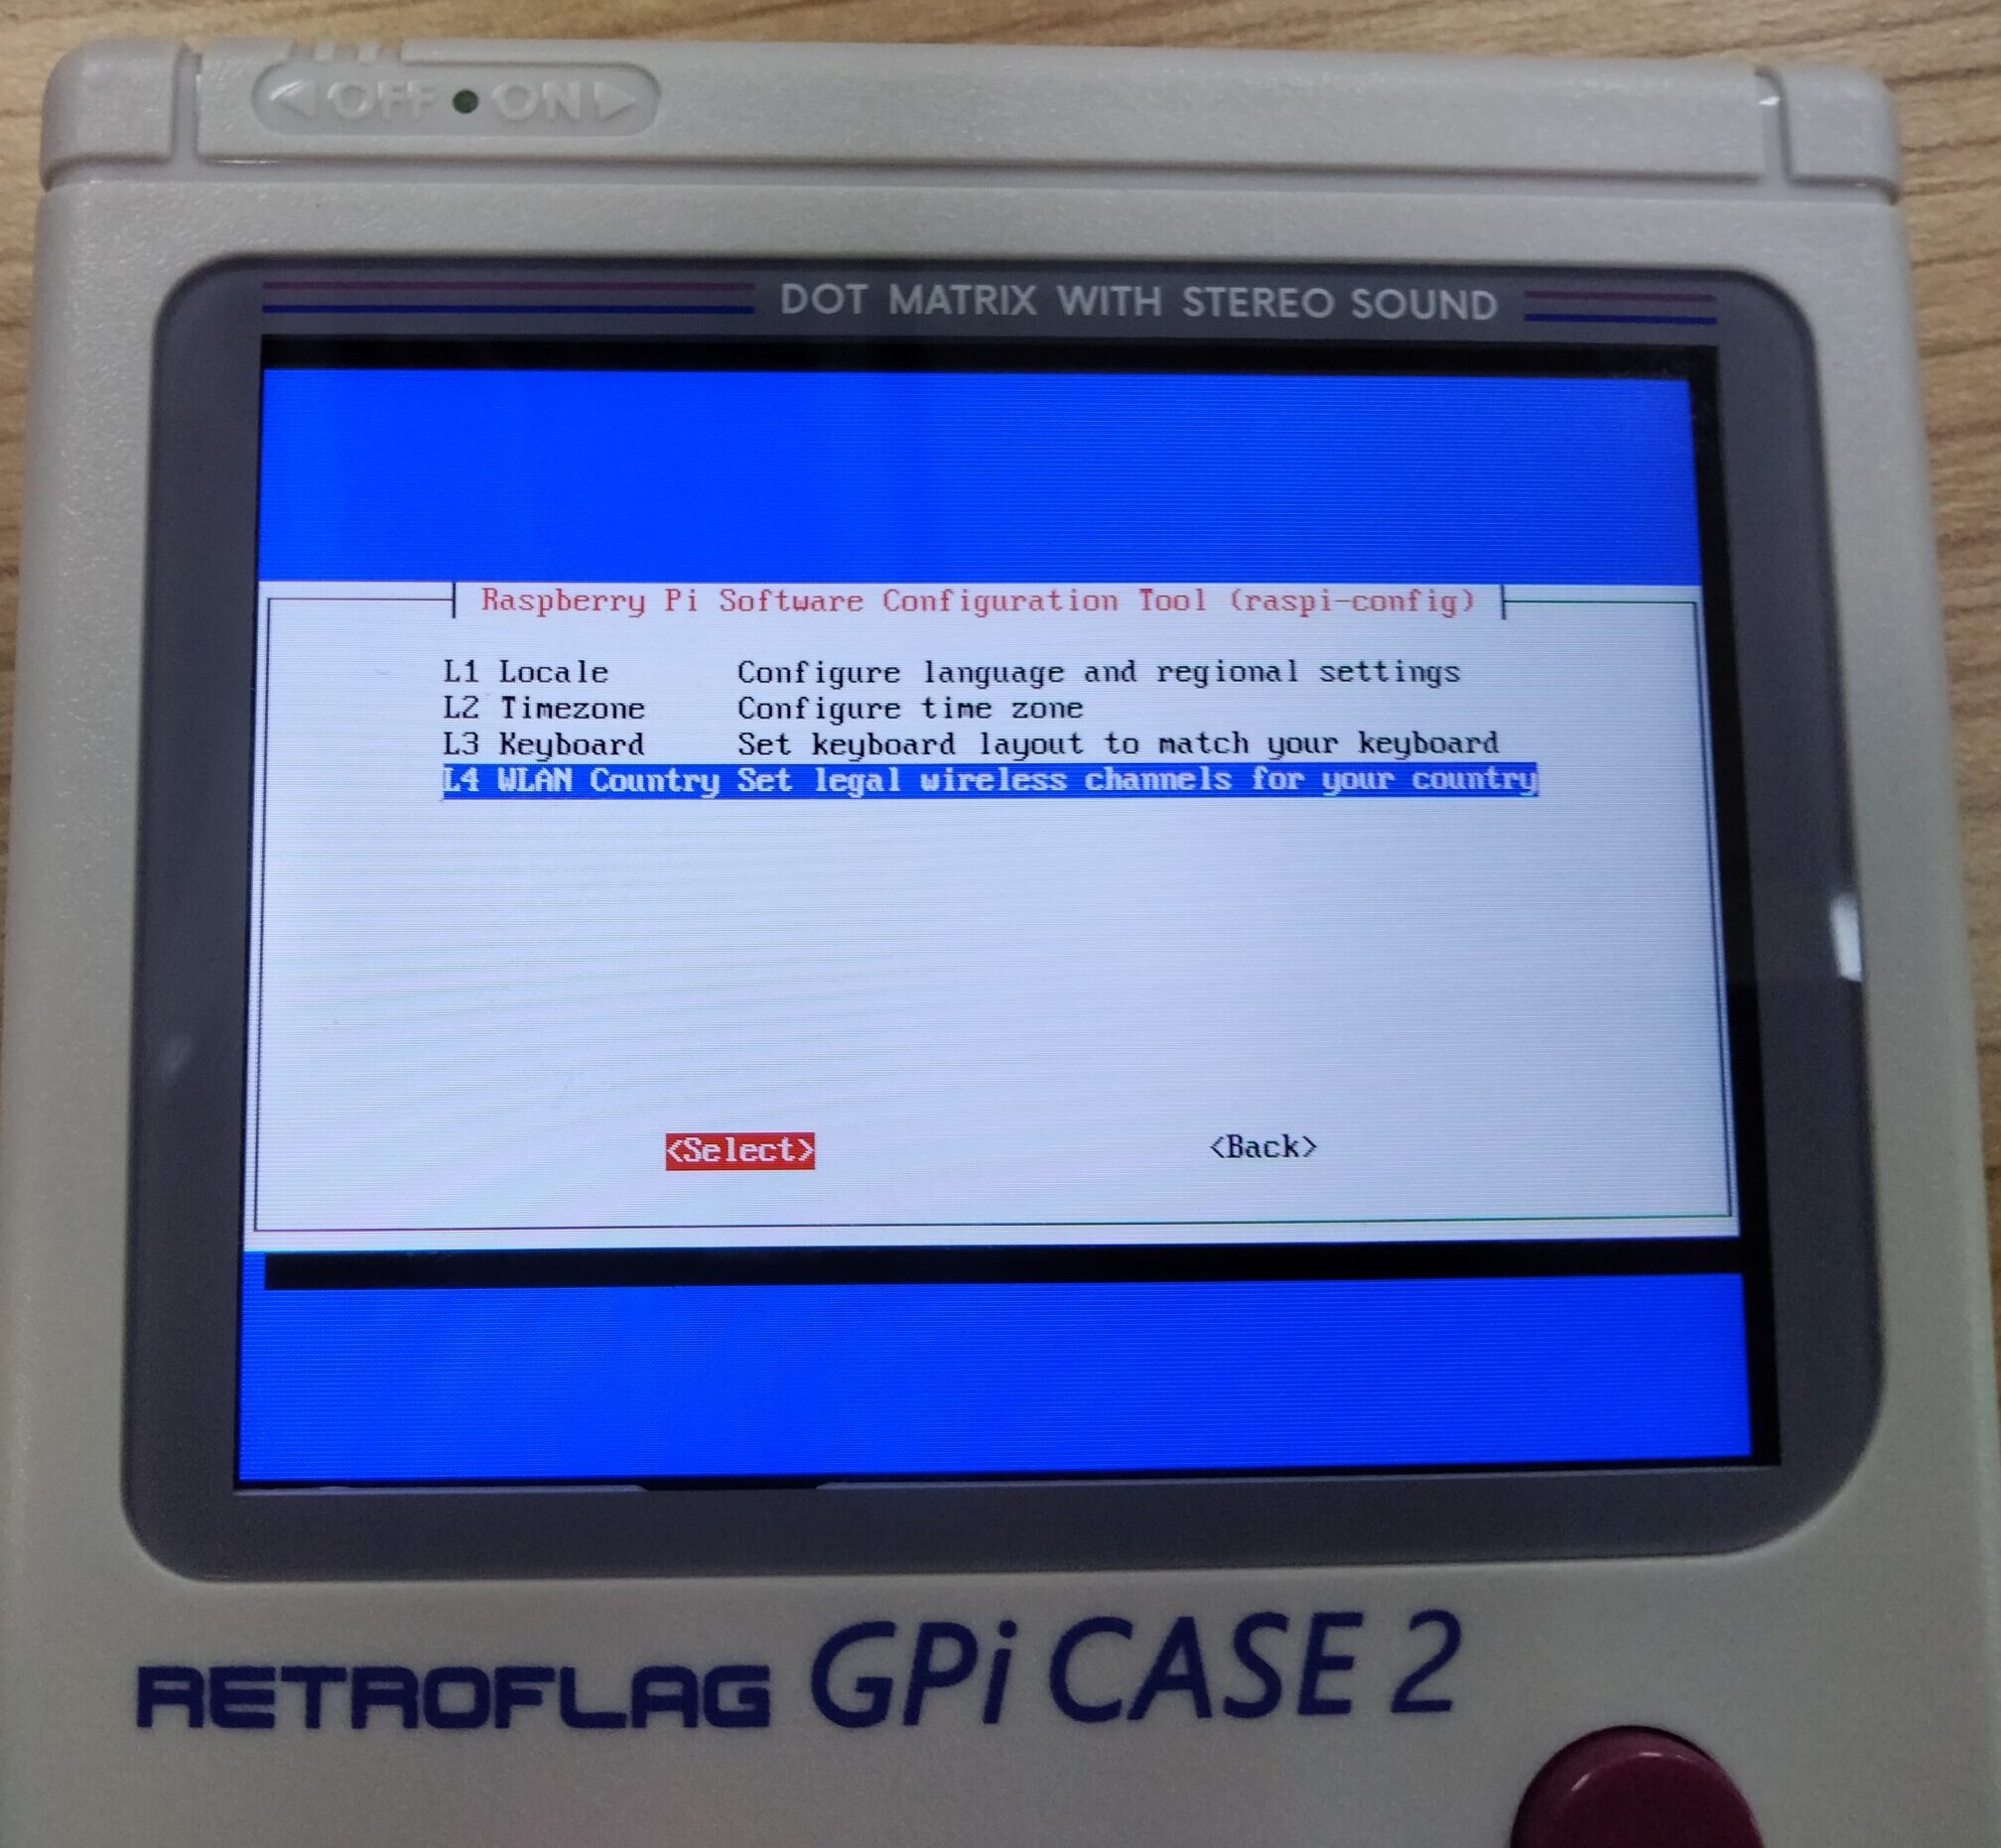
After you finish setting your WLAN Country, do not press finish yet. While you are in raspi-config menu, proceed to Interface Options to enable SSH setting.
Note: RetroPie will automatically attempt to connect to the Wifi network you set up everytime it boot up.

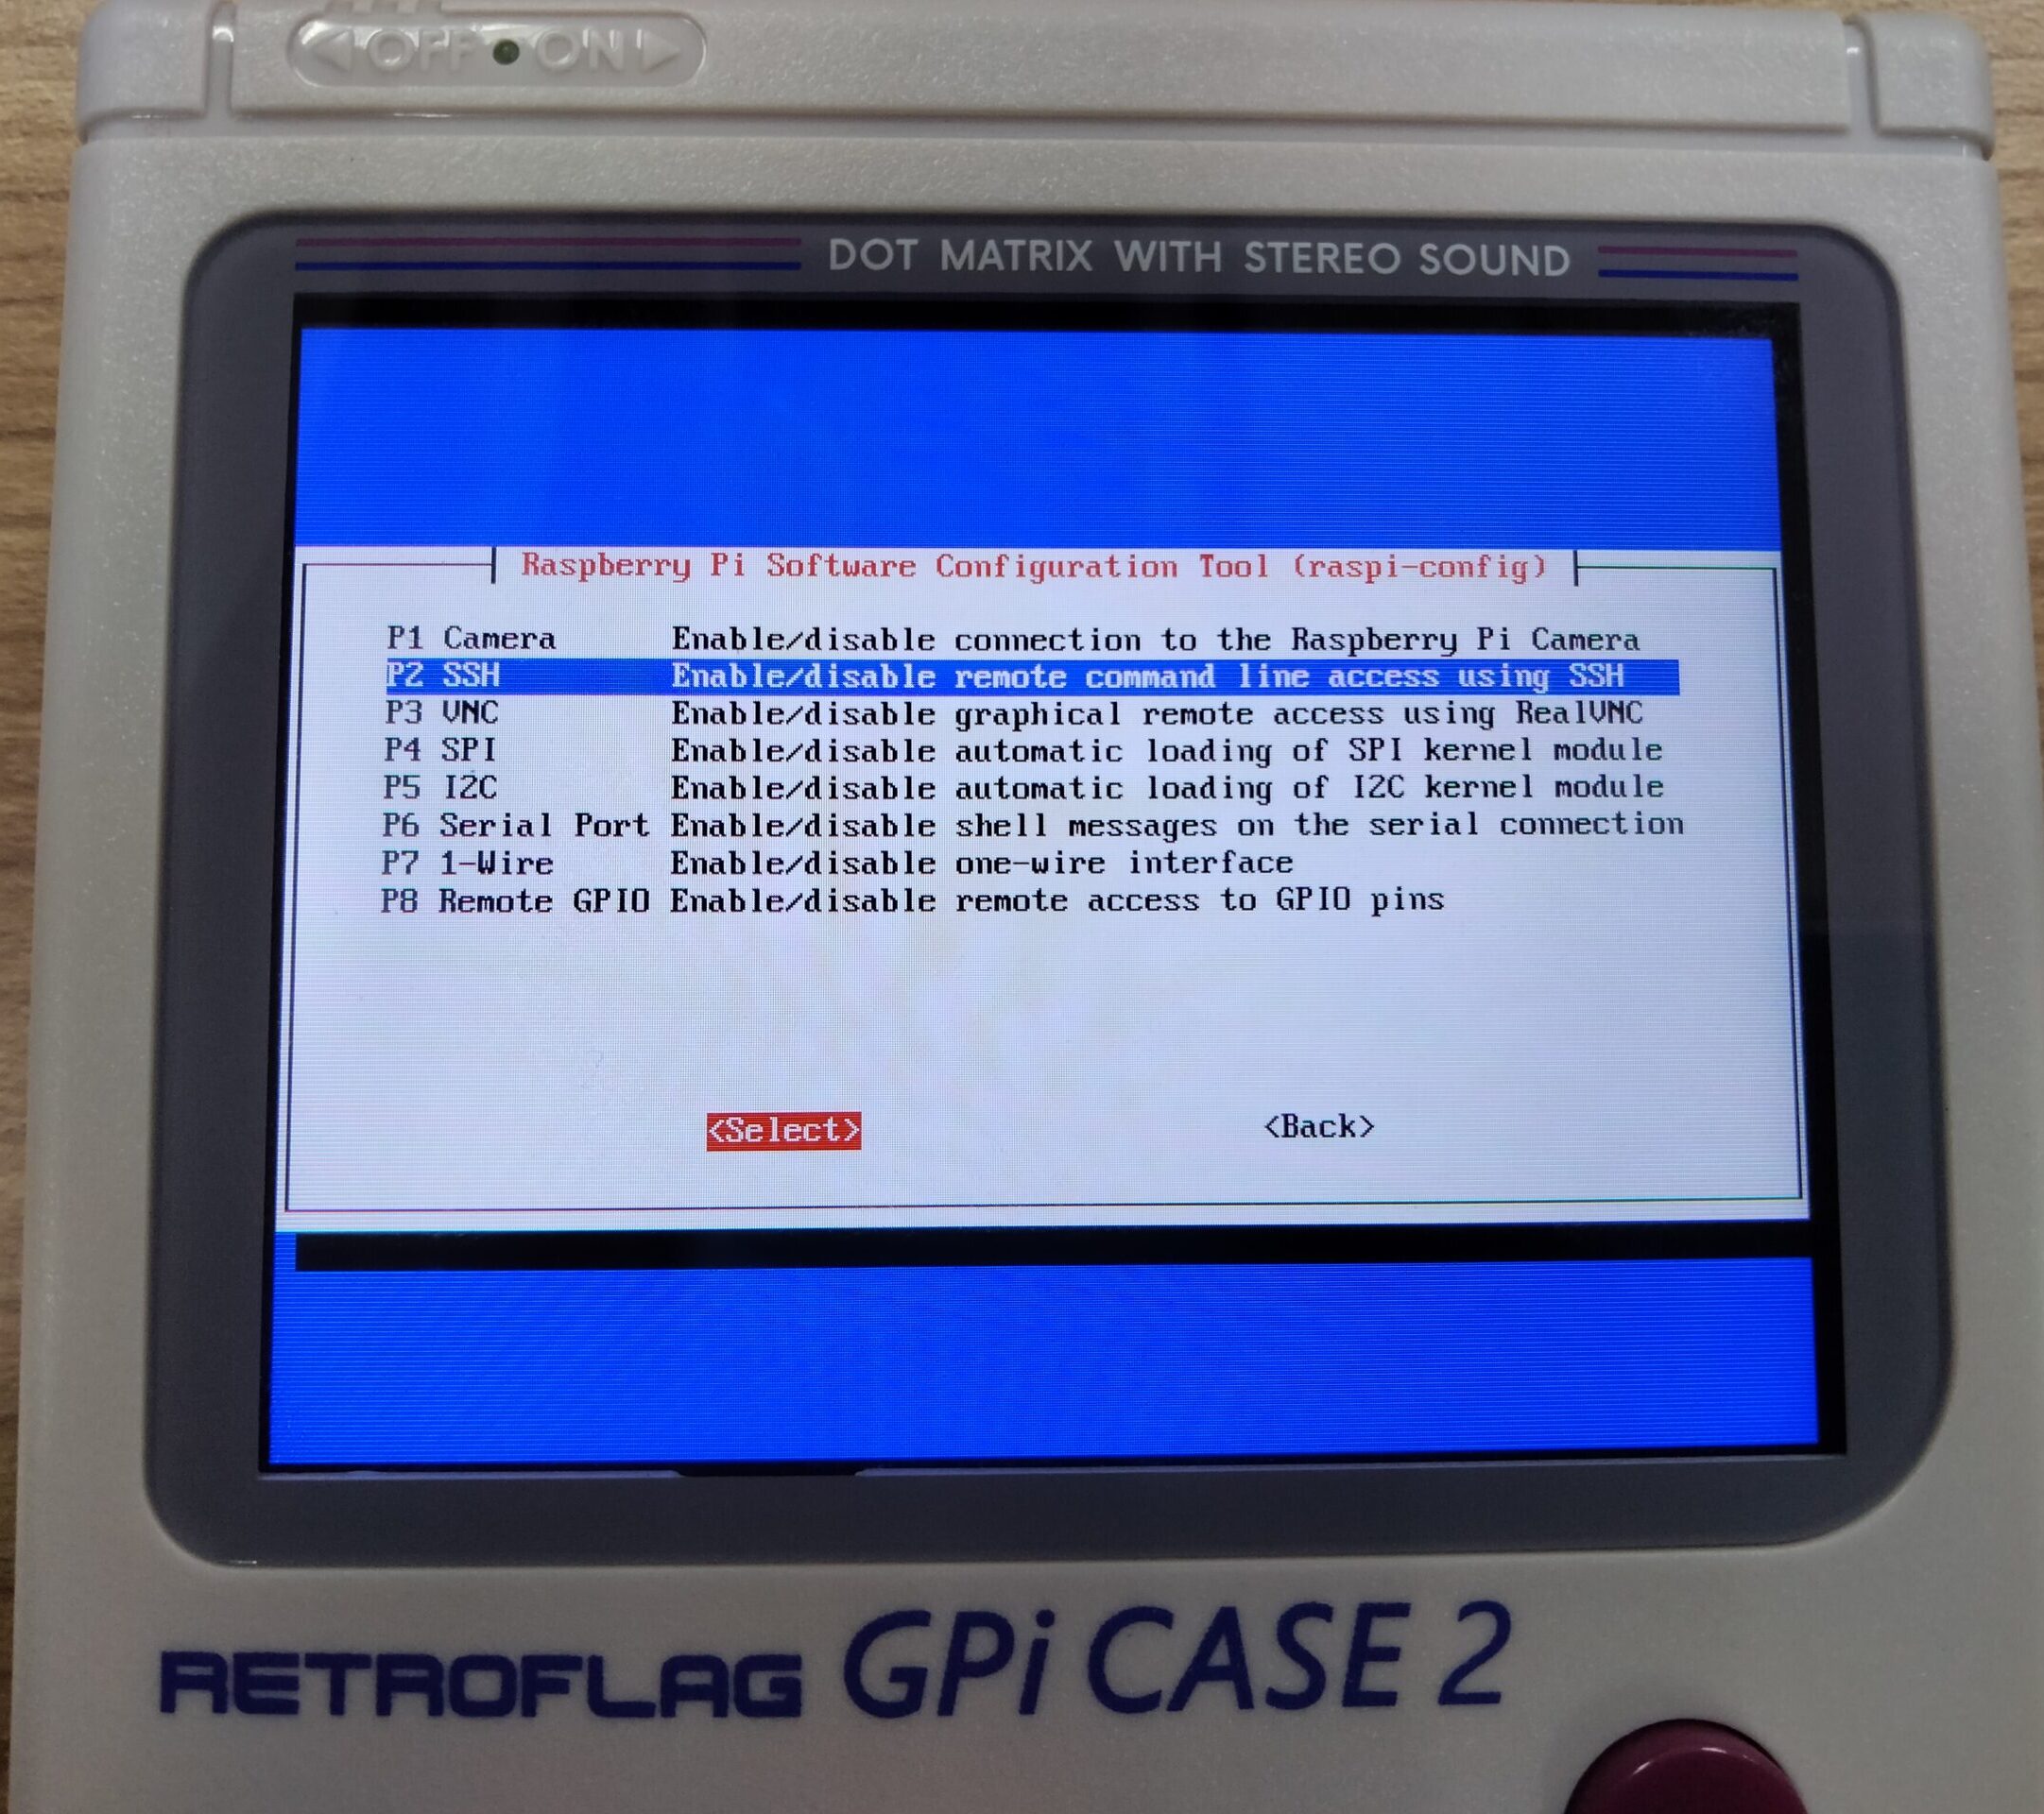
After you enable SSH, press Finish ont the raspi-config menu, and RetroPie will ask for reboot. Press Yes and RetroPie will automatically reboot for you.
3: Setting Safe Shutdown Script
Now you are ready to access your GPi CASE 2 using SSH. You will be using Putty on your Laptop/PC that you prepared before.
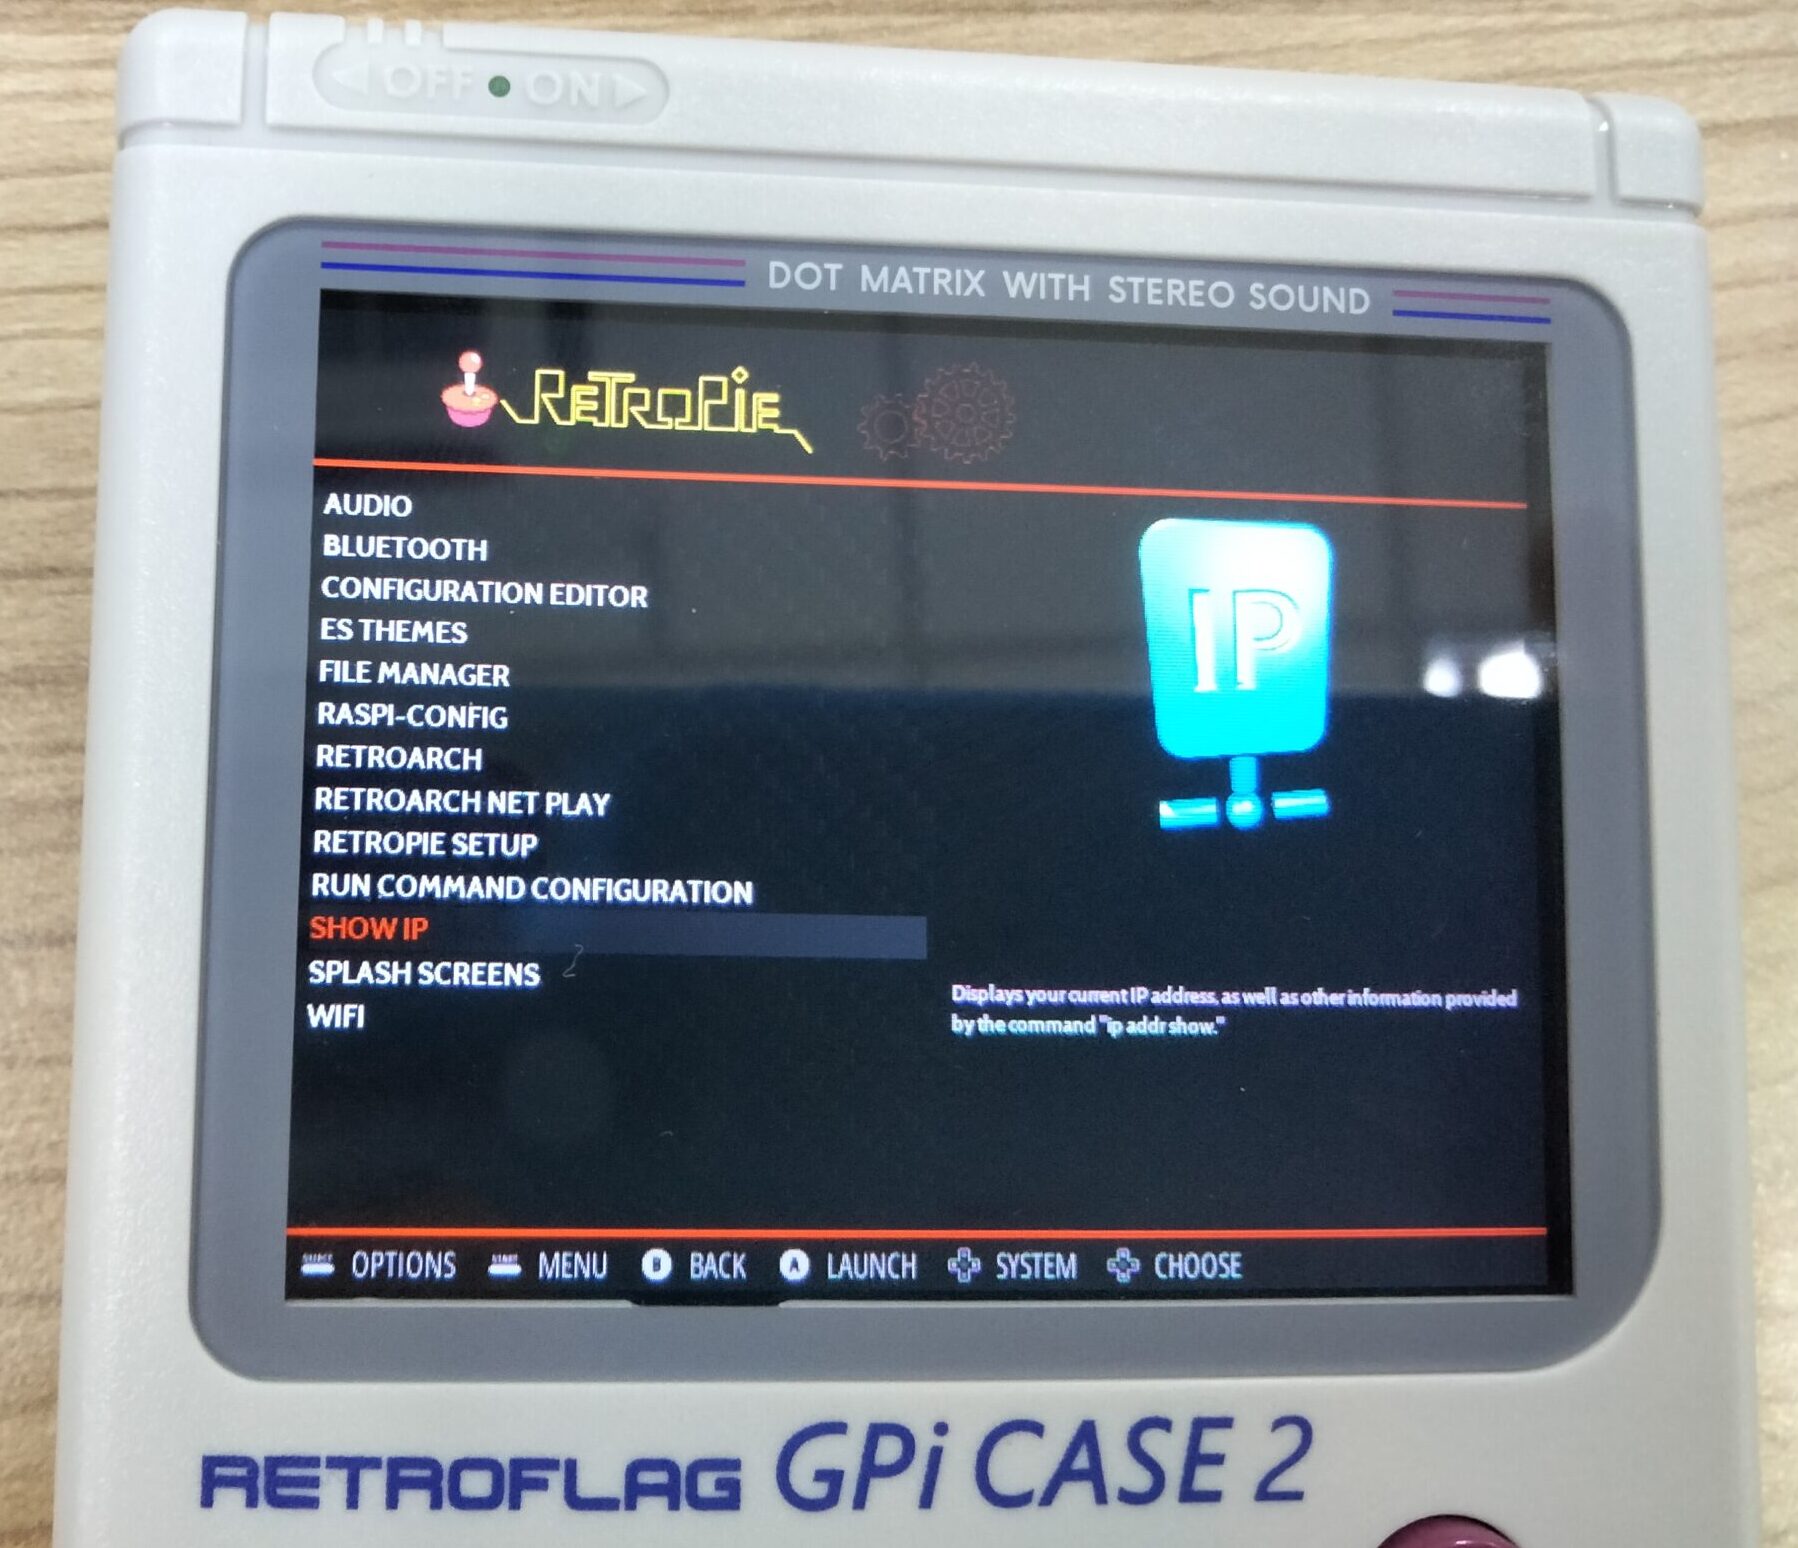
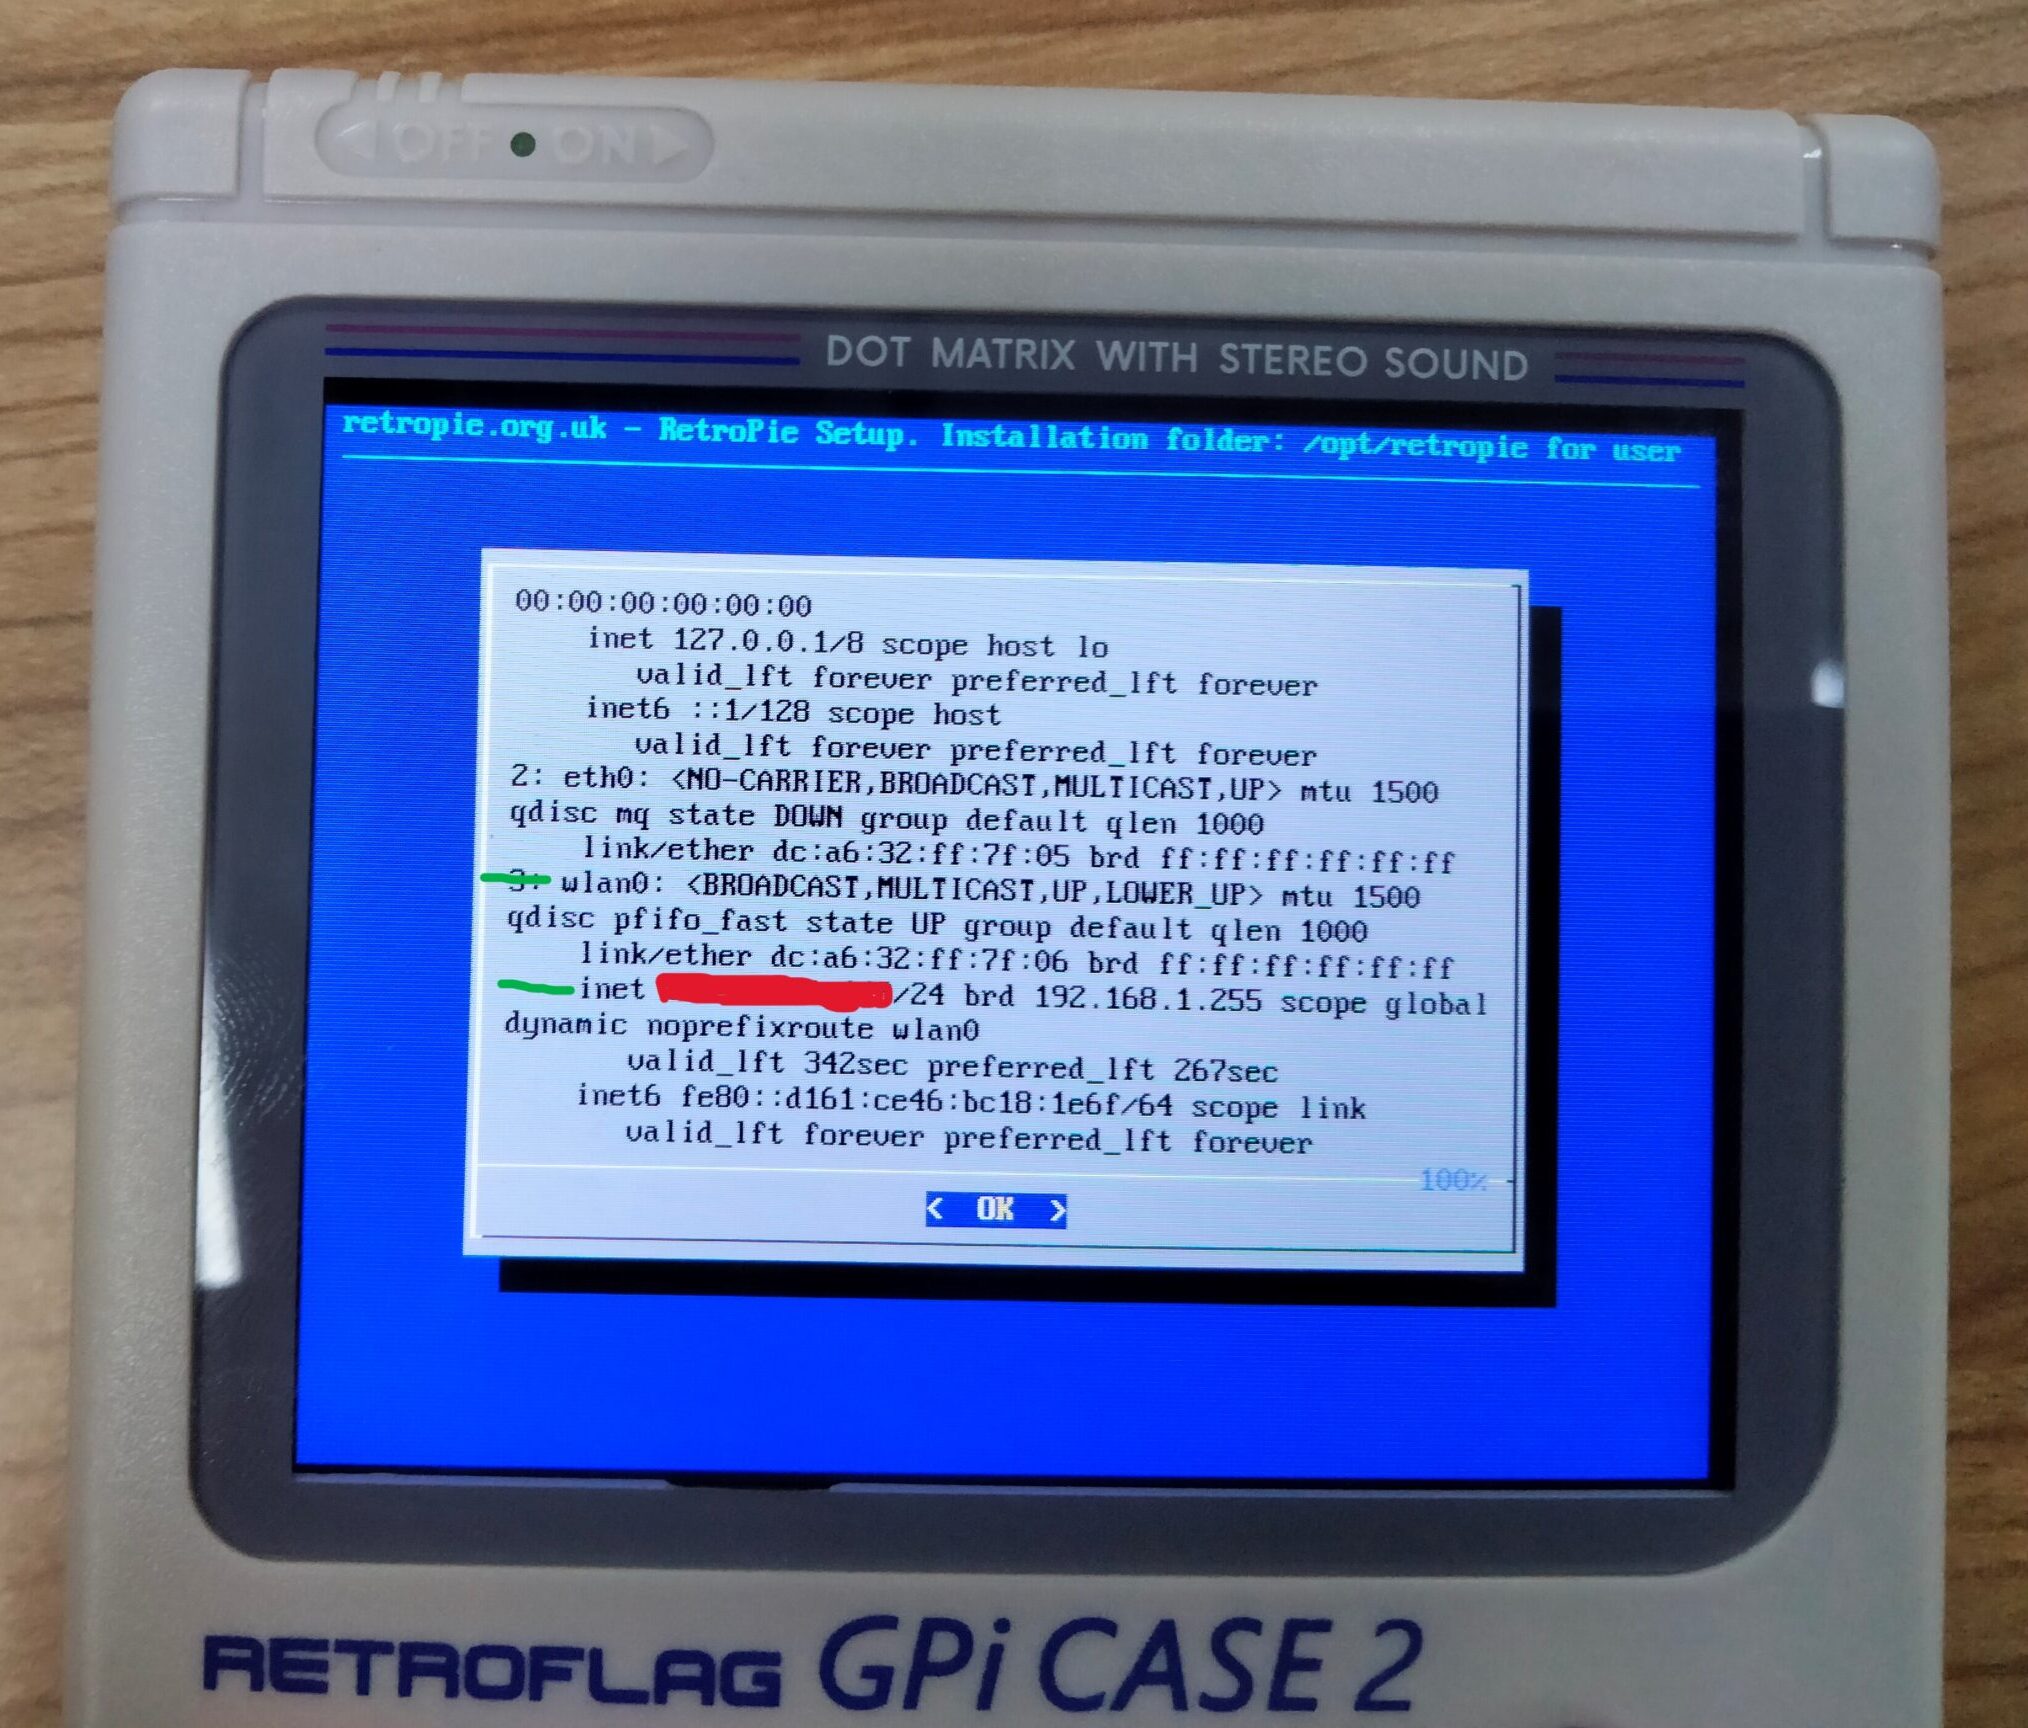
On your GPi CASE 2, enter the RetroPie configuration menu and select Show IP. Scroll down until you see 'wlan0' and 'inet'. Note down this 'inet' IP Address because you will need it soon.
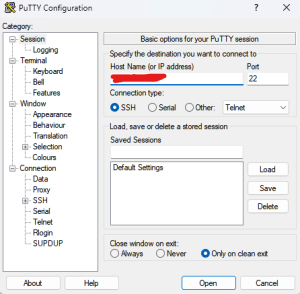
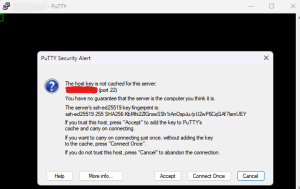
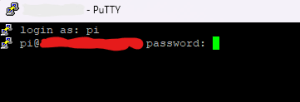
Next, launch Putty on your Laptop/PC. Write your RetroPie IP Address in the IP Address bar.
Note: From now on, the red marks you will see in the picture is where you IP Address will be shown.

Press Accept and login to your RetroPie. Default credentials are:
- Username: pi
- Password: raspberry

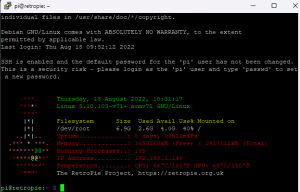
Next you will see a familiar RetroPie command line. You can do basically all command line stuff from here on your RetroPie.
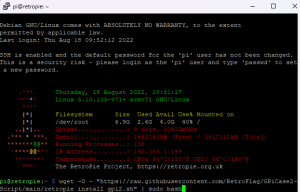
Next, we will download and install the Safe Shutdown scripts. You can get the command on the link here or just copy the command below to type on the SSH.
wget -O - "https://raw.githubusercontent.com/RetroFlag/GPiCase2-Script/main/retropie_install_gpi2.sh" | sudo bash
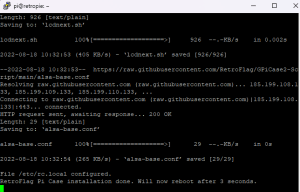
You are all set!!
You are done! Your GPi CASE 2 will automatically reboot. And from now, you can easily and safely turn on and off your GPi CASE 2 by just using the switch on the case.
Have fun! You will need to use SCP to add games into your GPi CASE 2. Don't know what is SCP? Follow this tutorial on how to add games to RetroPie using SCP, wirelessly.
RetroPie on Raspberry Pi boards can supports games from Atari 1977 up to Playstation 1 games. Some later games like Nintendo Wii, Playstation 2, etc cannot run on Raspberry Pi boards. Anyway you can enjoy many retro games with your brand new powerful handheld console, GPi CASE 2!