 International
 Singapore
 Malaysia
 Thailand
 Vietnam
Your shopping cart is empty!

AI with ZOOM:BIT: Introduction & Hardware Setup
- Abdulrahman Alhamed
- 14 Jun 2024
- Tutorial
- Beginner
- 275
Artificial intelligence (AI) is everywhere these days. From recommendations you see on your phone to self-driving cars being tested on the roads, AI is rapidly transforming our world. It's no surprise then that AI is also making its way into the exciting world of robotics!
We will explore together how we can harness the power of AI for your robotics projects by combining the ZOOM:BIT robot car kit with the Huskylens AI vision sensor. By the end of this series, you'll be ready to take your ZOOM:BIT to the next level with features like face recognition, object tracking, colour detection, and more!
Video Tutorial
What is Huskylens?
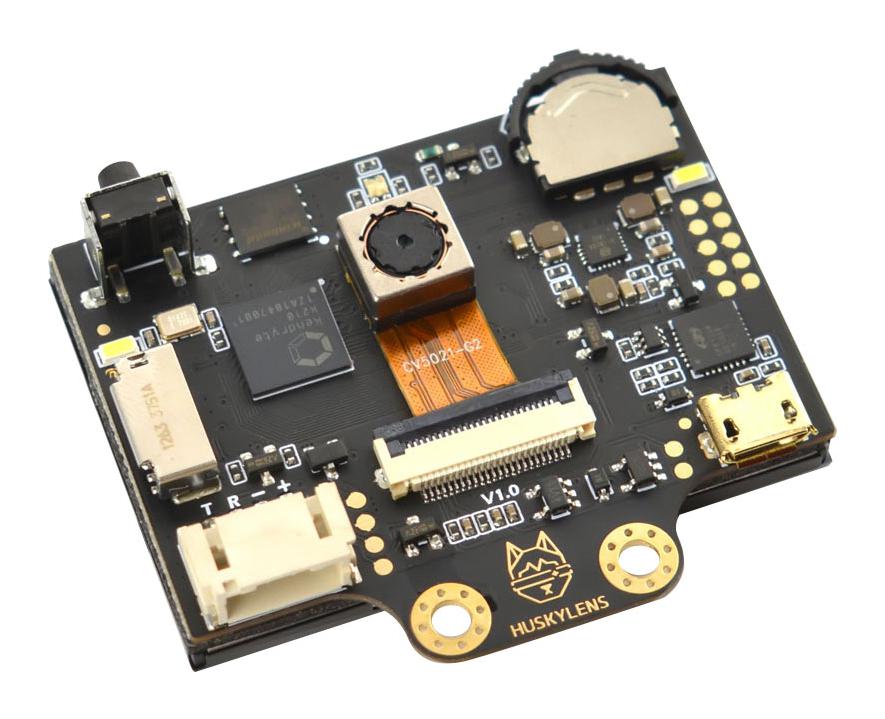
HuskyLens is an AI-powered machine vision camera designed for hobbyists and educators. It's essentially a smart camera that can be easily integrated with popular development boards like Arduino, Raspberry Pi, and micro:bit. Here are some key features of HuskyLens:
- Built-in AI: Huskylens has various built-in functions like face recognition, object tracking, object recognition, line tracking, color recognition, and tag recognition.
- Easy to Use: It doesn't require complex programming knowledge. You can change functions and even train it to recognize new objects with the built-in buttons.
- Visual Programming: HuskyLens comes with a 2.0 inch IPS screen so you can see what it's detecting and configure it visually without needing a separate computer.
Hardware Setup
1. Unplug the ultrasonic sensor
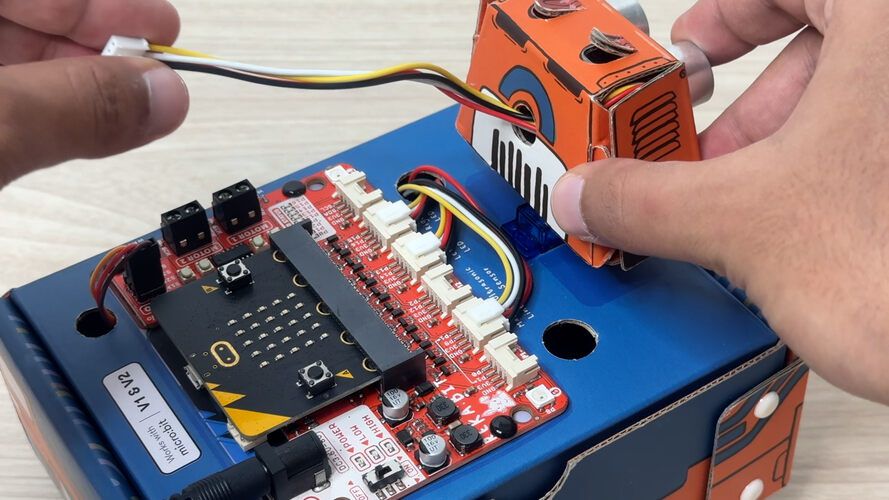
2. Remove the head from the servo motor
3. Attach the double arm horn to the servo motor
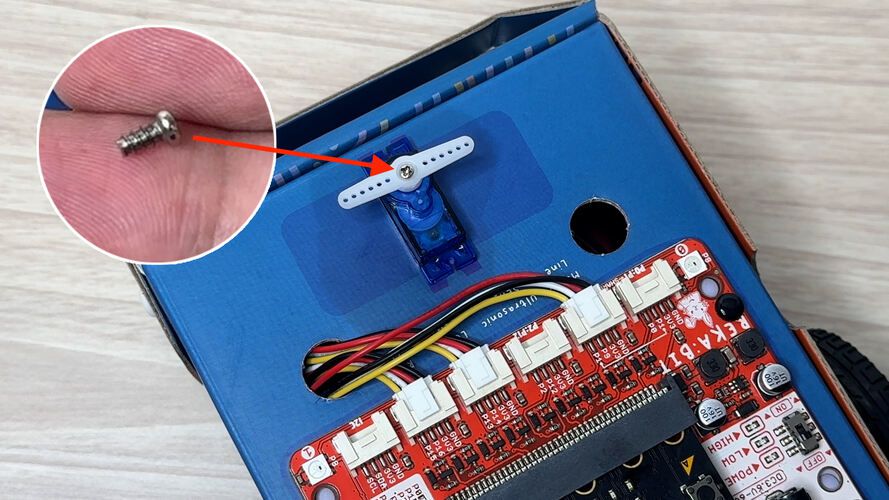
4. Using a screwdriver, carefully create two holes on opposite sides of the servo motor
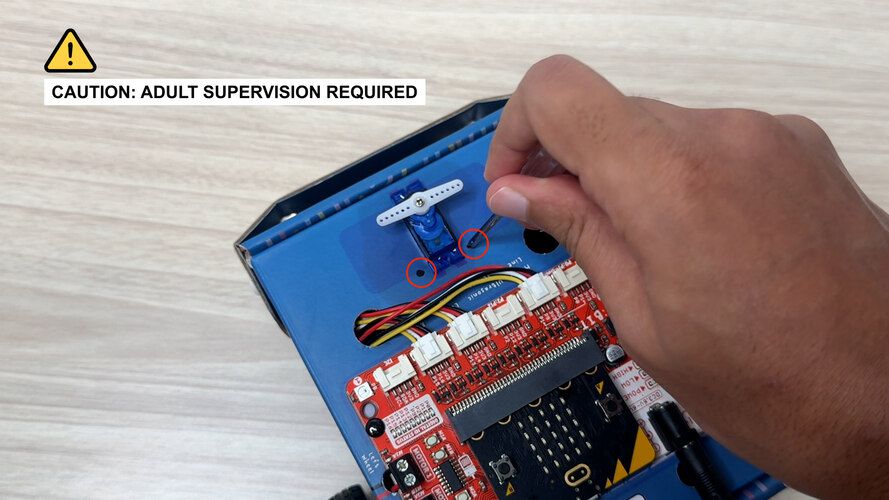

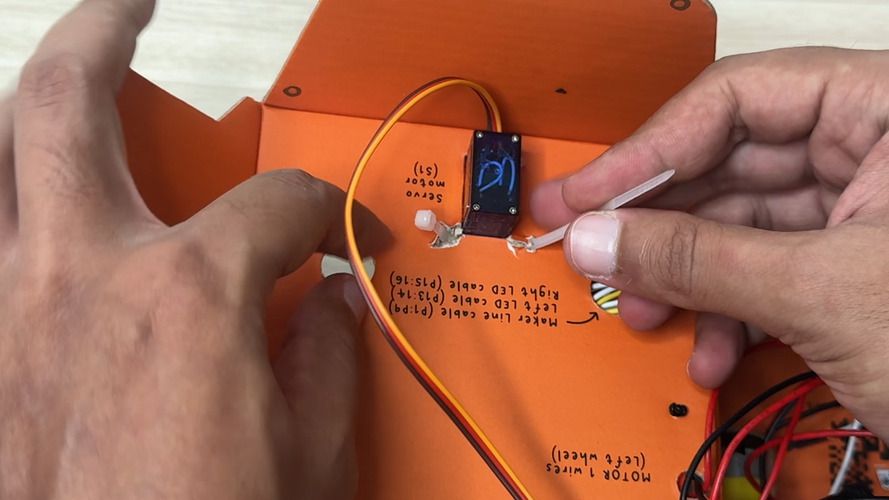
5. Insert a cable tie through the holes and tighten it around the servo motor to secure it in place
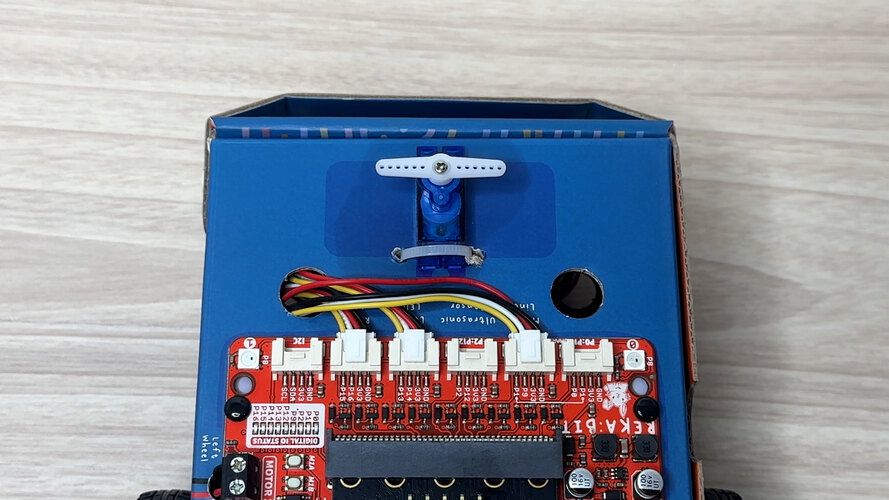
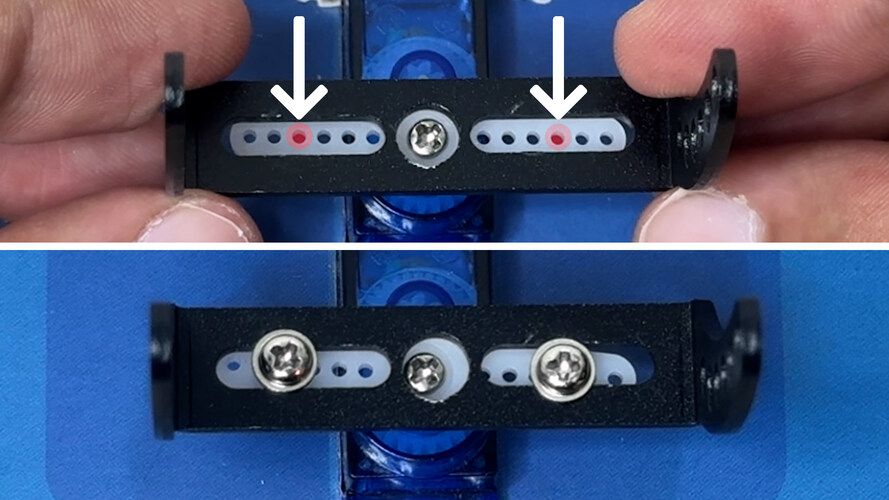
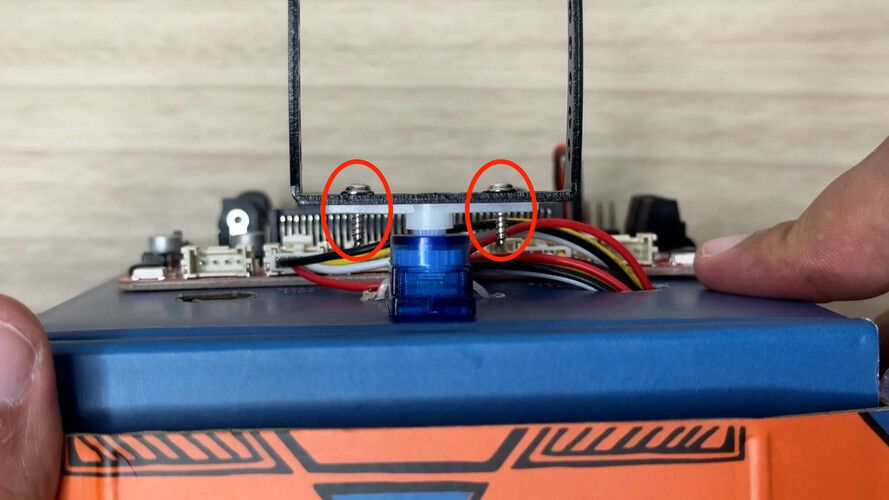
6. Secure the heightening bracket to the servo motor by inserting screws into the marked areas
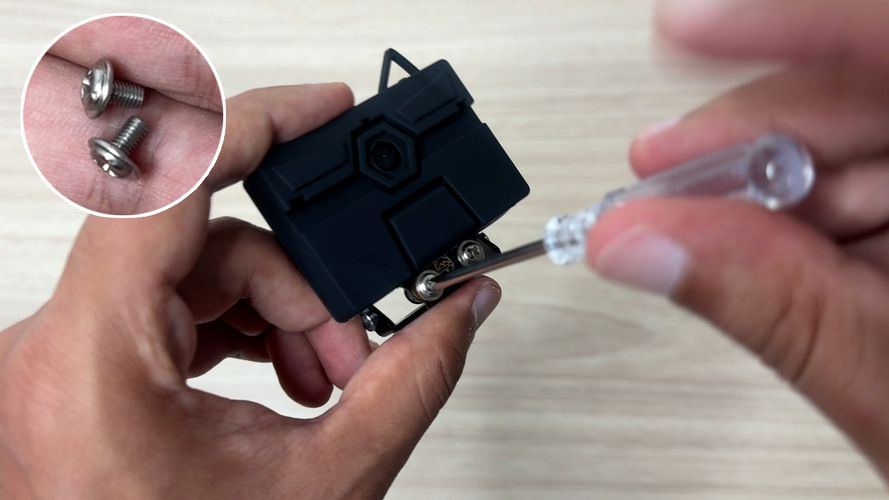
7. Attach Huskylens to the small mounting bracket
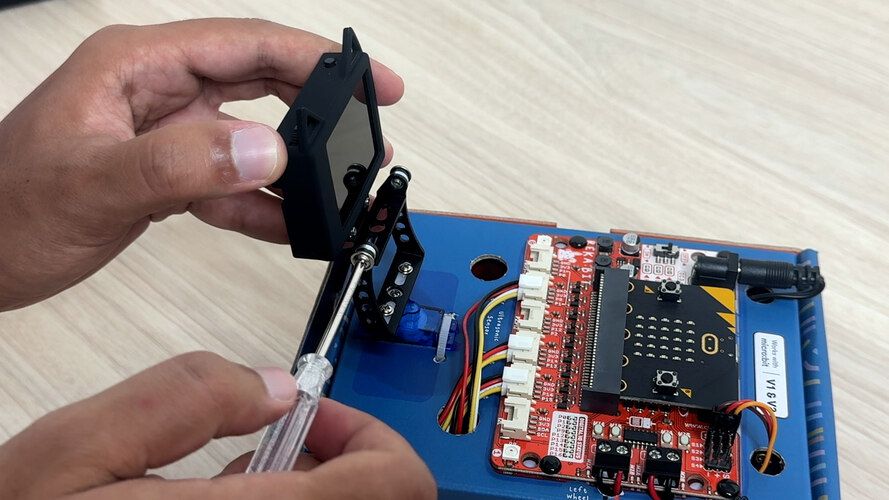
8. Attach the entire assembly to the heightening bracket
9. Using the Grove to Gravity cable, connect the Gravity end of the cable to Huskylens
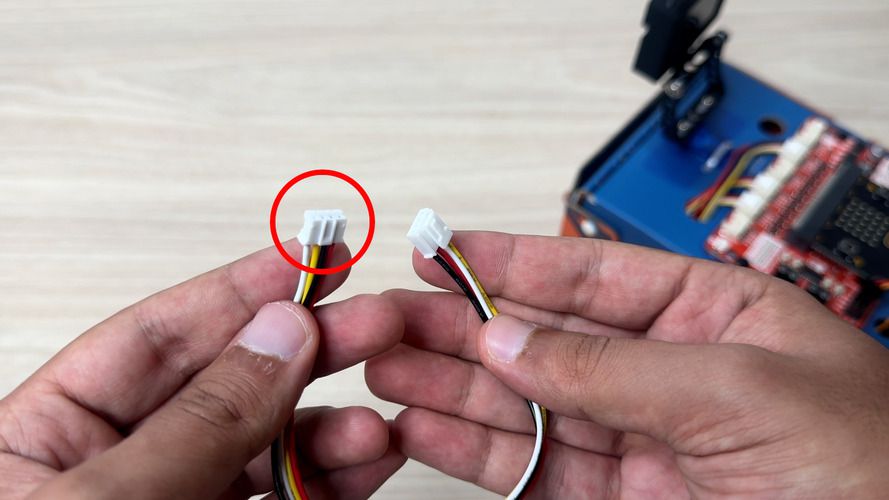
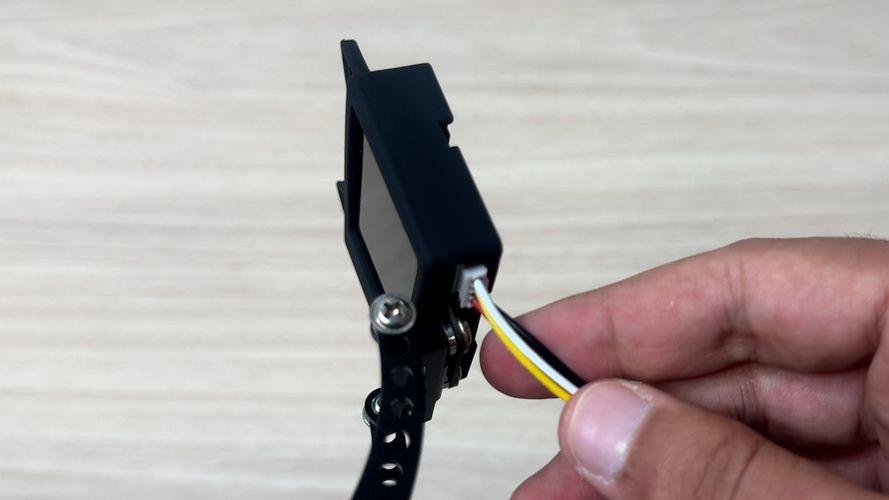
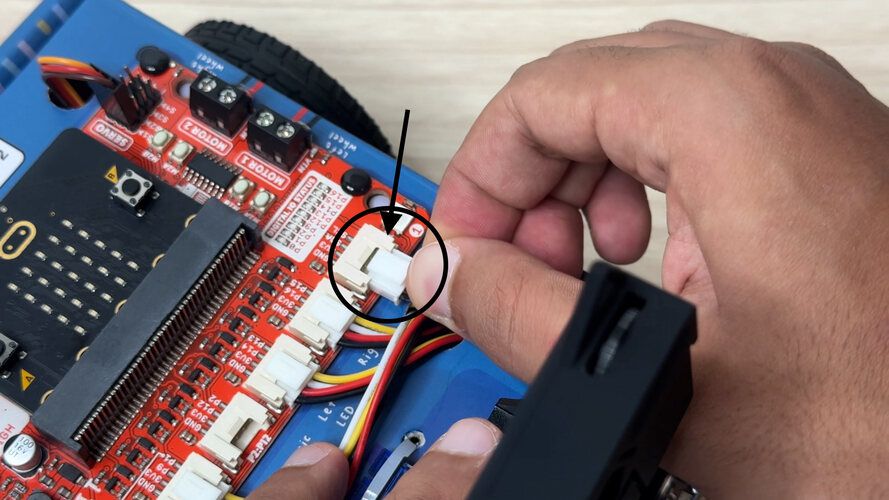
10. Connect the Grove end of the cable to the I2C port on REKA:BIT
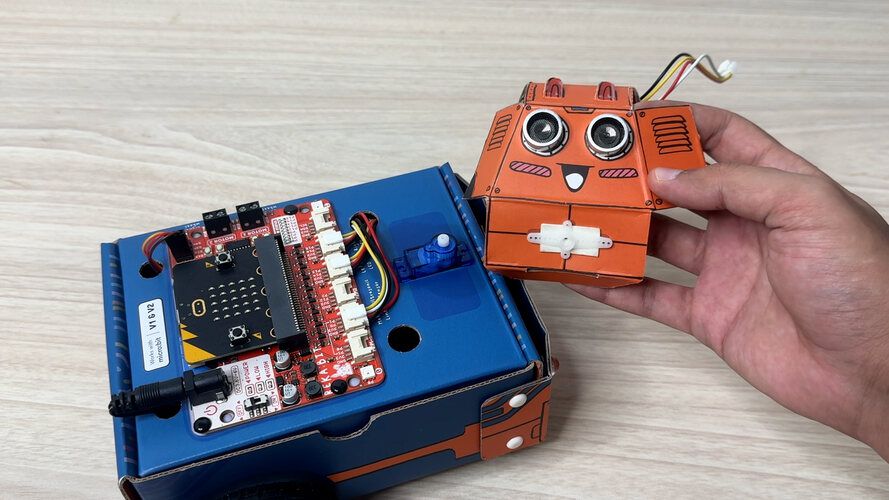
You're All Set
Alright, great job! Now you have the hardware ready to explore the exciting world of AI with your robot car. Make sure to see the next tutorials where we'll explore some exciting projects that utilize this powerful AI vision sensor.
Hardware Components

ZOOM:BIT Robot Car Kit for micro:bit
S$45.00++ S$45.00
x 1 unit(s)