Your shopping cart is empty!
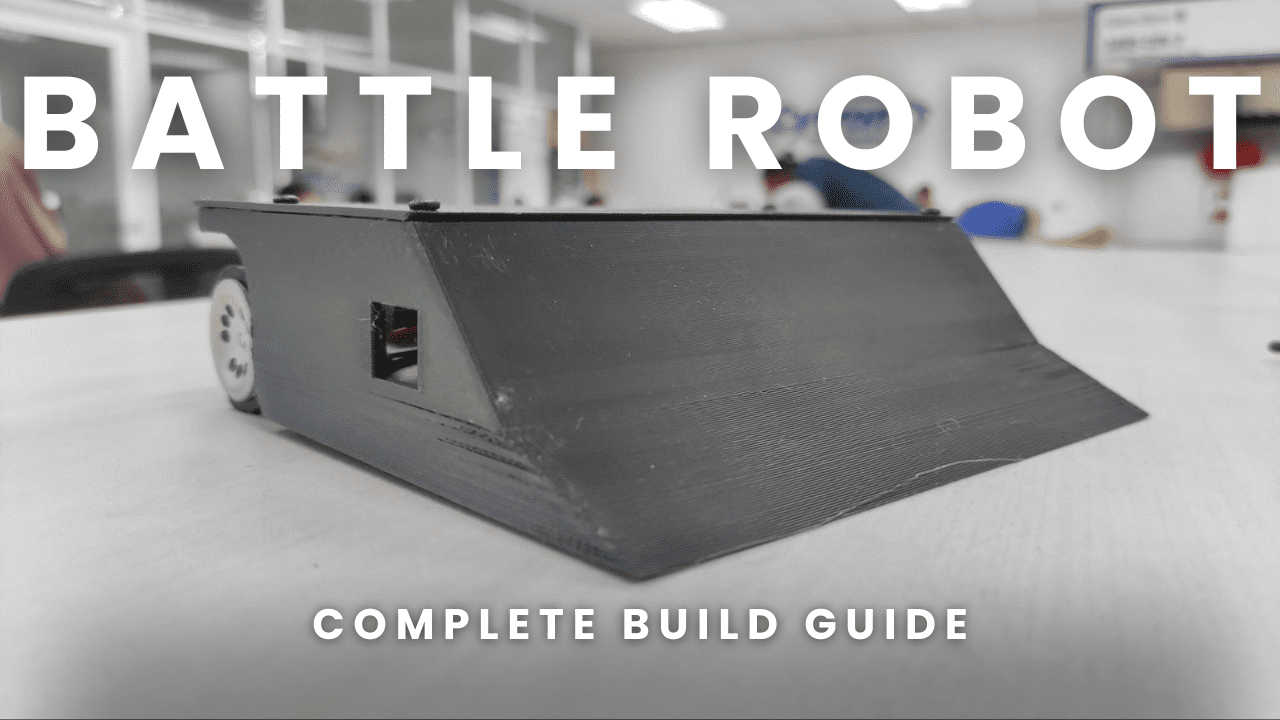
Robot Battle Getting Started Instruction
- Otheya Kumar
- 27 Aug 2024
- Tutorial
- Beginner
- 450
This tutorial will guide you through the Robot Battle assembly process. With this guide, you can easily assemble your own robot and begin your journey in Robot Battle.
Components List
- 1 x Maker Mini Sumo Controller
- 2 x 6V 400RPM Super Power DC Micro Metal Gearmotor (NovaMax)
- 2 x Sumozade Silicone Wheel Set (30mm x 23mm)
- 1 x 7.4V 450mAh LiPo Battery
- 1 x Mini Robot Battle Chassis (Top Cover)
- 1 x Mini Robot Battle Chassis (Main)
- 1 x Mini Robot Battle Chassis (Motor Bracket)
- 1 x Copper Base
- 1 x JST LiPo Battery Wire Extension
- 2 x 2561 3 Ways Connector Extension Wire
- 10 x M3 Self-Tapping Screw (Black)
- 4 x M3 Bolt
- 4 x M3 Nut
- 1 x HC-05 Bluetooth Module (Optional)
- 1x PS2 Controller and Receiver (Optional)
- 1x RC Controller and Receiver (Optional)
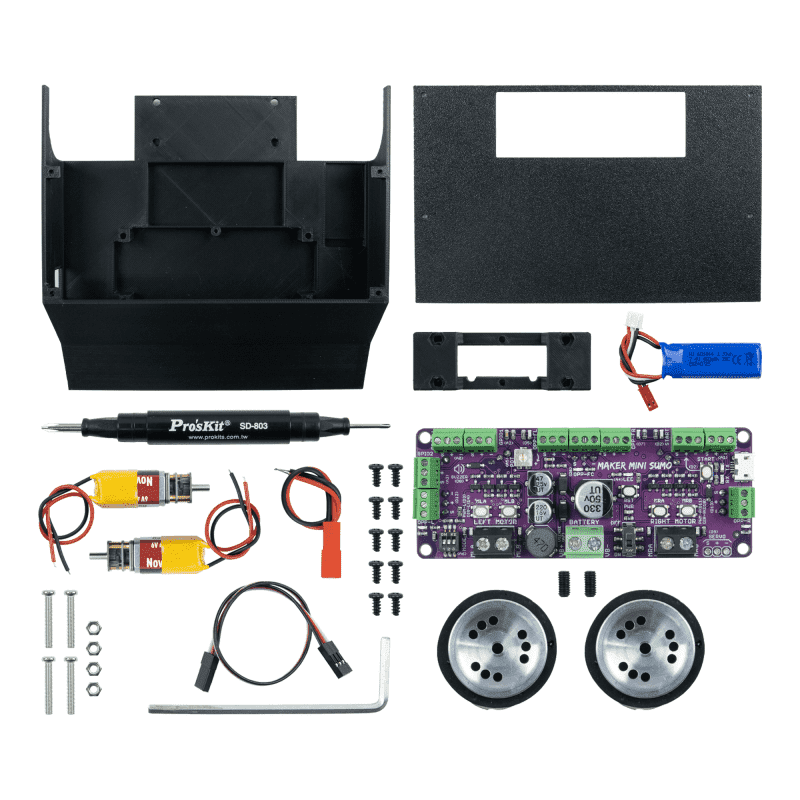
Note: You may also need a Magnetized Phillips Screwdriver, a Magnetized Flathead Screwdriver and an Allen Key Set.
Robot Assembly
BLUETOOTH VERSION
- Cut the 3 way connector extension cable into 2 parts and strip it properly using a Wire Stripper.
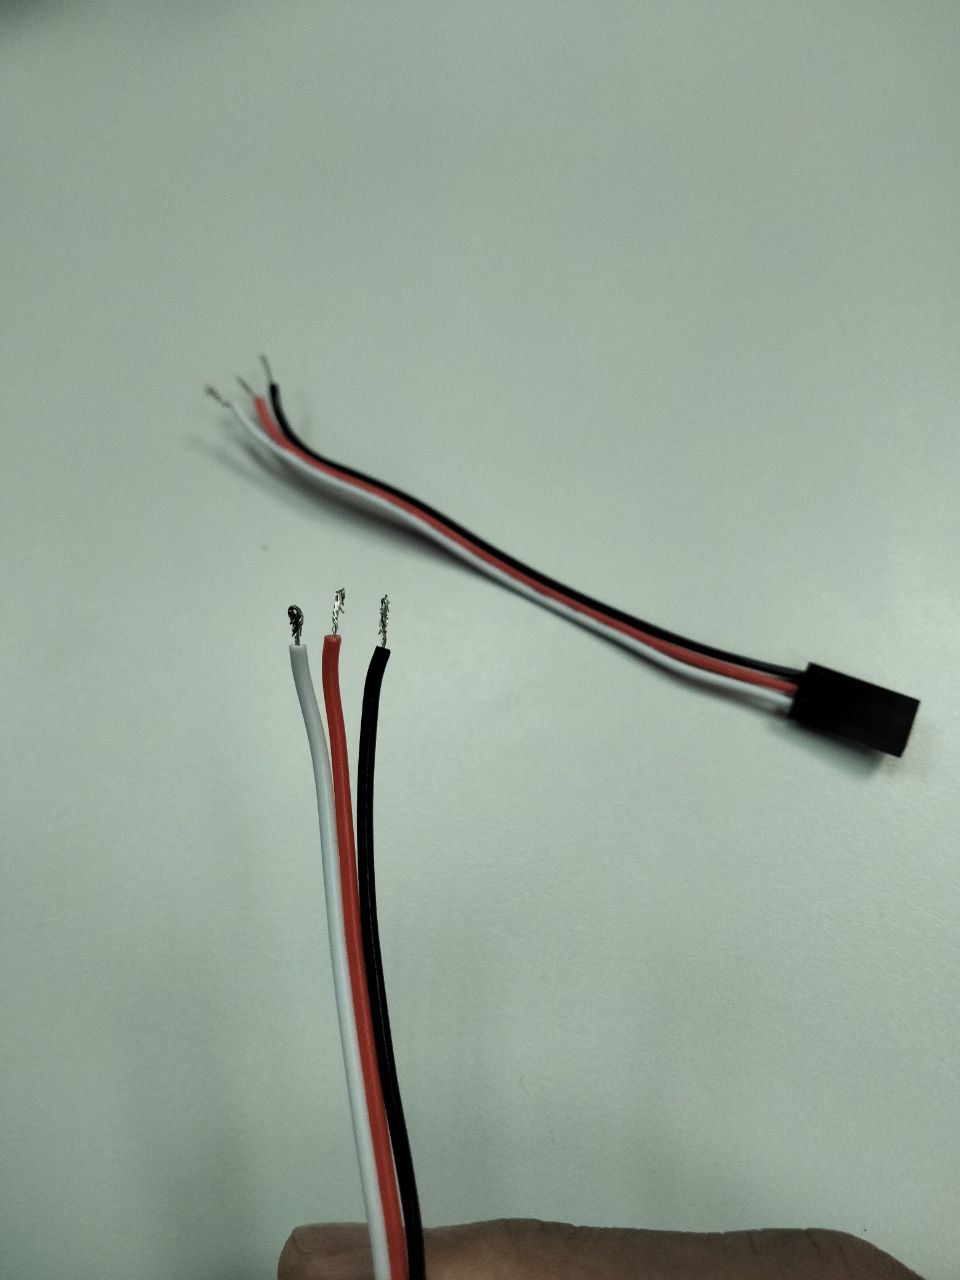
- Connect the two headers to the HC-05 Bluetooth Module. Refer to the wire color below:
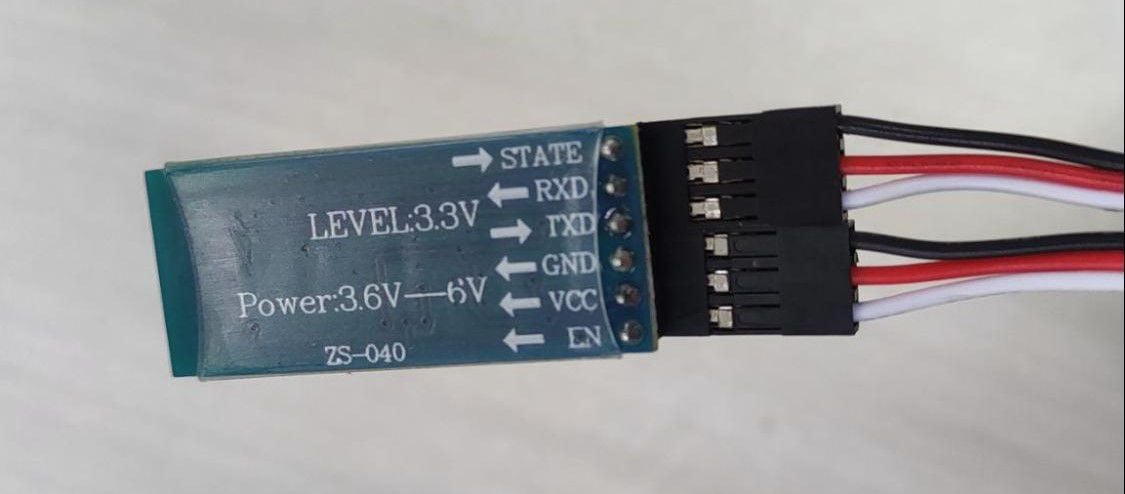
Wire 1
EN = White
VCC = Red
GND = Black
Wire 2
TX = White
RX = Red
STATE = Black
- Now you will need to connect the wires to the Maker Mini Sumo Controller by referring to the wire pin below:
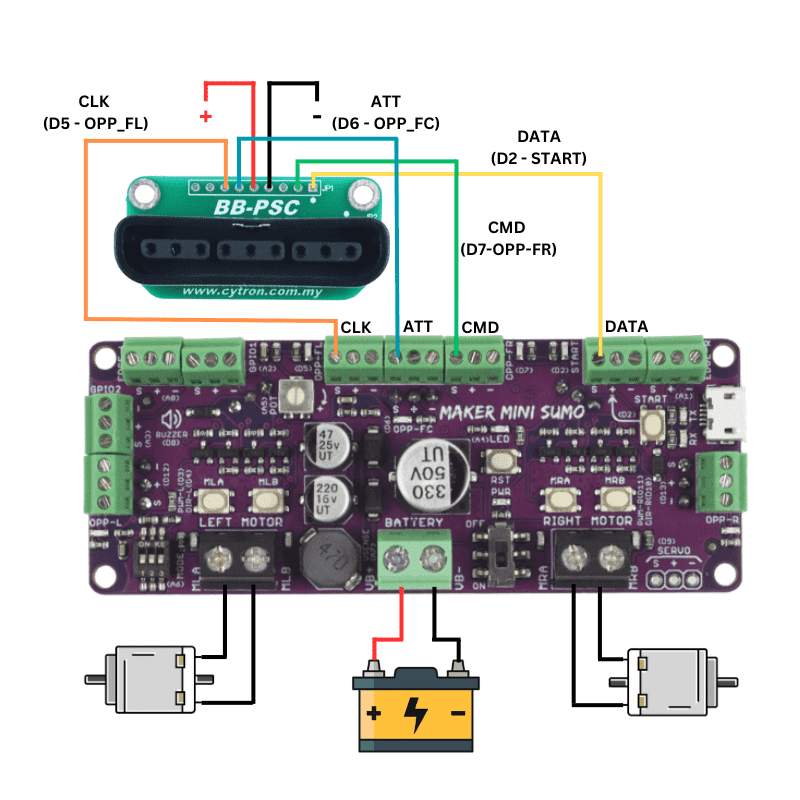
Connect the VCC pin of the HC-05 to the 5V (+ve) pin on the board.
Connect the GND pin of the HC-05 to the GND (-ve) pin on the board.
Connect the TXD pin of the HC-05 to the RXD (GPIO1) pin on the board.
Connect the RXD pin of the HC-05 to the TXD (GPIO2) pin on the board.
- Connect the JST LiPo Battery Wire Extension to the Battery Terminal.
VB + = Red
VB - = Black
- Place the Maker Mini Sumo Controller into the Robot Battle Chassis and align the holes correctly, then screw the board into the chassis using 4x M3x6 Self-Tapping Screw (Black).
Note: Make sure the wires going to the HC-05 Bluetooth module is out from under the board and pushed to the left before screwing it into the chassis.
- Attach the NovaMax motors onto the Robot Battle motor bracket.
- Now, align the motor bracket with the motors with the chassis and screw in all the M2.5x20 Bolts from the bottom of the chassis into the M2.5 Nuts which are placed on the top of the motor bracket.
Note: Make sure to screw in the bolts alternatively and only tighten them after screwing in all of the bolts to avoid misalignment.
- Now, separate each motor’s wires which should consist of 1 black and 1 red wire each motor. Then, connect the wire according to this:
- MLA = Black
- MLB = Red
- MRA = Red
- MRB = Black
- Place the battery into the designated place in the chassis and stick it to the chassis using double sided tape so that it doesn't move around during use.
- Connect JST LiPo Battery Wire Extension to the battery.
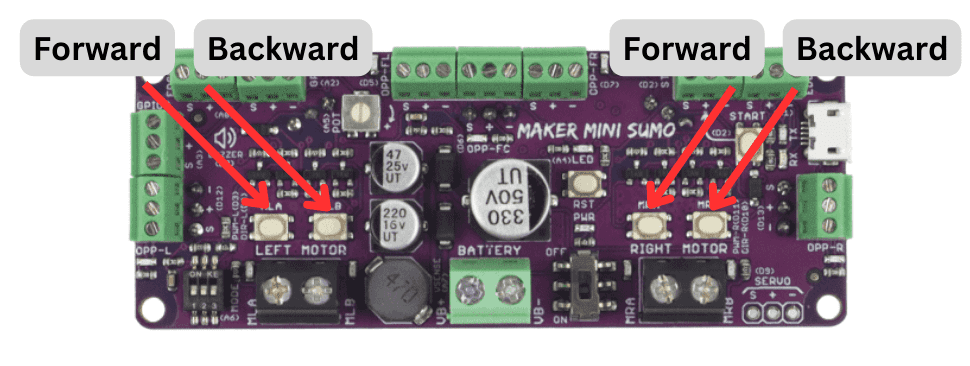
- Now, turn on the Maker Mini Sumo Controller and try calibrating the motors to make sure that it does move in the right direction. This can be done by simply using the built-in motor testing feature on the Maker Mini Sumo Controller.
Refer to this to properly test the motor:
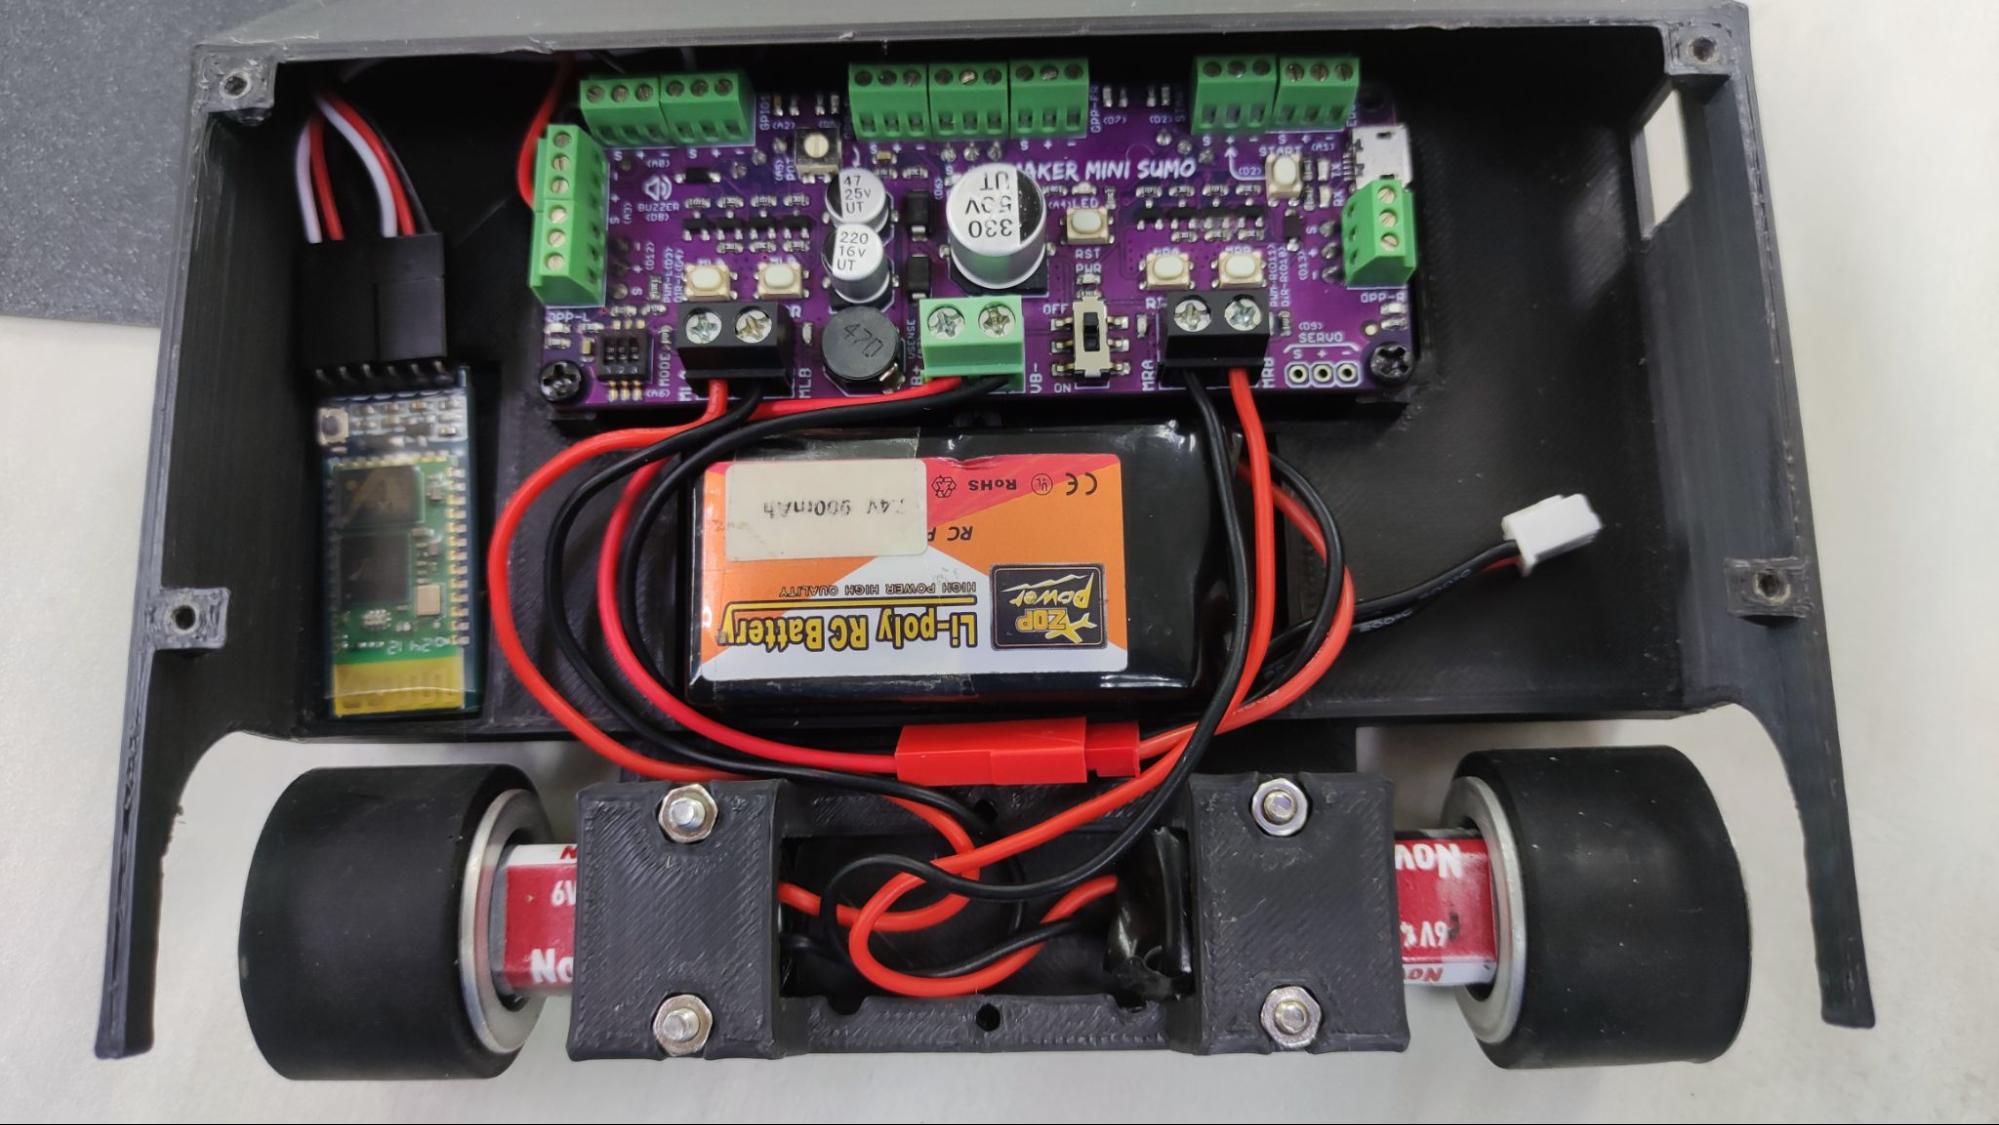
- Now, clean up and properly cable manage the wires as well as stick the HC-05 module to the chassis in its designated place using some double sided tape.
- Place the top cover on the Robot Battle main chassis and screw it in place with 4 M3x6 Self-Tapping Screw (Black).
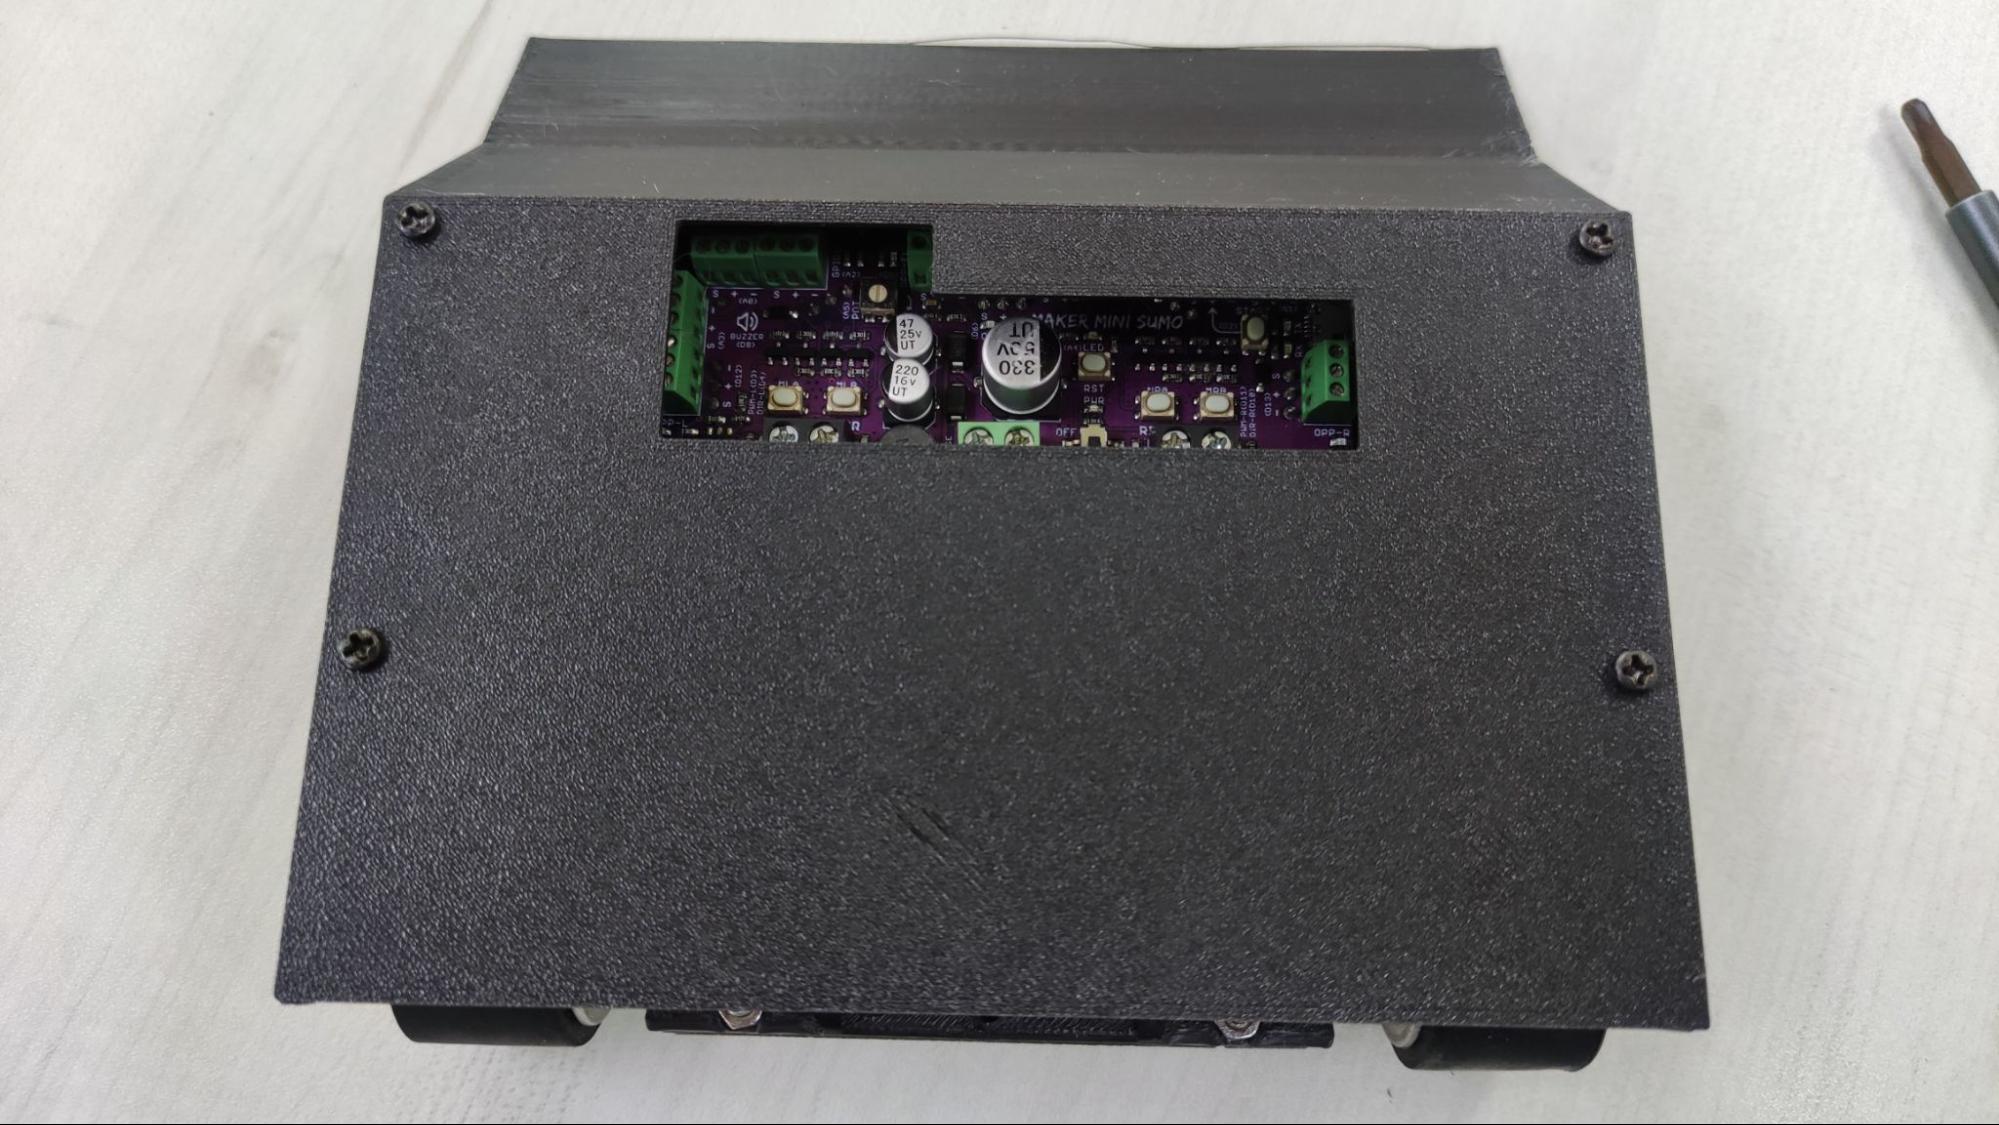
- Finally, attack the copper plate on the bottom of the Robot Battle and screw it in place using the remaining 2 M3x6 Self-Tapping Screw (Black).
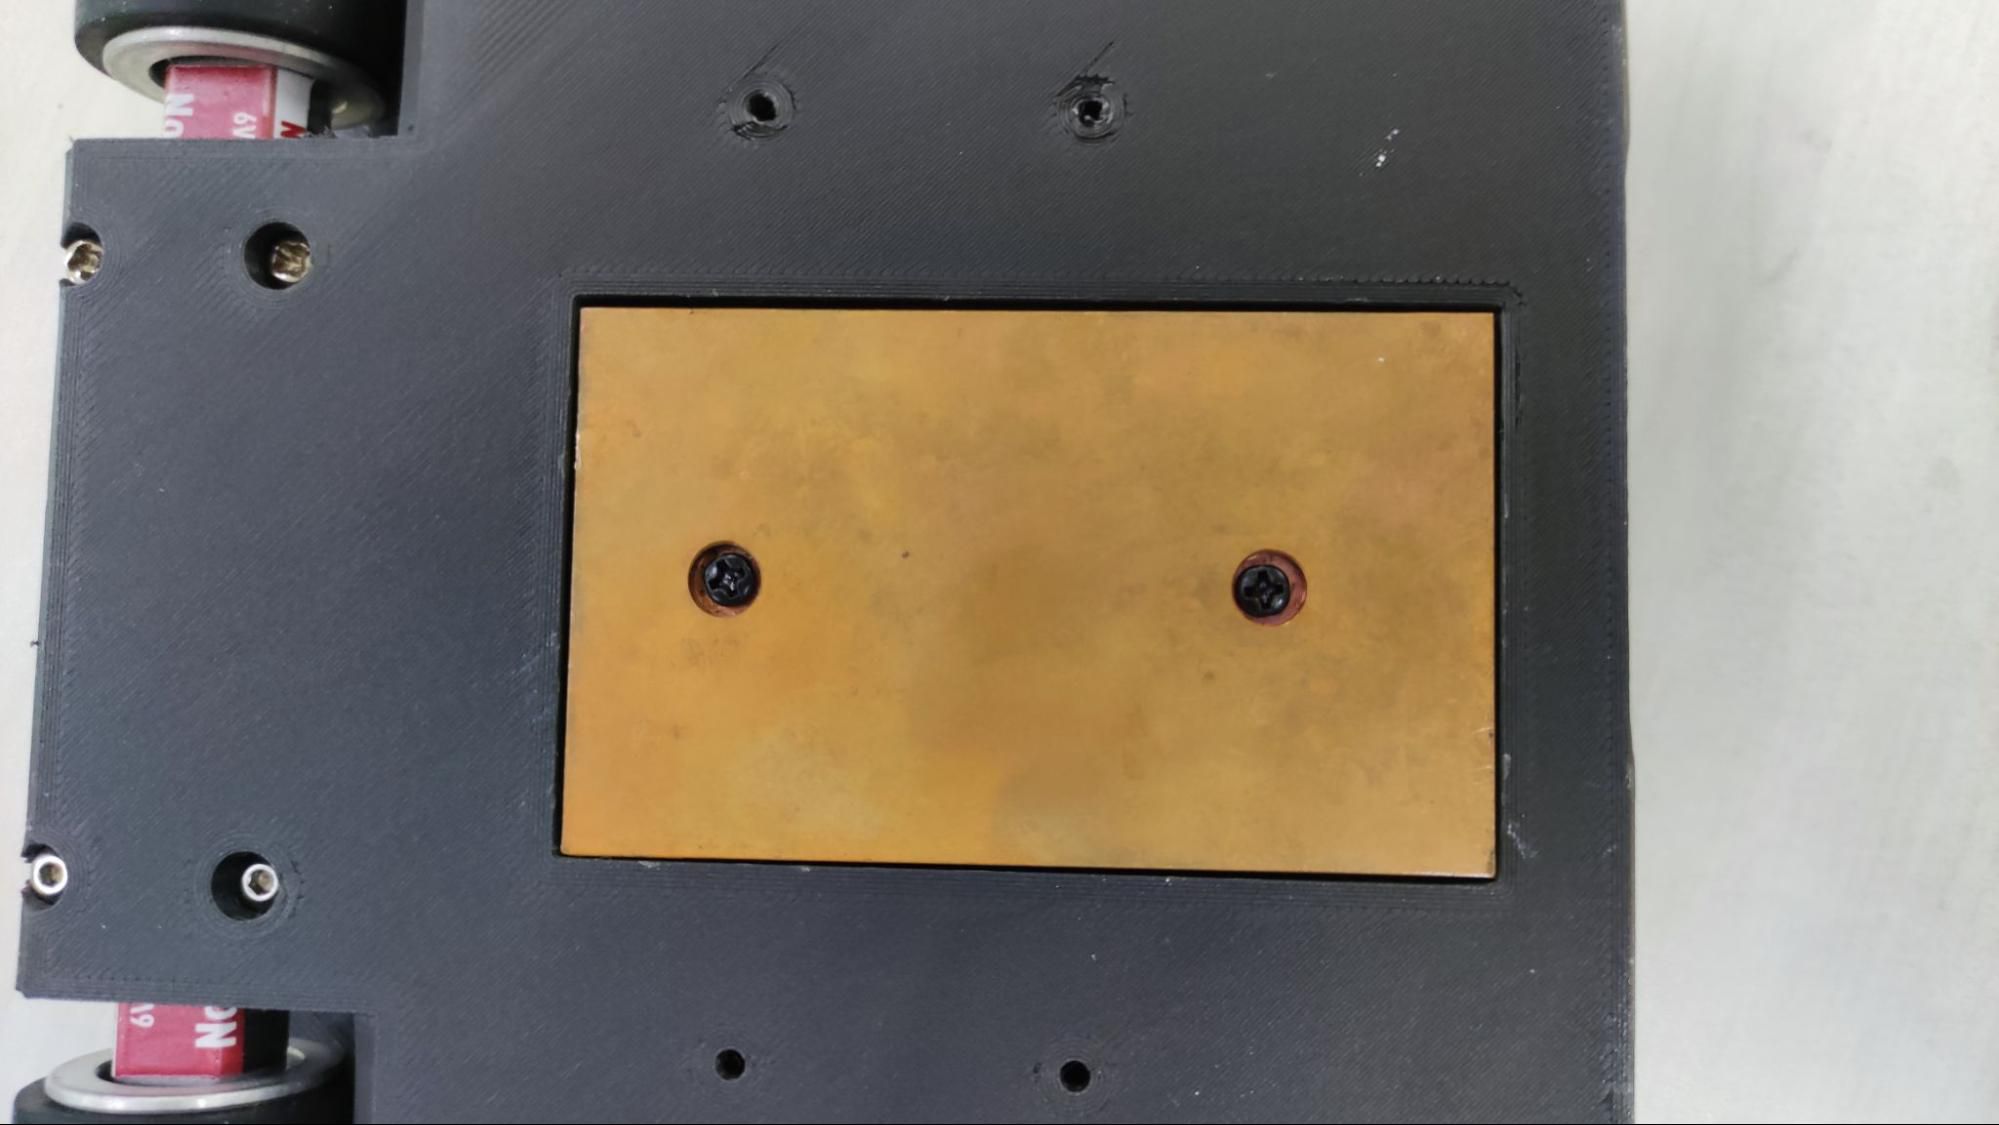
Note: For more information on Robot Battle bluetooth, you can head over to this link.
PS2 CONTROLLER VERSION
Most of the steps to build the Robot Battle are similar to the bluetooth version except the module that is connected to the Maker Mini Sumo Controller.
If you’ve already assembled your Robot Battle based on the bluetooth module version and now want to change to the PS2 version, here’s how to do it:
- First, disassemble the robot and take out the Maker Mini Sumo Controller.
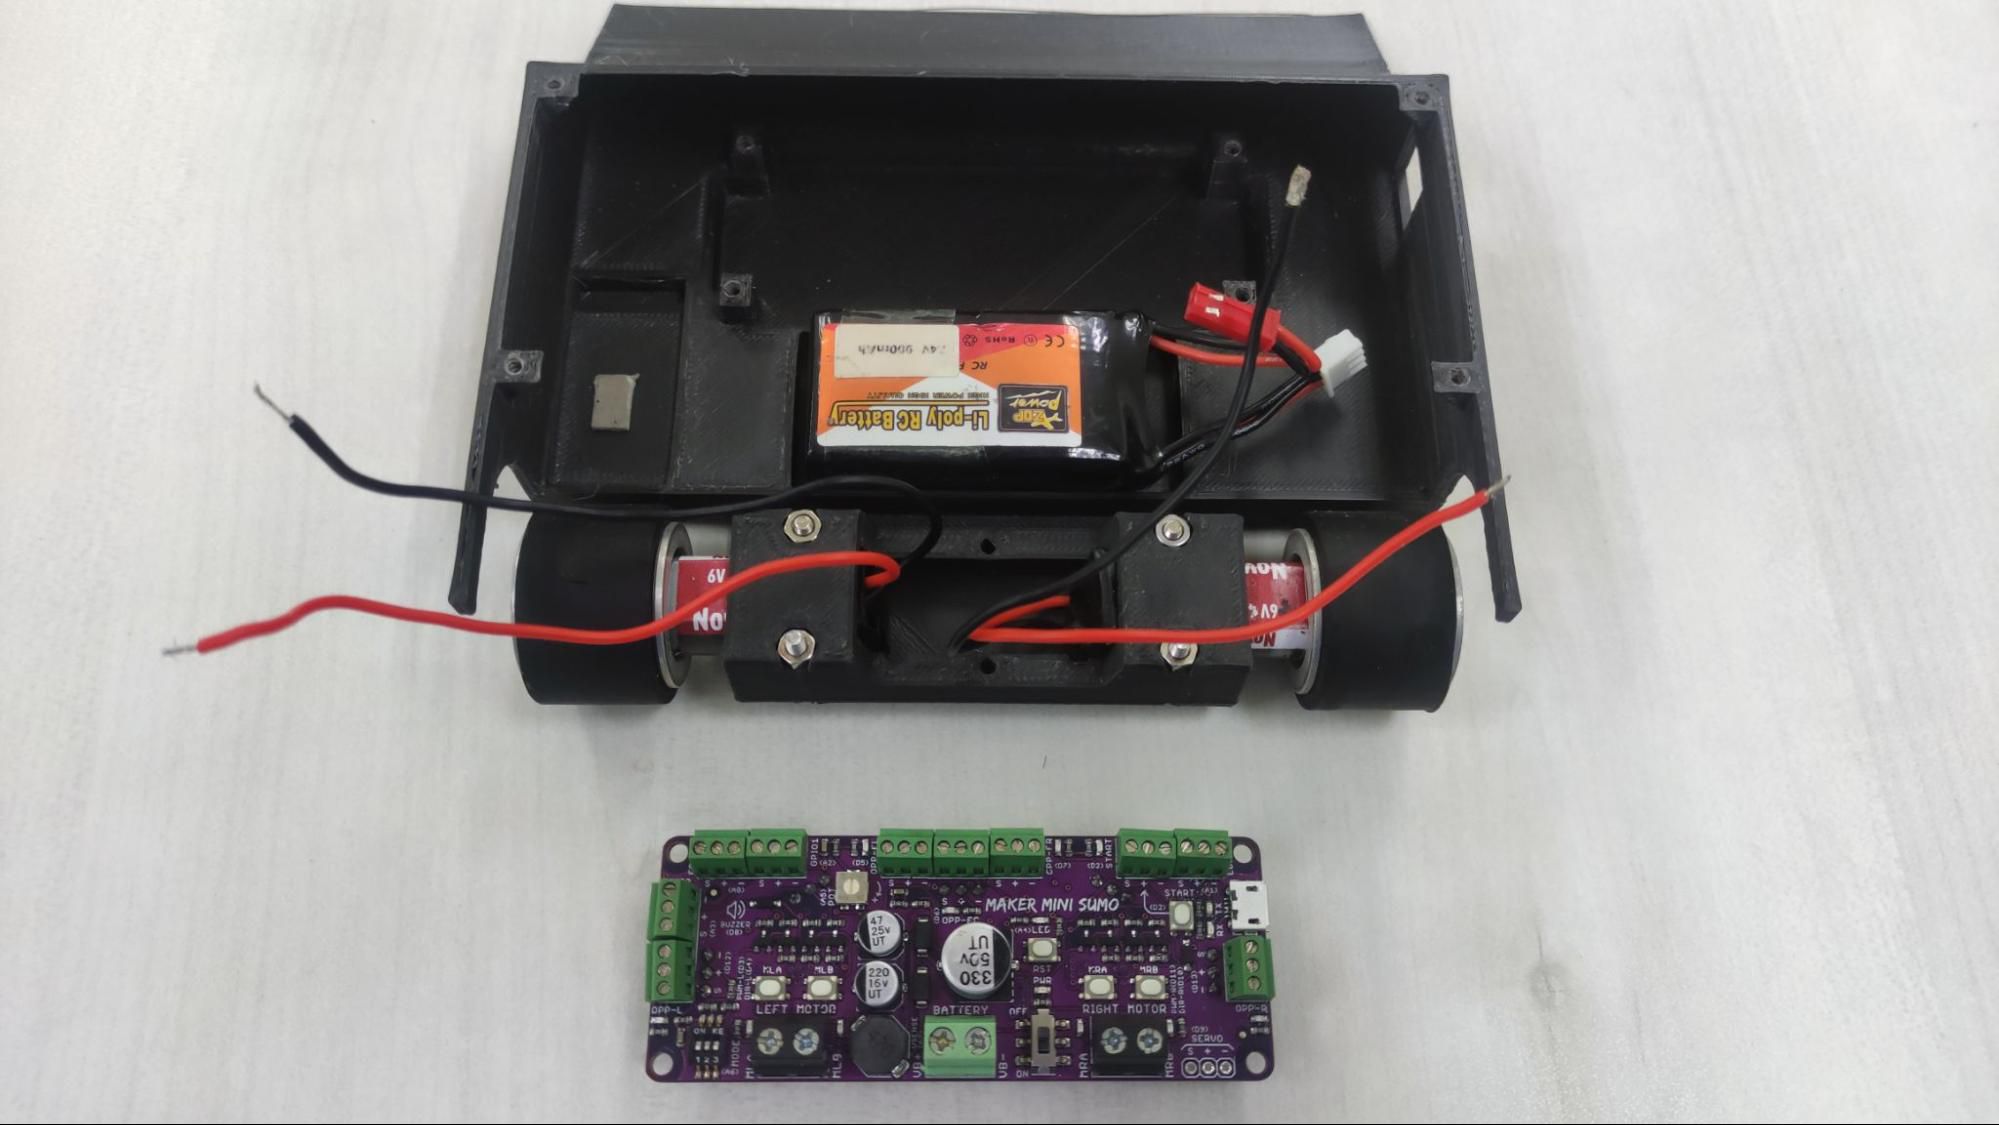
Note: Skip to this step if you have not fully built the Robot Battle
- Now, connect the PS2 controller receiver to the Maker Mini Sumo controller based on this diagram.

- Now, follow steps 4 onwards from the bluetooth version section to build the rest of the Robot Battle.
Note: For more information on Robot Battle PS2, you can head over to this link.
RC CONTROLLER VERSION
- Cut the 3 way connector extension cable into 2 parts and strip it properly using a Wire Stripper.

- Connect the headers to channels 1 and 3 of the RC receiver.
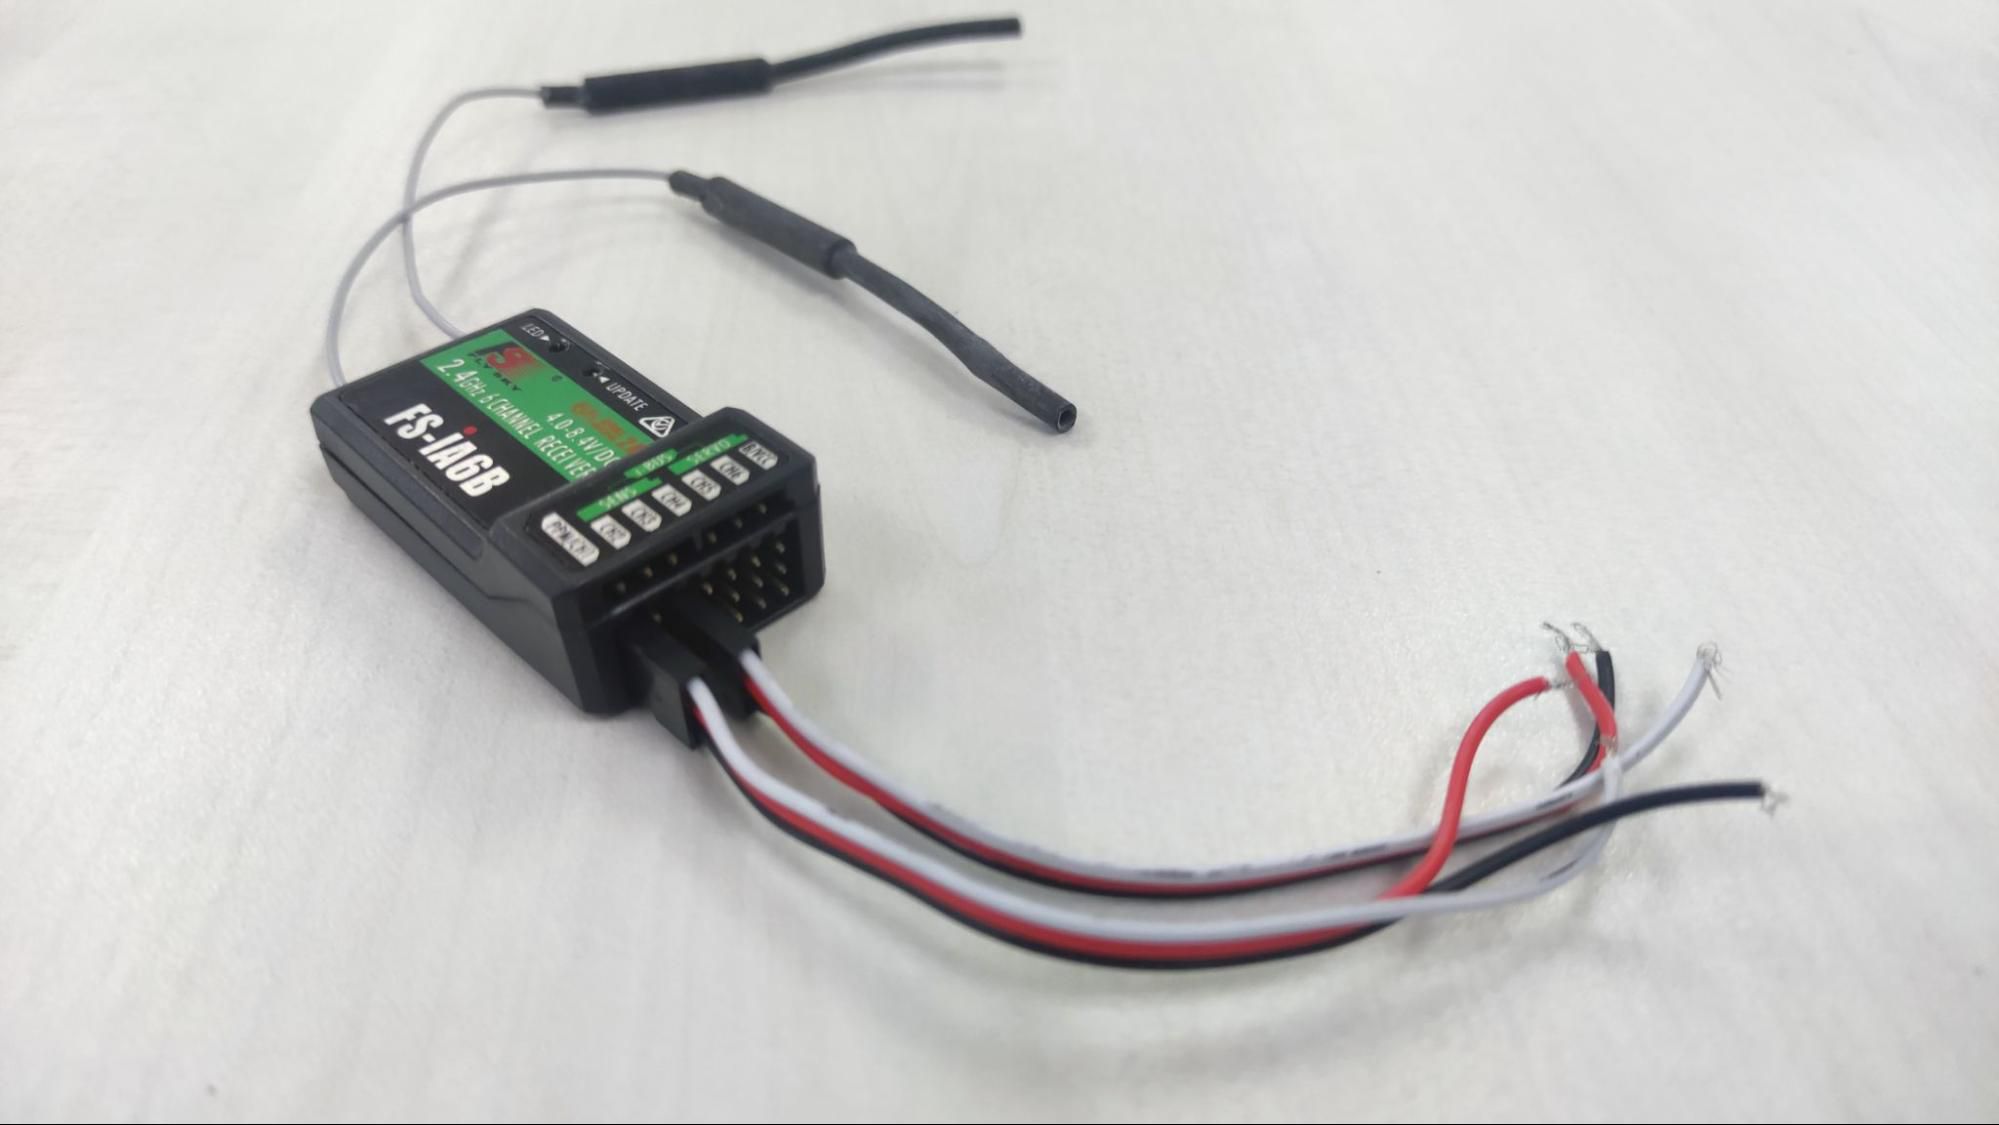
- Connect the wires that are coming out of the RC receiver to the Maker Mini Sumo controller based on the diagram:
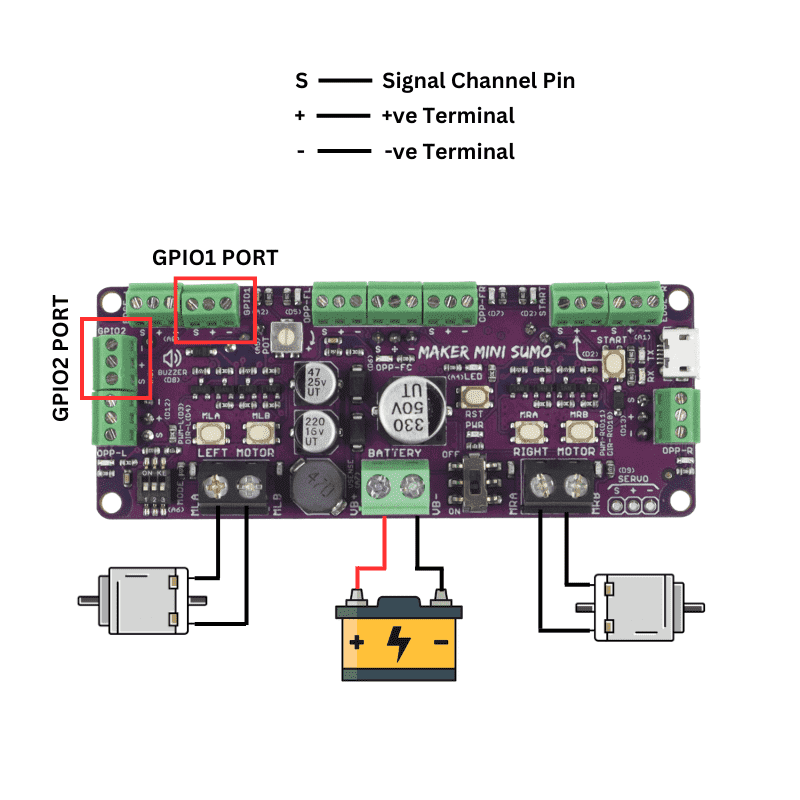
- Now, follow steps 4 onwards from the bluetooth version section to build the rest of the Robot Battle.
Note: For more information on RC Robot Battle, you can head over to this link.
Congratulations, now your Robot Battle is ready for action! You can easily upload your coding into the main controller board through the Micro USB-B Port on the right side of your robot and start battling.
Hardware Components
Robot Battle (500g) by Cytron
S$238.93 S$238.93
 International
 Singapore
 Malaysia
 Thailand
 Vietnam


