Your shopping cart is empty!
_11zon.jpg)
Getting started with EdgeBox RPi 200 and Node-Red
- Hussien Jawhar Sathik
- 16 May 2023
- Tutorial
- 1512
Introduction
In this tutorial today, we would like to see how to get started with the EdgeBox RPi 200 and control it using Node-Red. First lets walkthrough the features of the EdgeBox RPi 200.
What is EdgeBox RPi 200?
EdgeBox RPi 200 is a all-in-one Raspberry Pi-based industrial edge computing controllers which can be applied to different industrial. The EdgeBox RPi 200 is an ideal choice for smart automation and Industrial Internet of Things (IIoT) solutions because it is designed as high scalability and rugged industrial hardware. It comes mounted with rich IO resources and supported by the great Raspberry Pi industrial software ecosystem.
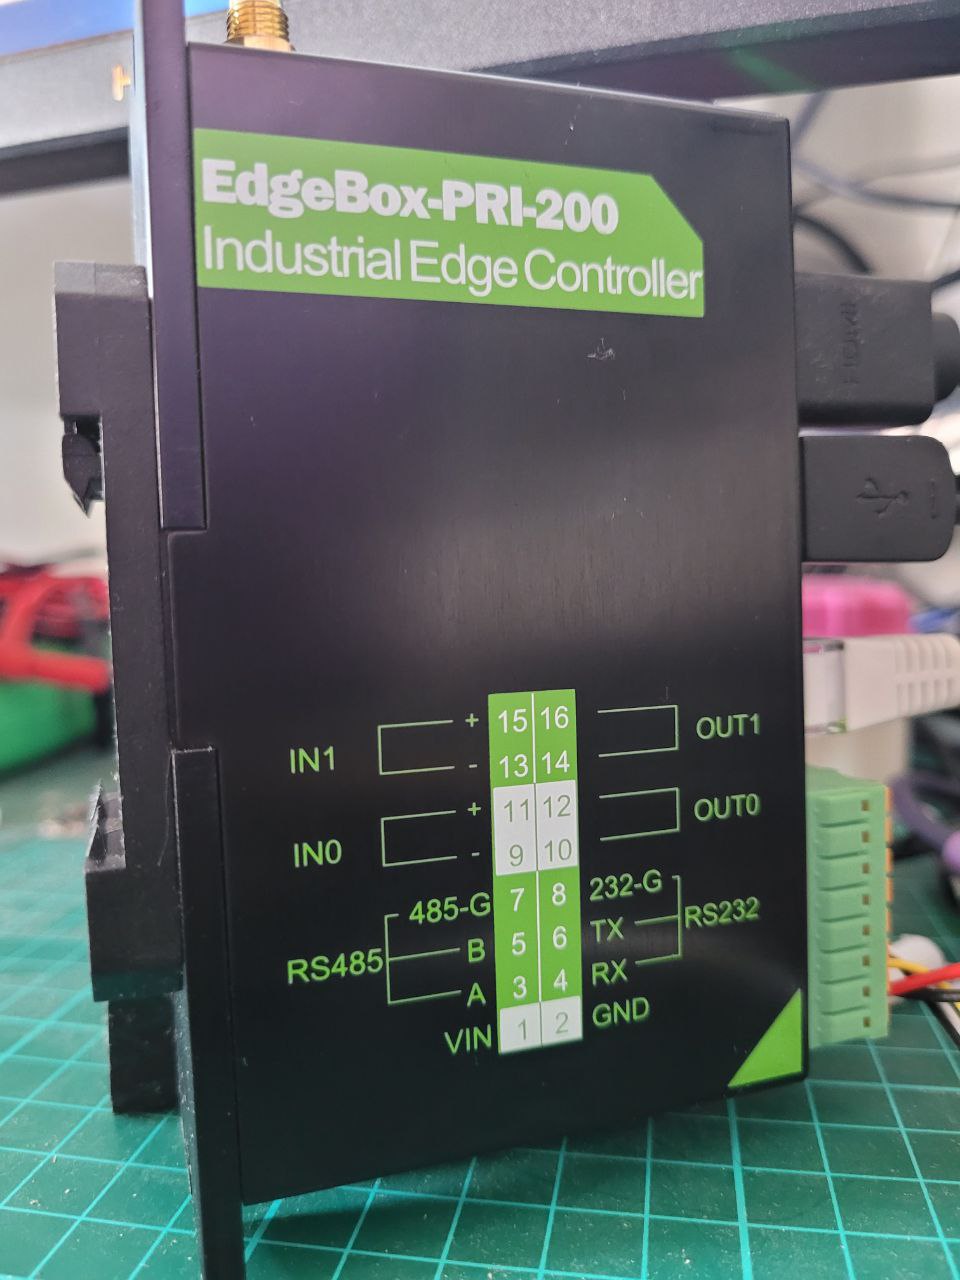
Below are the featuers of the EdgeBox RPi 200.
Feature
All-in-one Industry Controller:
- More than just a PLC, PAC, more can it implement functions of the IIoT Gateway, OPC UA Server and Industry PC.
Powerful and Flexible Processors:
- Powered by Raspberry Pi Compute Module 4 (CM4), equipped up to 4GB RAM and 16GB eMMC, performing real-time operation and multi-process.
Rich IO resources and Industrial Interfaces Mounted:
- Support a wide range of industrial bus protocols and standards
Multiple Communication Capabilities:
- Carry full-featured wireless interconnectivity and a RJ45 Gigabit Ethernet, supported by multiple cloud services
Rugged Industrial-grade Hardware Design:
- Integrated thermal management with full Aluminum heatsink enclosure, supporting 35mm DIN and wall mount
Great Raspberry Pi Industrial Software Ecosystem:
- Support a variety of industrial software and platforms, including Codesys, Node Red, MQTT, OPC UA, Ignition and etc.
Getting Started
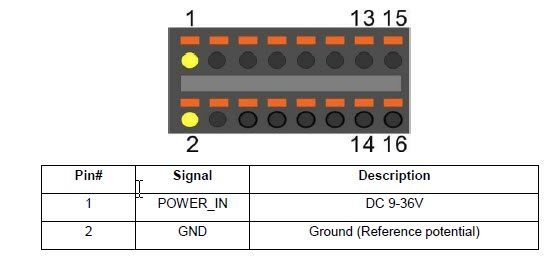
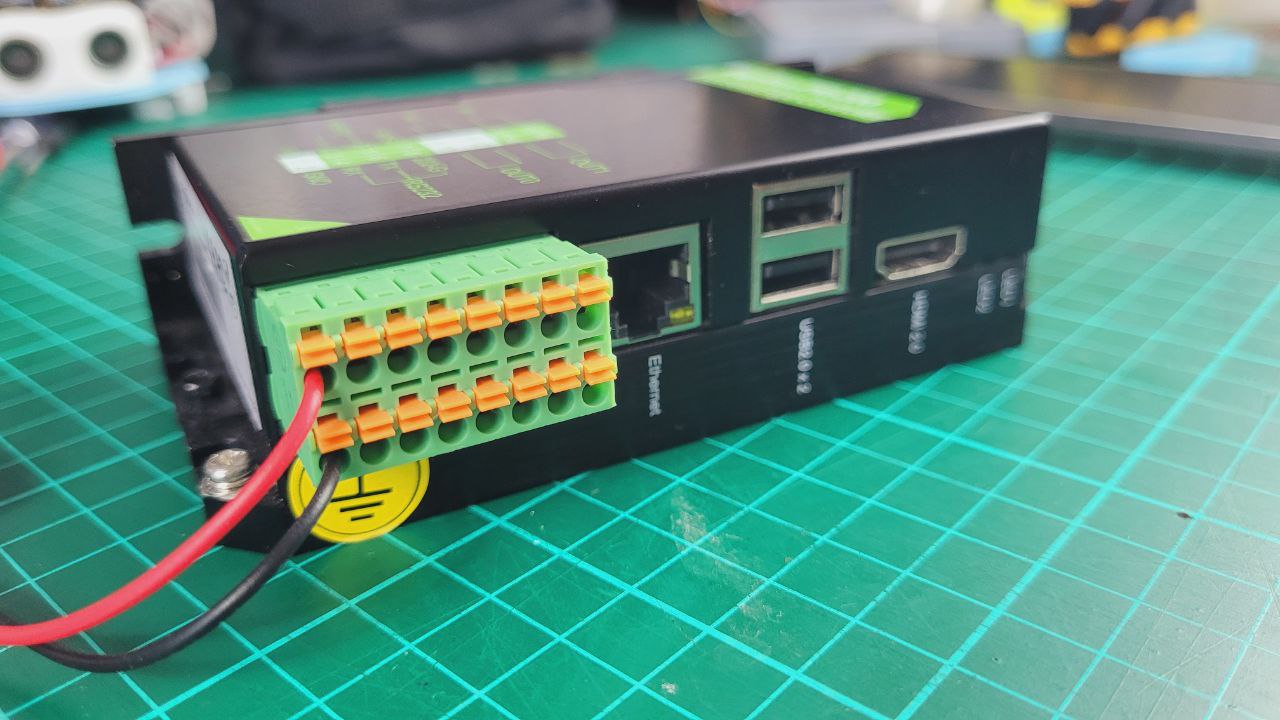
Now let's power up the EdgeBox RPi 200. To power the device we would need a DC voltage range from 9- 36V. In my case i am using the 15 VDC. The connection of the power pin is as shown in the figure below. Ensure the positive and the negative cable are connected properly
 |  |
Once the connection of the wiring is done, next we can connect the ehternet cable. Now everything is in place, we power on the device. In this tutorial, we will access the Raspberry Pi through VNC. To know more about how to access the Raspberry Pi through VNC viewer, please refer to this tutorial. Once we are able to access the Raspberry Pi, we can proceed to install the Node-Red.
Installing The Node-Red
Once inside the Raspberry Pi OS, we can now install the Node-Red. First visit the link here to get download link. Next copy & paste the code below in the terminal
bash <(curl -sL https://raw.githubusercontent.com/node-red/linux-installers/master/deb/update-nodejs-and-nodered)
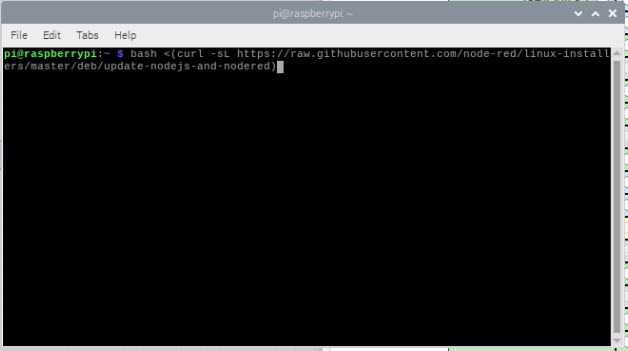
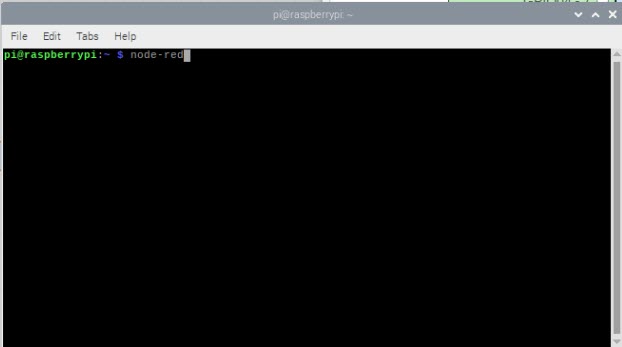
The installation process is very much straight forward. Once the installation process is completed, we can now run the Node-Red. To run the Node-Red, type node-red in the terminal window.
And the following display will come
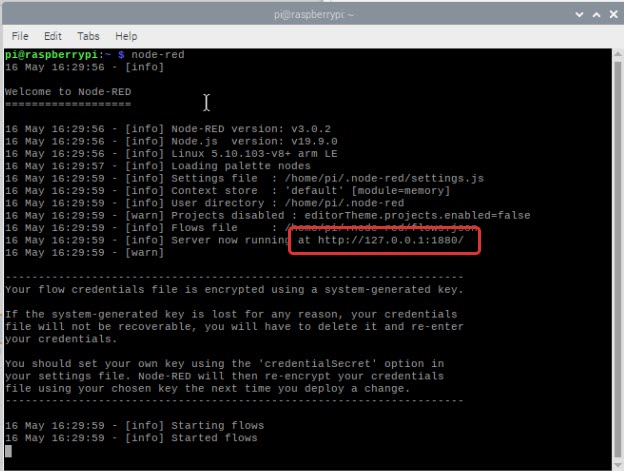
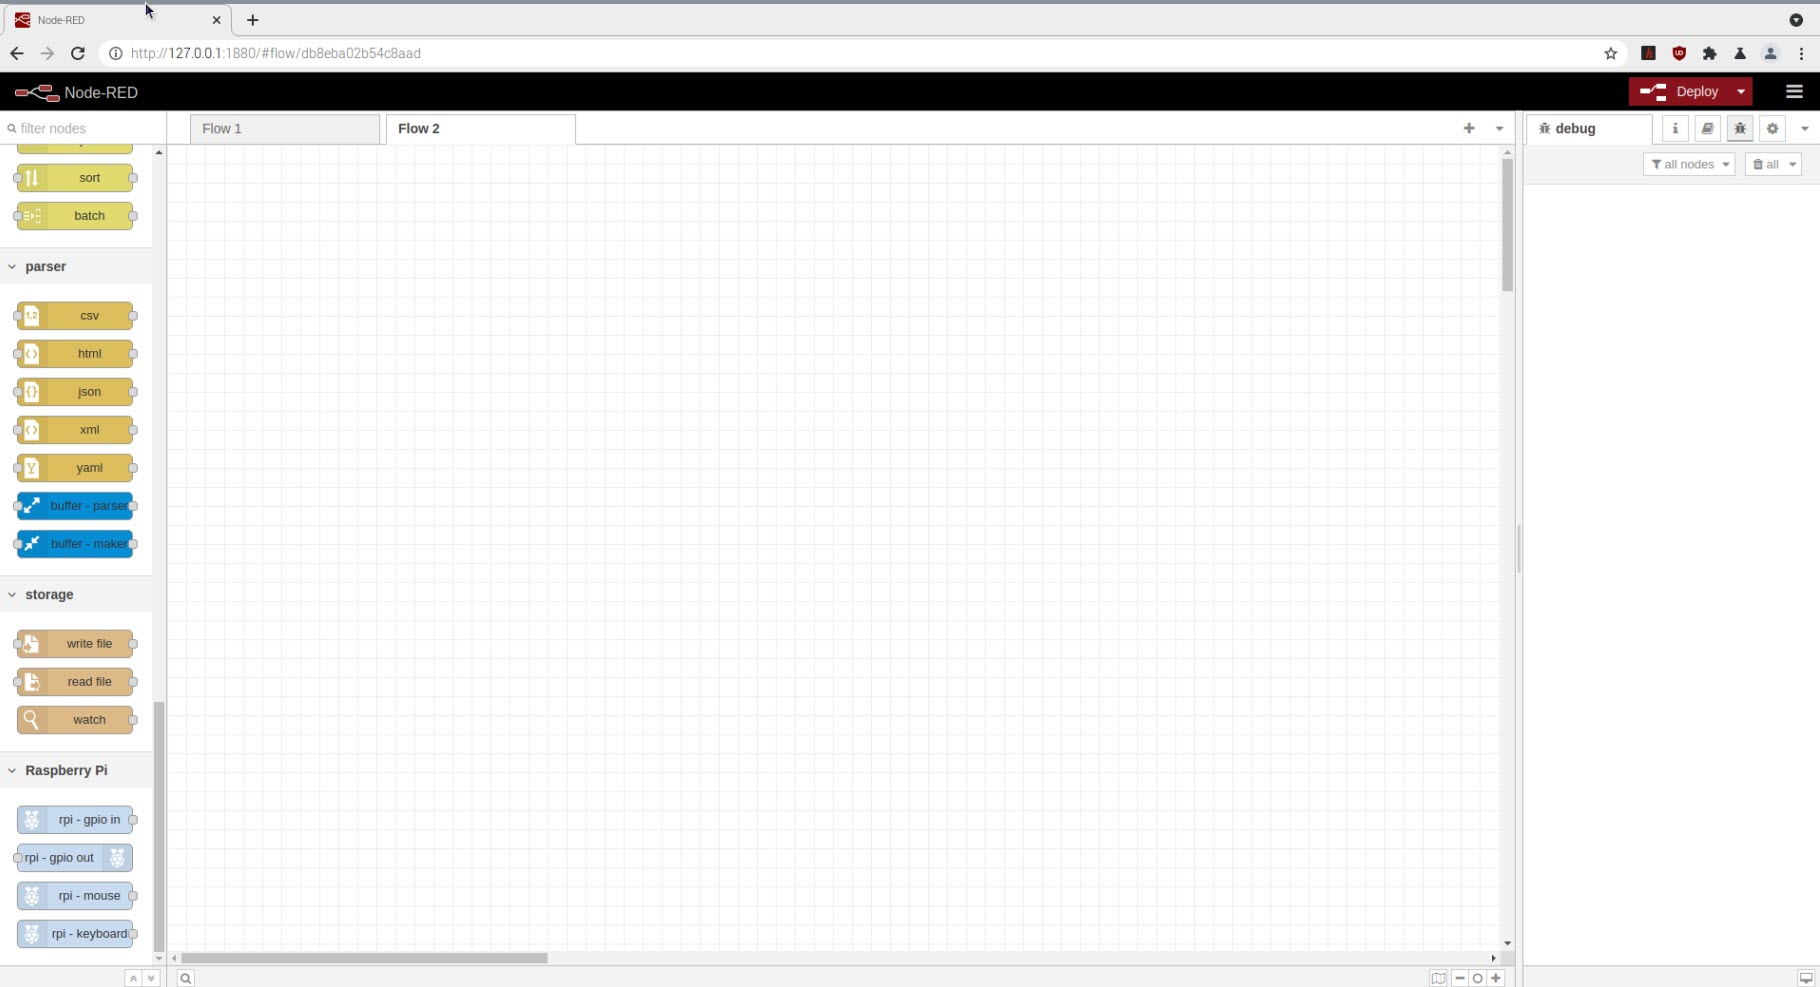
Copy the URL circled in red and paste it inside the browser. This open the Node-Red. Now we are ready to program the EdgeBox RPI 200 to control the LED.
Controlling the On-Board LED
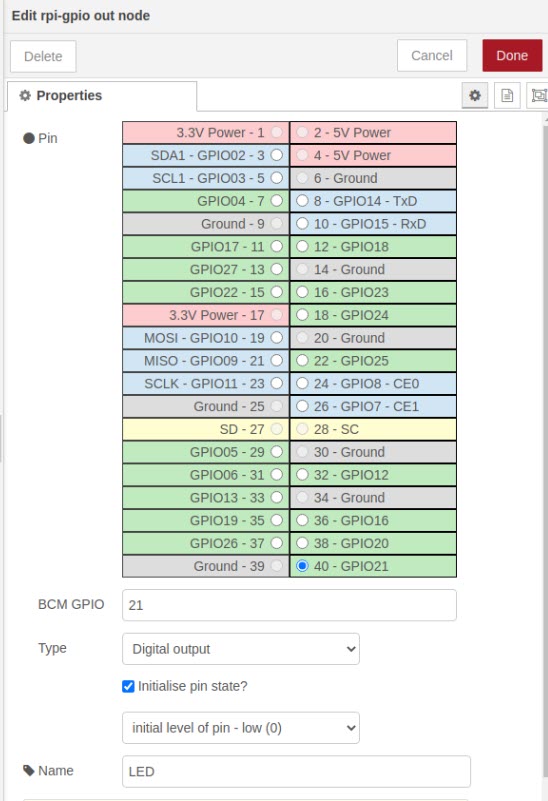
Next we would like to control the onboard LED on the EdgeBox RPI 200. In order to this first we need to identify to which pin is the LED connected. By referring to the datasheet, we know that it is connected to GPIO 21 and it is active low. Once we have this info we can now start to program. First we need to drag the inject node from the common. We need 2 of these, as we want to inject the ON and OFF signal. Next we need to drag the rpi - gpio out from the Raspberry Pi. Once we have everything in place we can now make the connection as per the figure below.
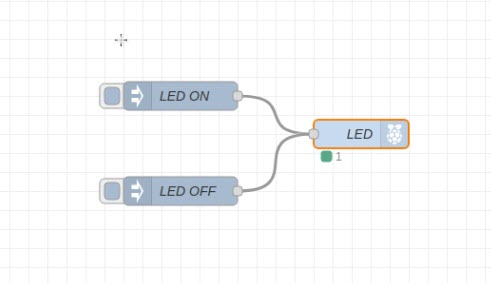
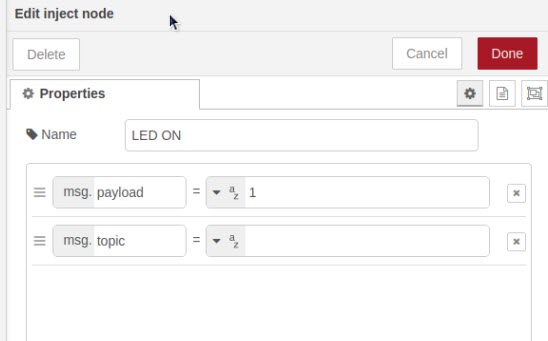
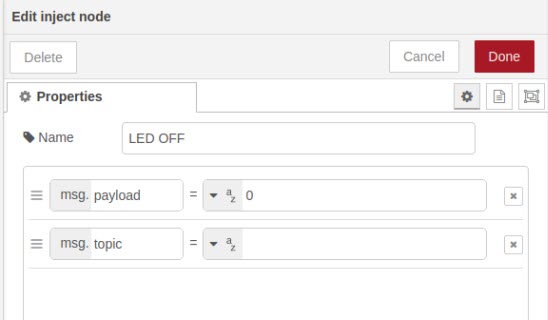
Next we need to configure for each of the node as per the figure below. For both the inject node, make sure that msg.payload is selected as the string.
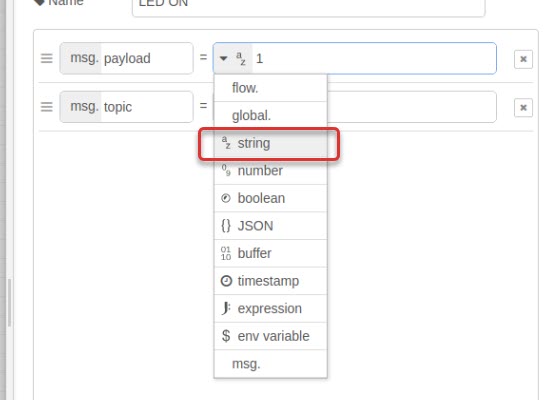
The setting for the LED ON
The setting for the LED OFF
The setting for the LED. In here we need to choose the GPIO 21 and select as the digital output.
Once we have finish with the settings, we can now deploy the code by clicking the deploy button at the top right corner.
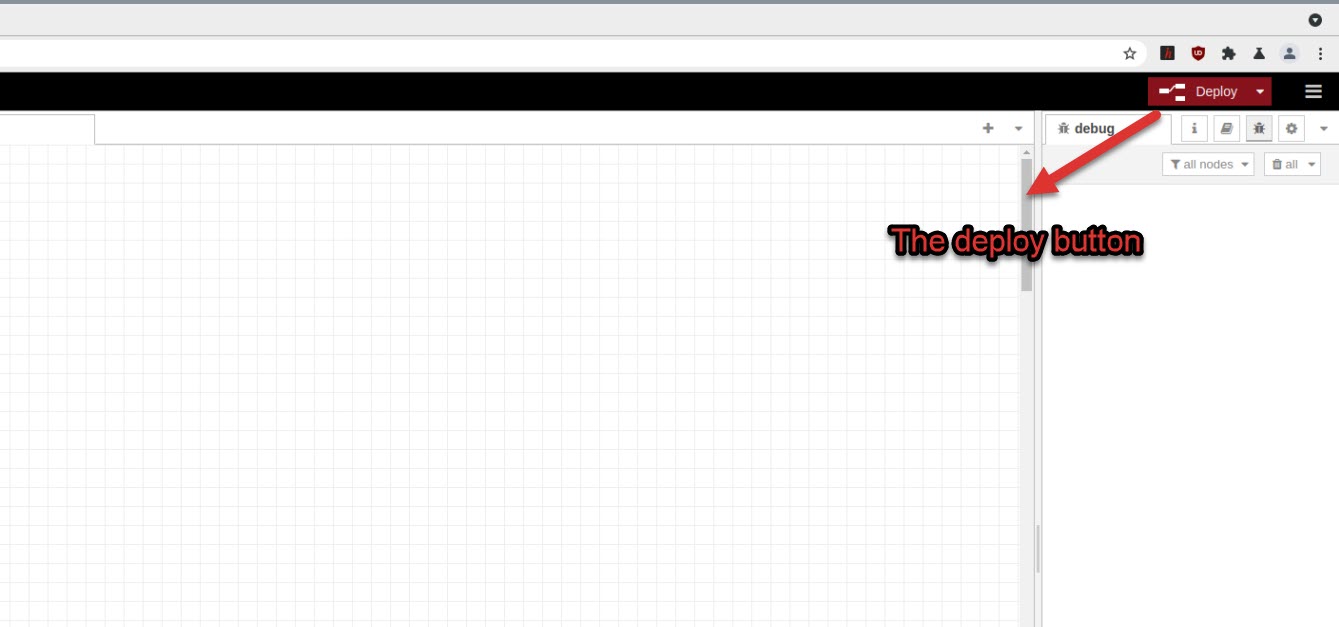
Once the flows is successfully deployed, we can now control the LED by pressing the inject button on the LED ON and LED OFF node.
Video
 International
 Singapore
 Malaysia
 Thailand
 Vietnam
