 International
 Singapore
 Malaysia
 Thailand
 Vietnam
Your shopping cart is empty!

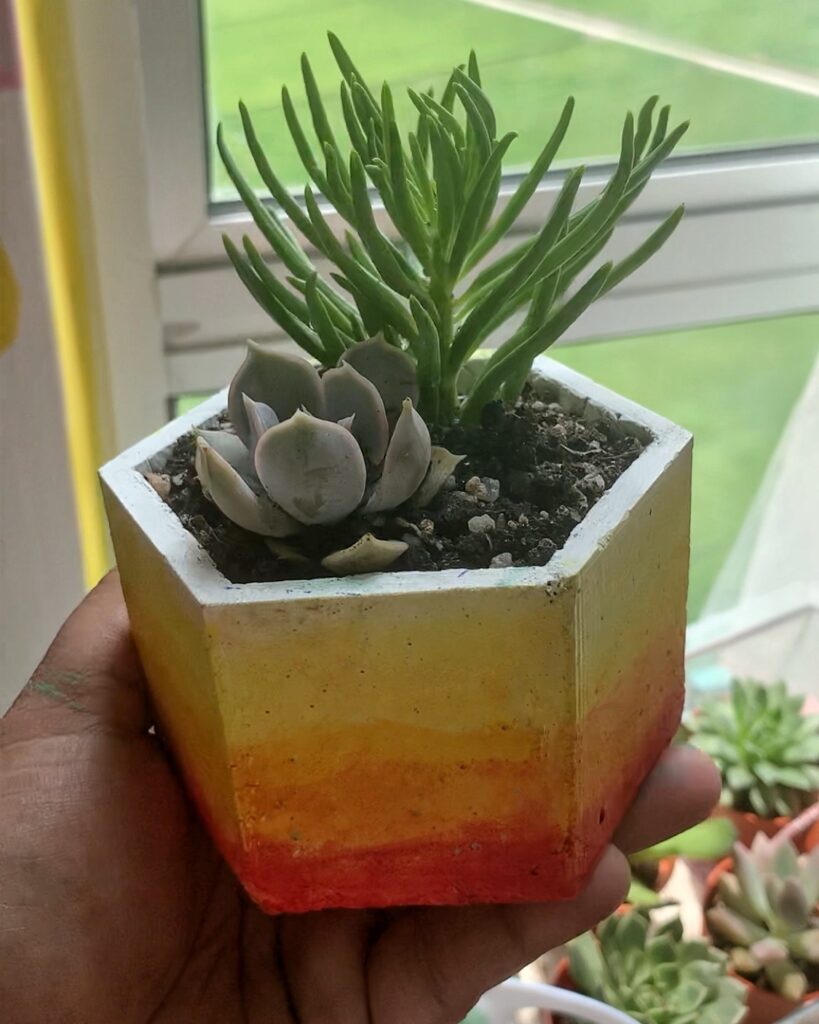
How to Make a DIY Concrete Vase with a 3D Printed Mould
Ready to get started making concrete planters? You’ve come to the right place. I've been wanting to update the planter I had in my home office, it's very boring, basic and white so I decided to make one out of white cement using a 3D printed mould so I can colour them ^.^ !
Materials Needed For Making Concrete Planters
- 3D Printer
- White Cement (any kind of cement is acceptable)
- Disposable bowl
- Disposable cup
- Water
- Acrylic paint
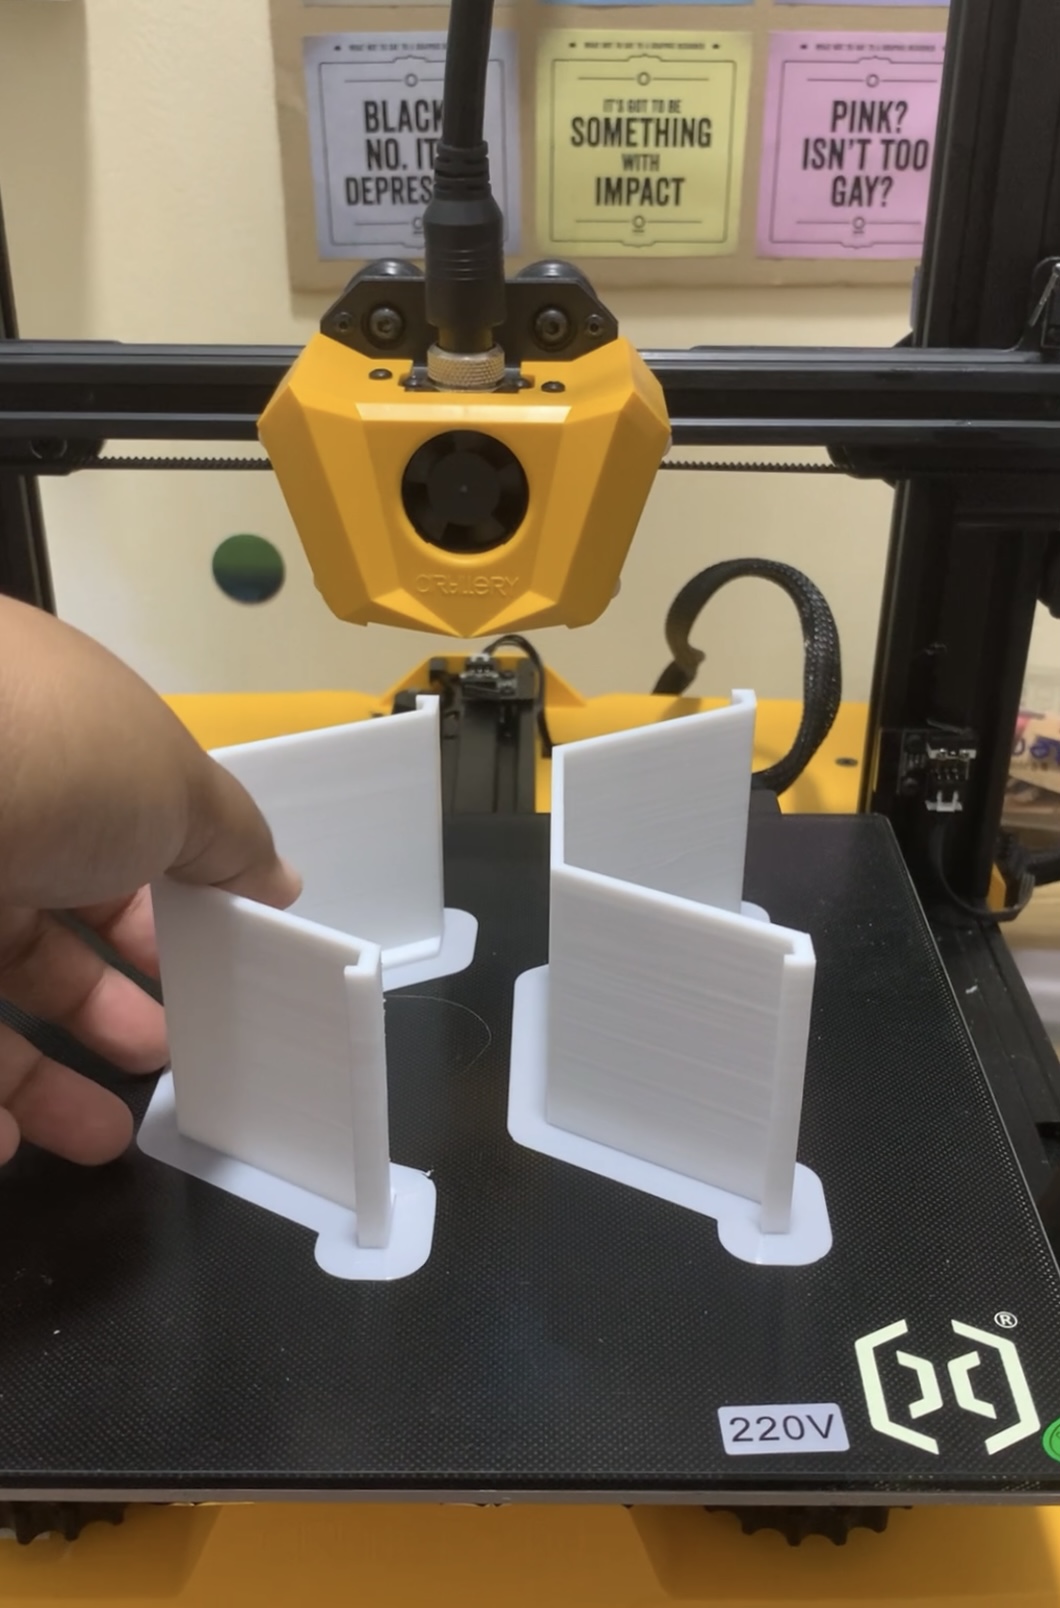
Print 3D Concrete Mold (~10 hours )
I print out Concrete Pot Mold by kokabog >> https://www.thingiverse.com/thing:3598511
- Filament choice is not important
- 0.2mm or greater layer height
- 20% infill (I chose zig-zag pattern)
- Support not required
Creating the Concrete Planter
- Prepare some water and a bowl or cup for mixing the concrete.
- Assemble our printed mould, and secure it with some rubber bands.
- Pour white cement and add water until it becomes a paste-like consistency.
- Mix thoroughly.
- Wrapped the middle part of the printed mould with some shrink-wrapped (for easy removal once it hardens).
- Pour concrete into the mould. Be sure to fill to the top edge. (Shake/tap gently to release any bubbles in the mould).
- Wait for the concrete to dry. (Preferably 24 hours).
- Once your concrete planter is out, you can paint or use it as-is. (I painted mine using acrylic)
- Add your succulent / plant and enjoy!