Your shopping cart is empty!
Raspberry Pad 5 - 5-inch IPS 800x400 Capacitive Touch Screen for CM4
- Brands BIGTREETECH Code: CM4-5IPS-C
Note: This page offers a few options for the Raspberry Pad 5 - the CM4 carrier board with a 5-inch IPS Capacitive Touch Screen. Please choose the preferred option:
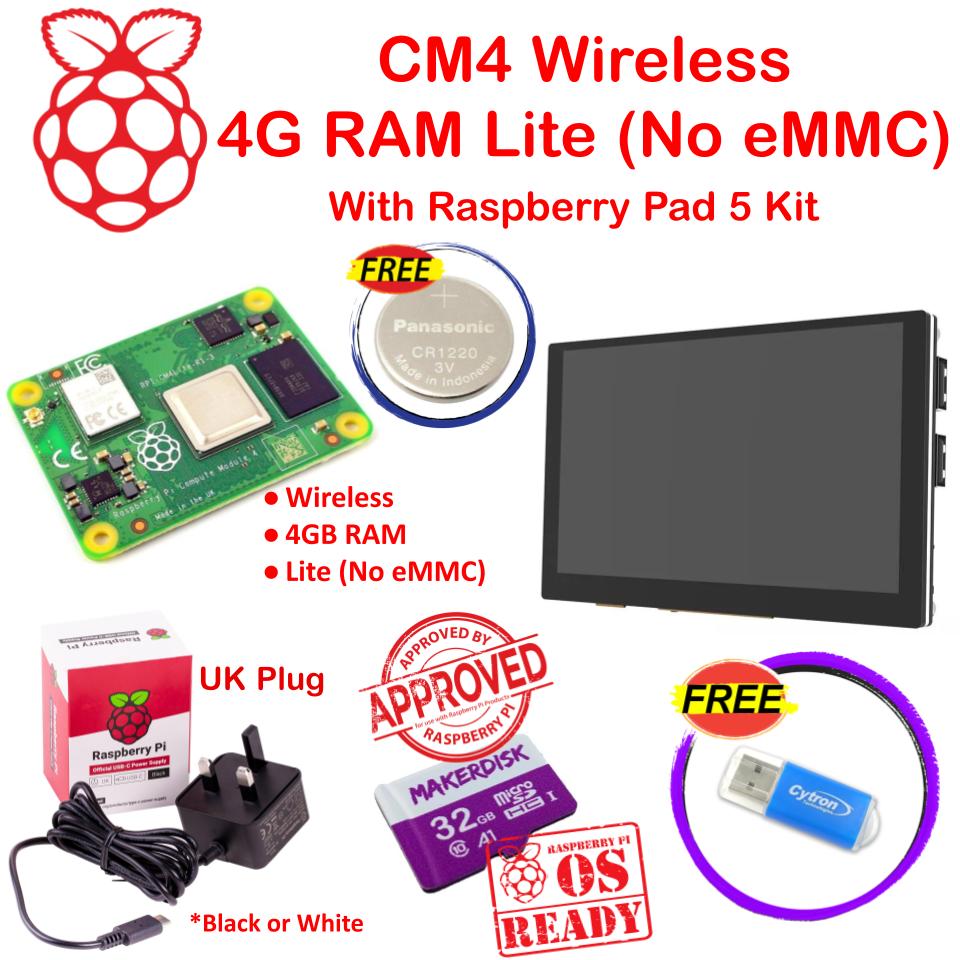 |  |
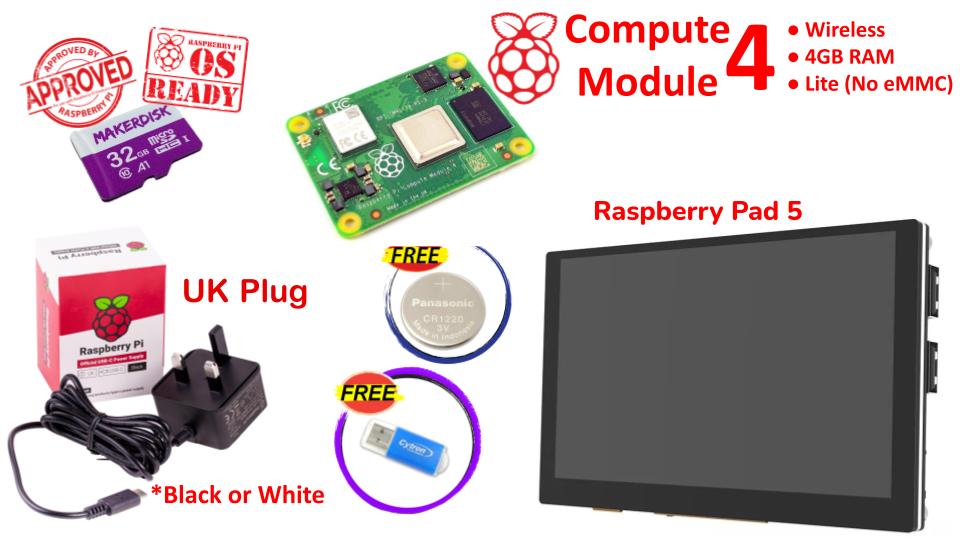
| CM4 Wireless 4GB RAM Lite (No eMMC) + Raspberry Pad 5 | Raspberry Pad 5 - 5-inch IPS Capacitive Touch Screen for CM4 ONLY |
Note: The Official Power Supply Unit (PSU) will be either in Black or White Color depending on availability.
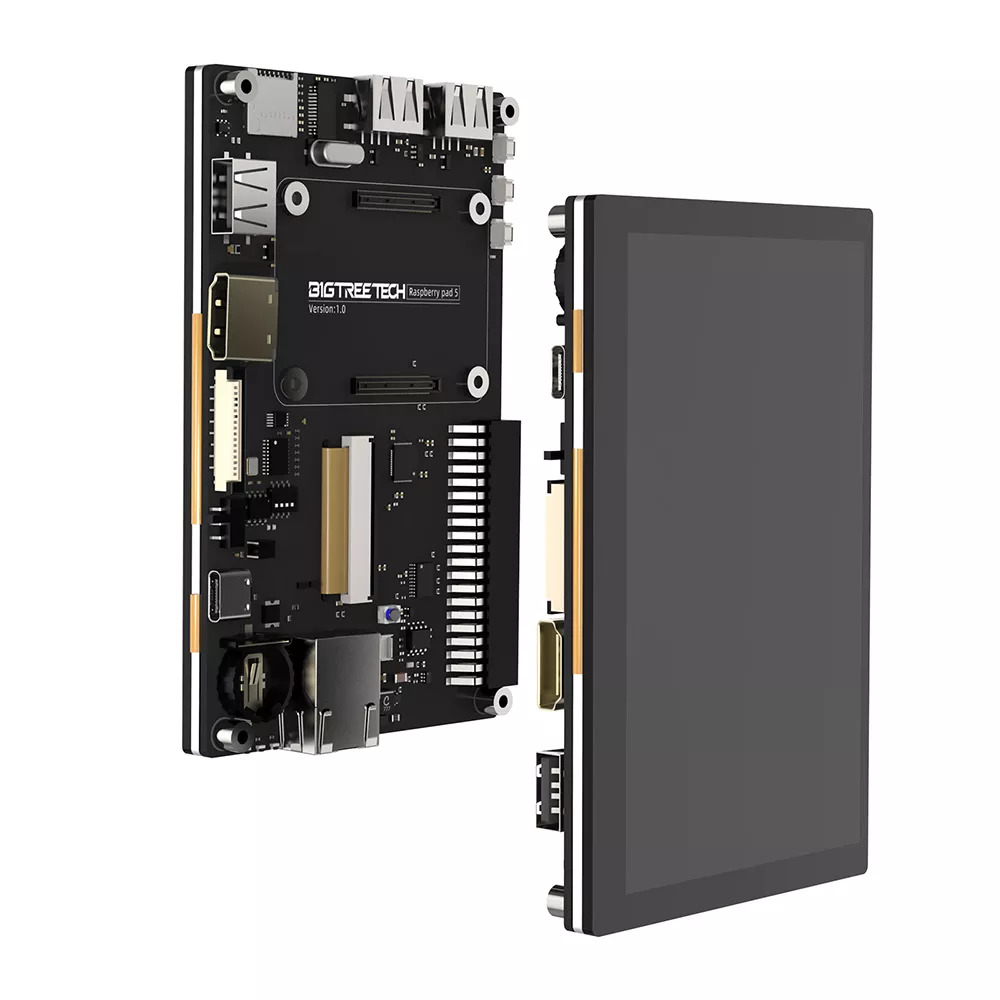
The Raspberry Pad 5 - A CM4 carrier board with 5-inch IPS Capacitive Touch Display is a special carrier board that enables you to get started with the Raspberry Pi CM4.
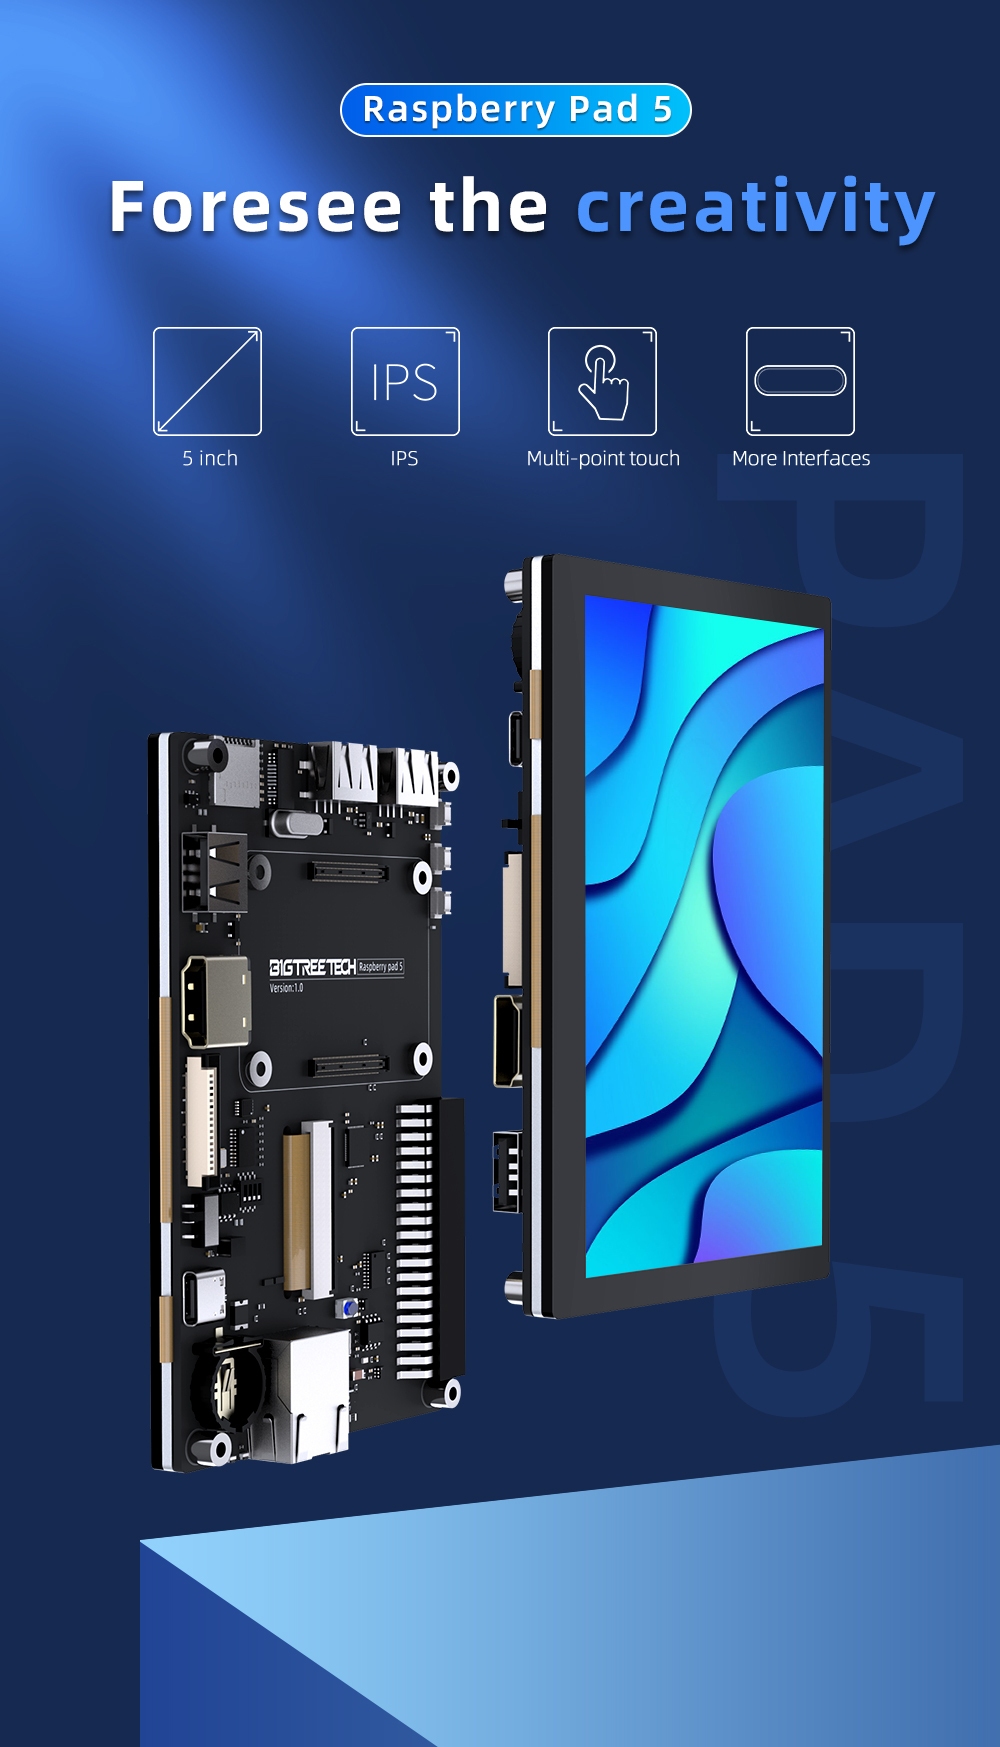
This is a very comprehensive and compact carrier board for Raspberry Pi Compute Module 4, it supports both the Lite version (without onboard eMMC) and with eMMC of CM4. Not to forget the wireless and non-wireless versions of CM4, as it comes with a Gigabit Ethernet port. The best integration is the 5 inches Capacitive touch IPS screen! Your CM4 will not need another LCD monitor :)
Note: The 40-pin GPIO headers are FEMALE on the Raspberry Pad 5 board.
Check out the review by ETA Prime on this CM4 carrier board with screen:
The only CM4 carrier board that is ready with a 5-inch HD Touch Screen! It is perfect for Human Machine Interface development such as Octoprint with touch UI. It also comes with screen control buttons for backlight and orientation (180º rotation). of course, with IPS display offers true color and a wide view angle.
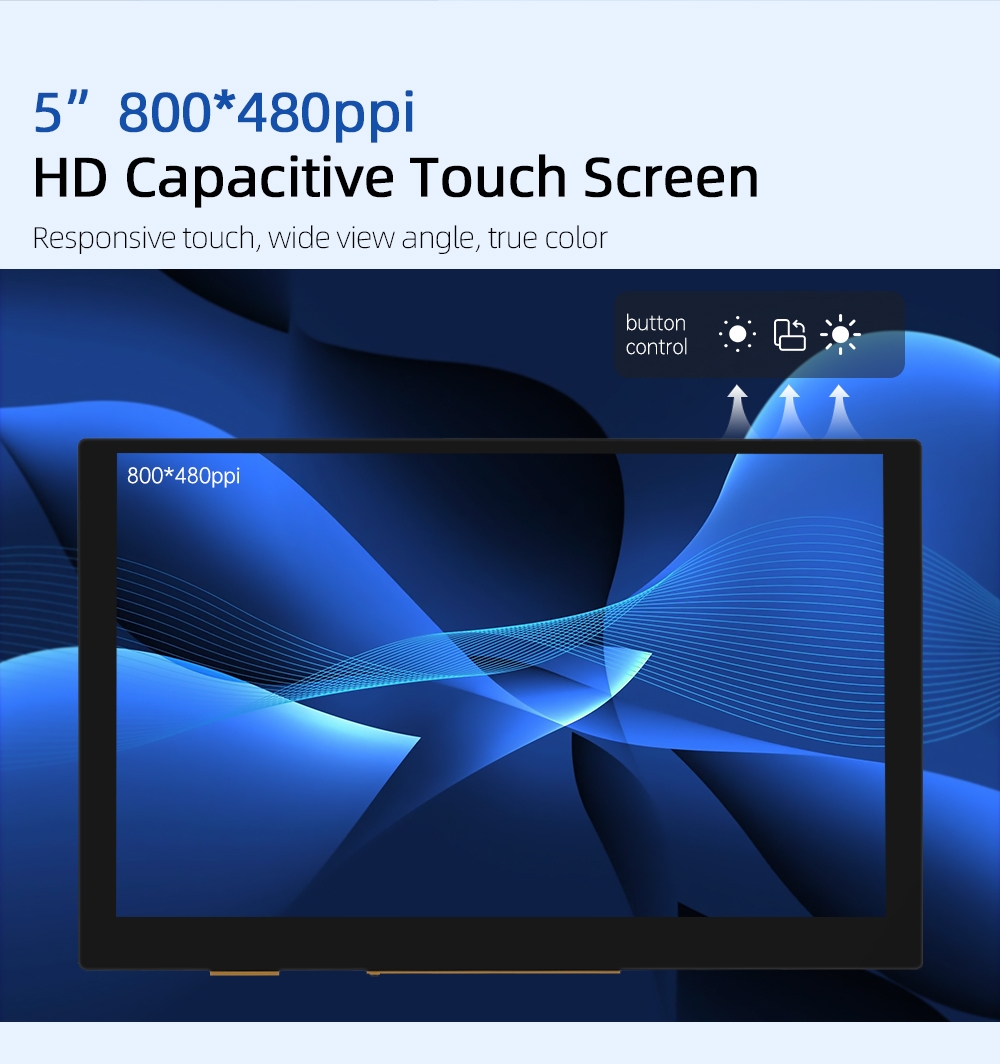
Note: The 5-inch screen graphic interfaces via DSI from CM4, it is Disabled by default on Raspberry Pi OS. You will need to enable it.
Note: A CM4 is included in the kit option.
Check out another video review by Lee from leepspvideo. He shows the mounting of CM4 with eMMC onto the Raspberry Pad 5, configures the DIP switch to burn/load the Raspberry Pi OS, enables the DSI driver and boots it up:
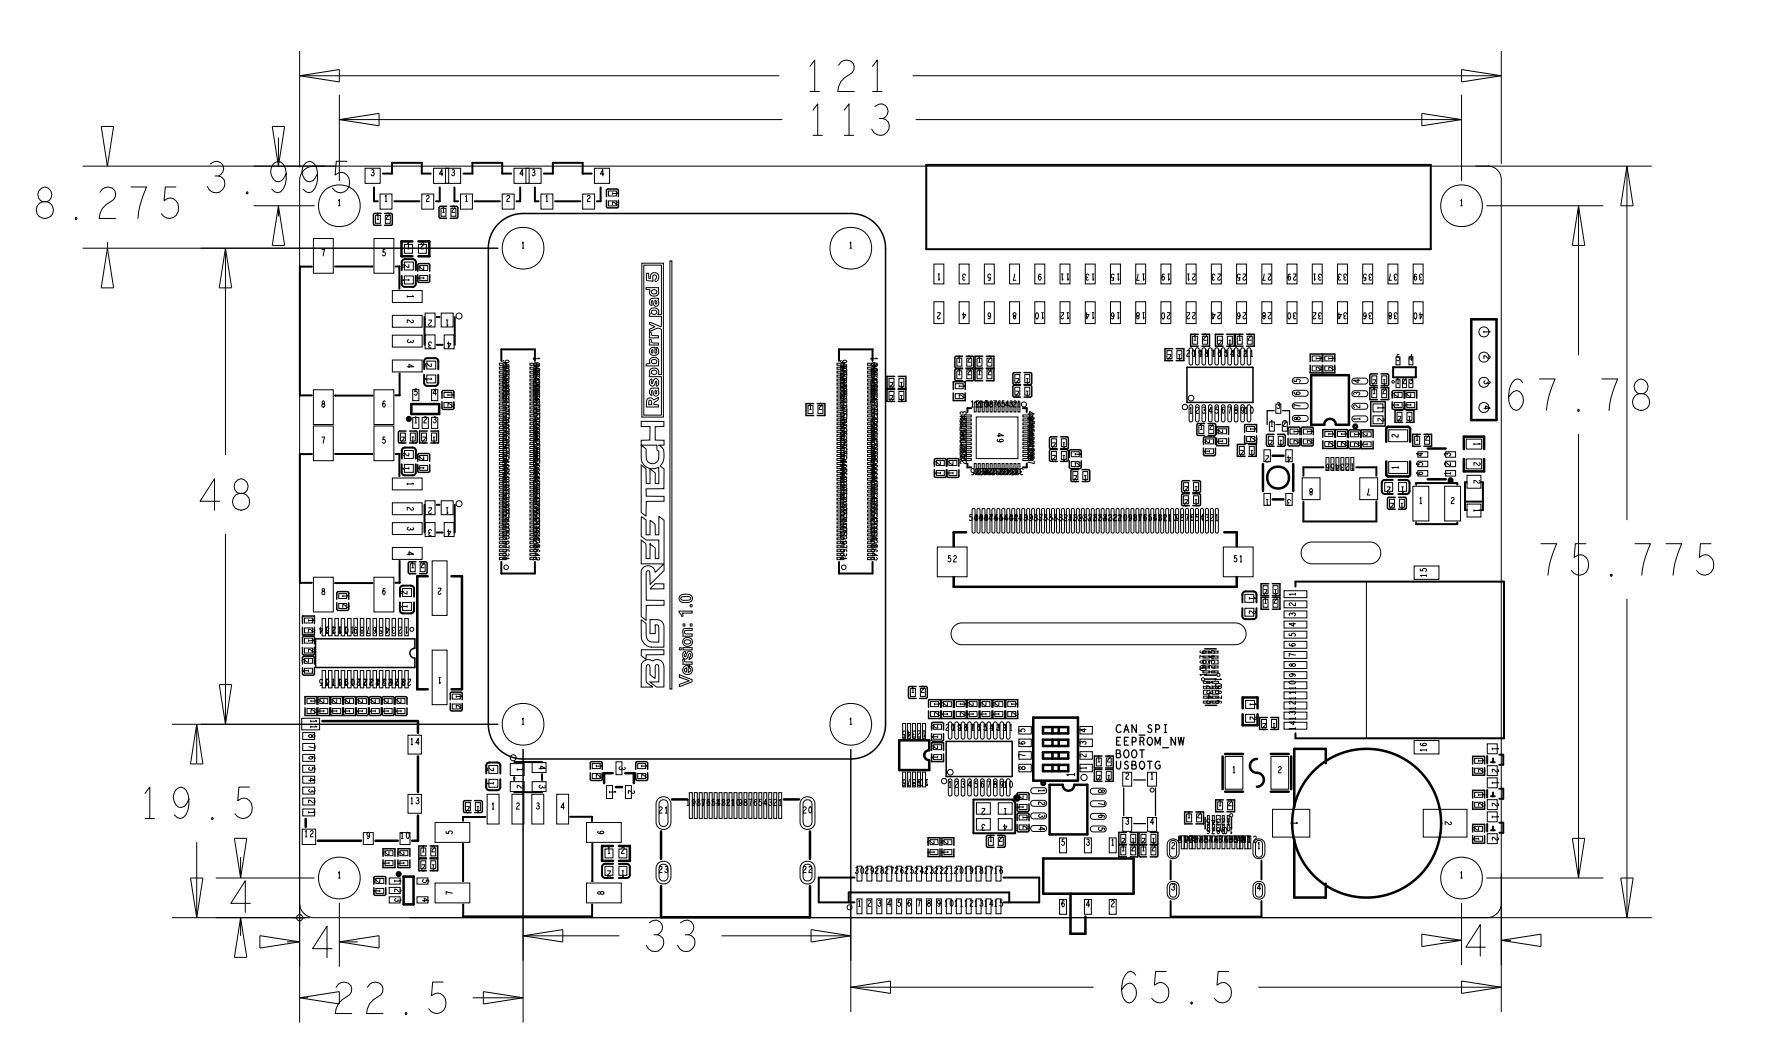
The back of the IPS screen is full of many ports, buttons, a MicroSD card slot, and a 40-pin FEMALE GPIO. This is the most comprehensive CM4 carrier board we have ever seen.
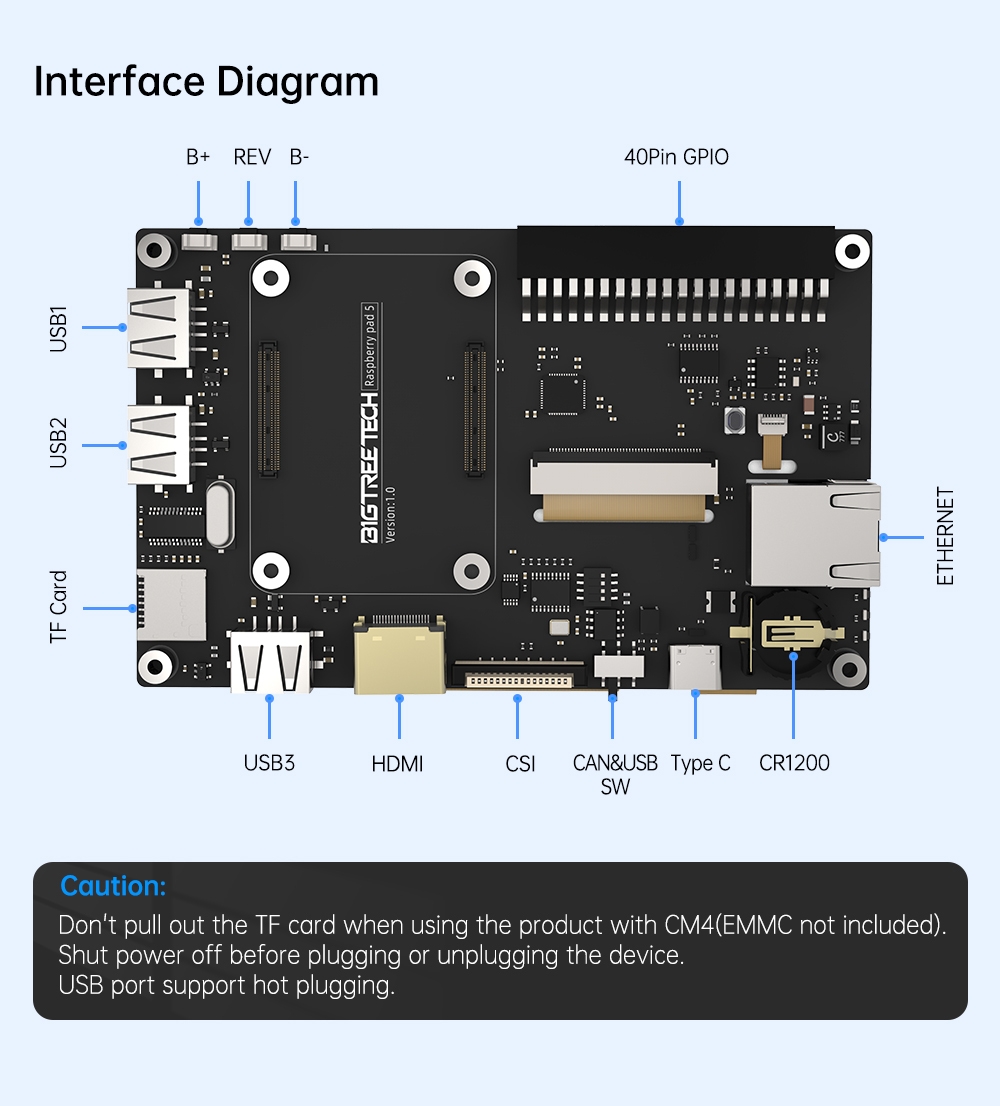
Note: Please DO NOT pull the microSD card out of the slot when CM4 Lite (without eMMC) is operating. Do a proper shutdown, then only remove the microSD card.
Note: Please power off the carrier board before plugging or unplugging the CM4.
Note: USB port supports hot plugging
Don from NovaspiritTech also did a review of this carrier board:
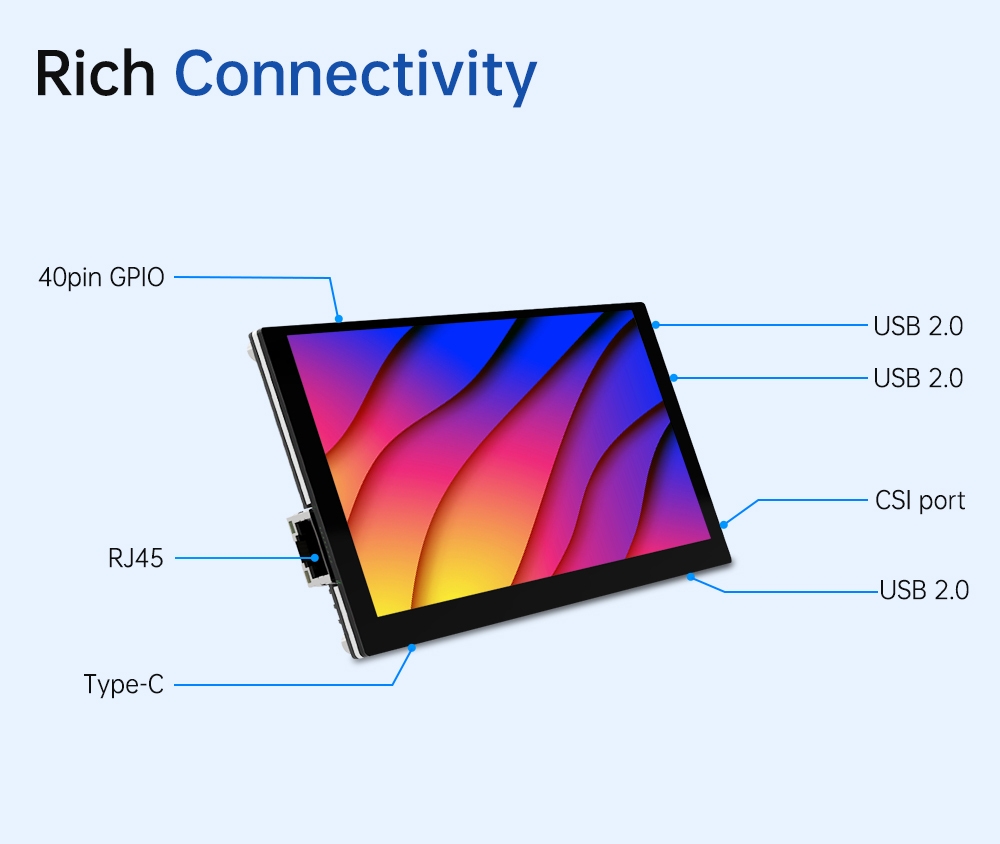
Even with a 5-inch HD Touch Screen, this carrier board comes with essential connectivity ports:
A very detailed review by othermod on the Raspberry Pad 5:
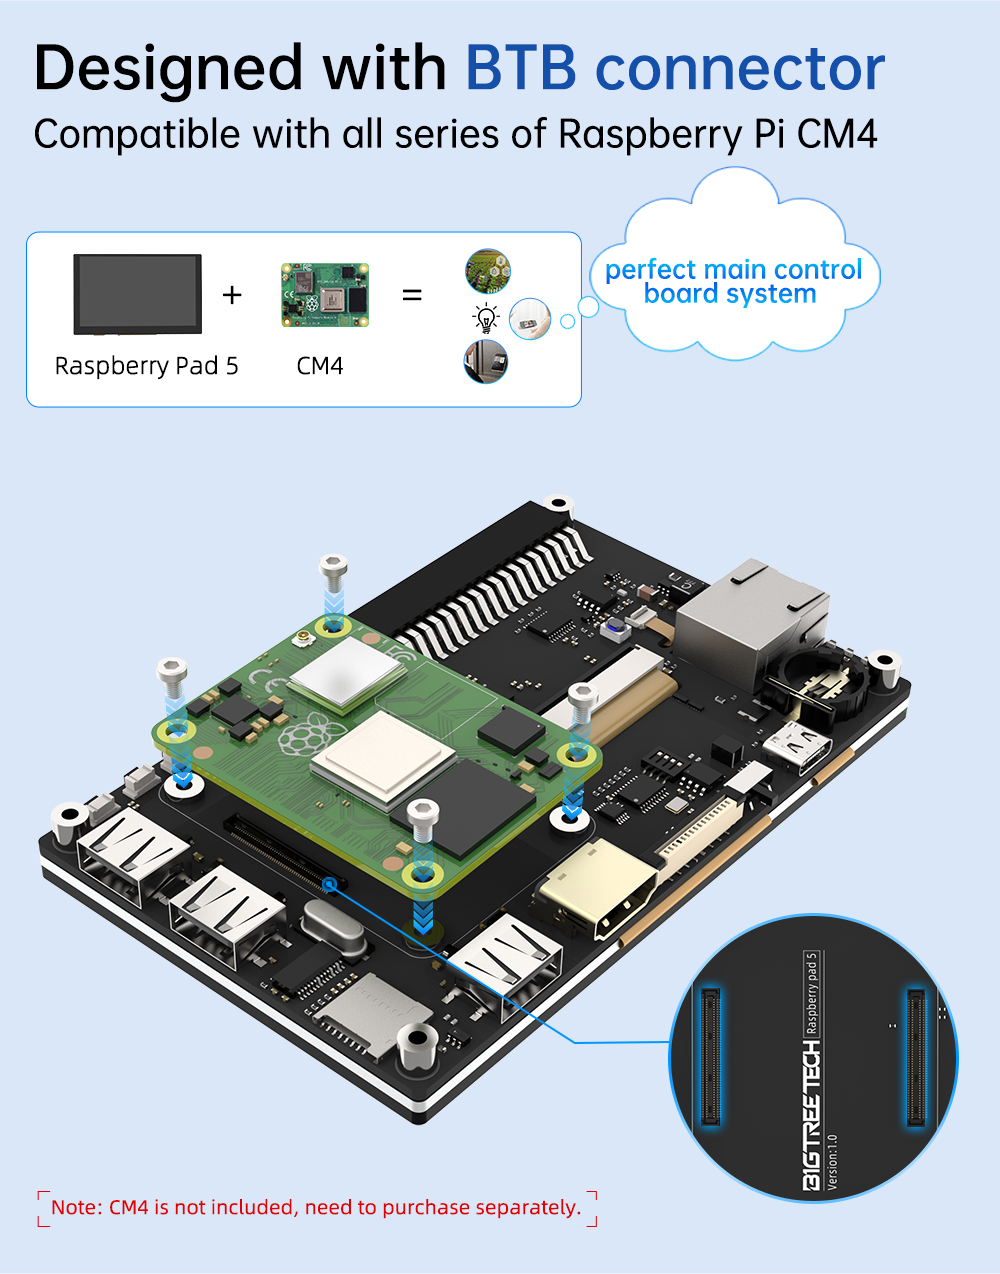
You are free to choose the preferred model from 32 variations of CM4 for this board. This carrier board is compatible with all CM4 models:
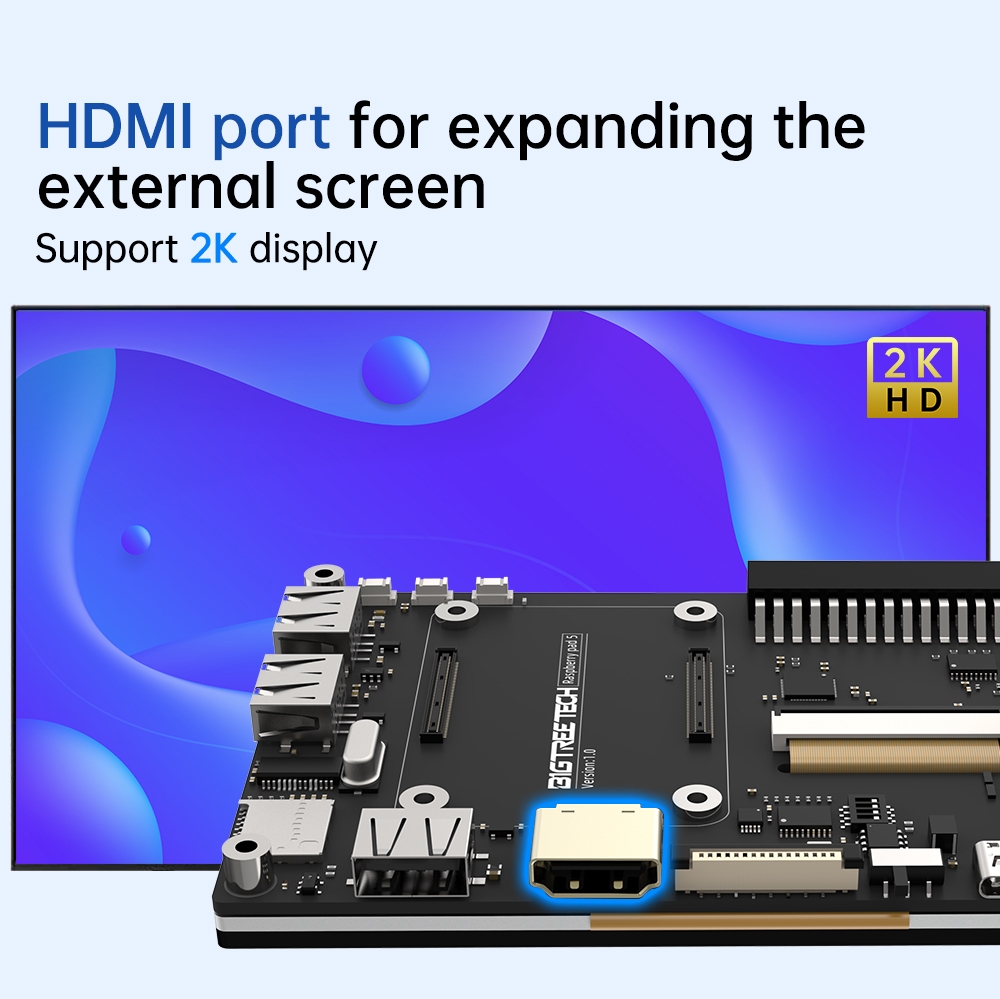
Even with a built-in touch screen, there is another option to expand to an external screen via a full-size HDMI port which supports up to 2K resolution.
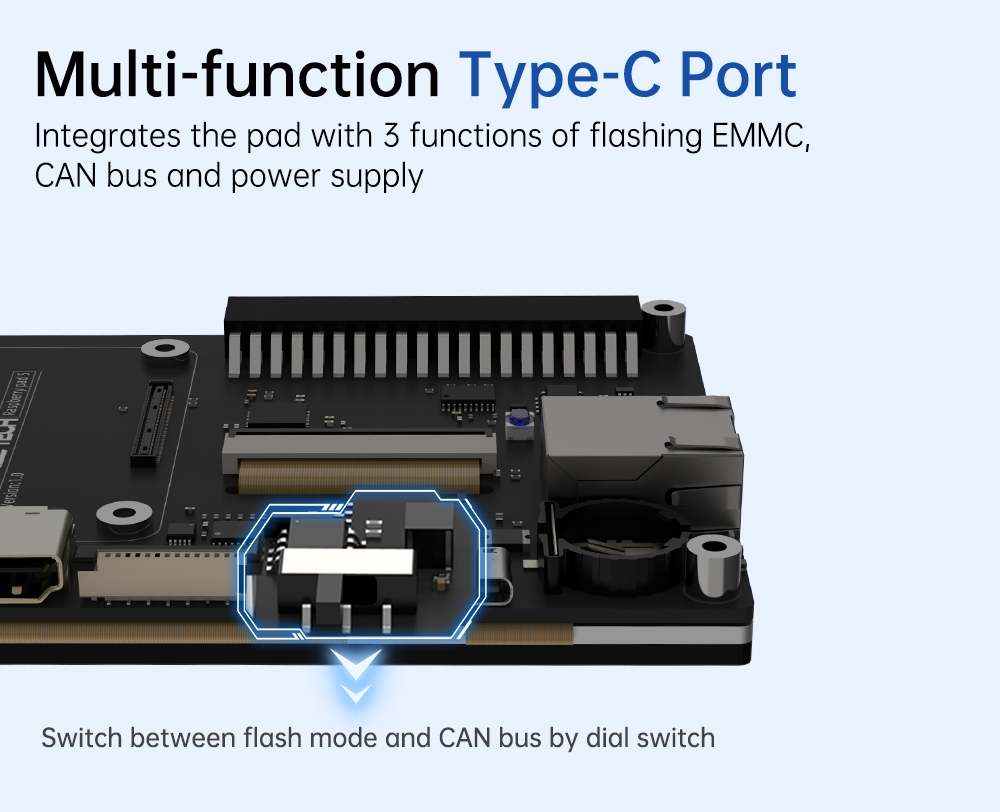
There is a double pole slide switch and a 4 ways DIP switch that allows the USB-C to be configured to support:
Just add a CR1220 coin cell battery to get a real-time clock for CM4. The RTC chip is PCF8563.
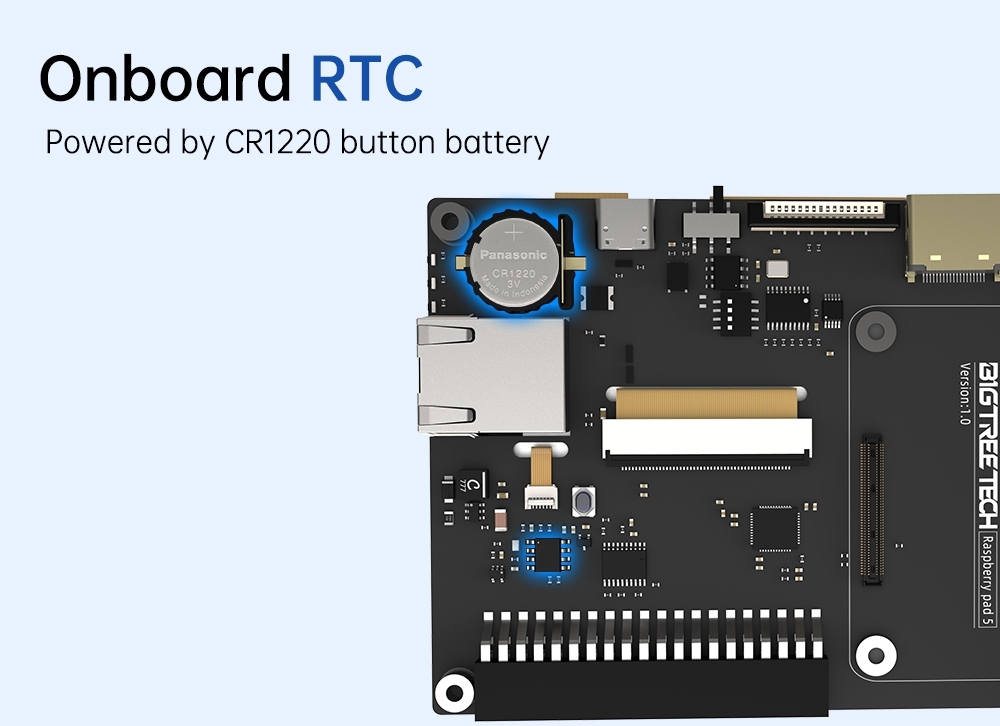
Note: A CR1220 coin cell battery is included in the kit option.
As you might have known, due to the higher power requirements, it is best to provide at least a stable 5V 3A power supply to the Raspberry Pi CM4. The kit included the Official Raspberry Pi 5V 3A USB-C Adapter with a UK plug (type G) and is meant for the Raspberry Pi CM4 and is suitable to be used in Singapore, Malaysia, the UK, etc.
Note: The Official Power Supply Unit (PSU) will be either in Black or White Color depending on availability.
In the case you get a CM4 with built-in eMMC, fresh from the factory, the eMMC does not contain any image of the Operating System, so the 1st thing after you get the new CM4 and Raspberry Pad 5, you will need to flash a suitable Operating System into the eMMC. To do that, a USB C cable is needed.
.jpg )
From the Raspberry Pad 5 User's Manual, page 14, you need to configure both the slide switch and onboard DIP switch to load OS into the CM4's eMMC.
If you get a CM4 Lite, you will need an external microSD card that has a compatible OS image to boot up. So 1st thing after you get the IO board and a proper power supply, you will need a microSD card (at least 8GB) with a suitable OS image in it, we recommend using the official OS for Raspberry Pi, which is Raspberry Pi OS. Due to the default settings of the USB 2.0 on CM4 (USB2.0 hub is disabled by default to save power), you will need to edit the config.txt on the OS, so that is the reason we recommend a microSD card pre-loaded with the official operating system and a USB microSD card reader/writer.
A tiny and useful USB MicroSD Card Reader/Writer
The MakerDisk MicroSD card is tested and approved by Raspberry Pi Foundation. And it comes preloaded with the official Raspberry Pi OS. So it can boot up directly on the CM4 carrier board. In case you want to load another OS, you can still do it using Raspberry Pi Imager which you can download from here. It is compatible with Windows, macOS, Unbuntu and even the Raspberry Pi itself can also load OS images using Raspberry Pi Imager.
Anyway, by default, the USB hub on the CM4 carrier board is DISABLED in the Raspberry Pi OS, this is to save power. You will need to edit a file on the microSD card in order to enable the USB ports on the board. Else, the USB keyboard or mouse will not be able to function, so don't be surprised.
1. Insert the microSD card into the USB MicroSD card Reader/Writer, then plug the USB Reader/Writer into your computer USB port. Please DO NOT format any of the drives.
2. Goto the boot drive and open the config.txt using a plain text editor, e.g.: Notepad

3. Add this command line (from CM4 IO Board datasheet, page 5) into the config.txt file and save it:
dtoverlay=dwc2,dr_mode=host

4. Eject the drive from your computer again, and unplug the USB MicroSD card Reader.
5. Insert the MicroSD card into the CM4 IO Board's MicroSD Slot, and mount the CM4 Lite. Connect the USB device, HDMI Cable if there is any, and lastly the Power Adapter.
And in order to get the 5-inch display/screen to work, you will need to download the DSI1 driver. Please open the terminal and type this in:
sudo wget https://datasheets.raspberrypi.com/cmio/dt-blob-disp1-cam1.bin -O /boot/dt-blob.bin
Of course, you can also check out these accessories in case you do not have one:

